Creating a squeeze page funnel is a strategic way to capture leads by offering valuable resources in exchange for contact information. In this guide, we’ll take you through the step-by-step process of building a squeeze page funnel using GoHighLevel (GHL). By the end, you will understand how to create a form, set up a funnel, and automate your email nurturing process.
What is a Squeeze Page Funnel?
A squeeze page funnel is designed to capture leads by providing a valuable resource, such as an eBook or webinar, in exchange for contact details. This funnel typically starts with a squeeze page, which is a landing page featuring a form where visitors can enter their information. The ultimate goal is to turn visitors into leads by offering something of value.
Step 1: Building the Form
The first step in creating your squeeze page funnel is to build the form that will collect visitor information. Here’s how to do it:
-
Navigate to the form builder in GoHighLevel and create a new form. Name it "Squeeze Page Form."
-
Decide what happens upon submission. For this funnel, you will leave it blank since you will be directing users to the next step in the funnel.
-
If you are building for a client, include their Facebook pixel information to track conversions.
-
Set the event to "Lead" in the dropdown menu and save the form.
-
Add necessary fields to the form. For simplicity, include fields for the visitor's full name and email address. If desired, you could add more fields like a phone number or social media handle, but for now, stick to the basics.
-
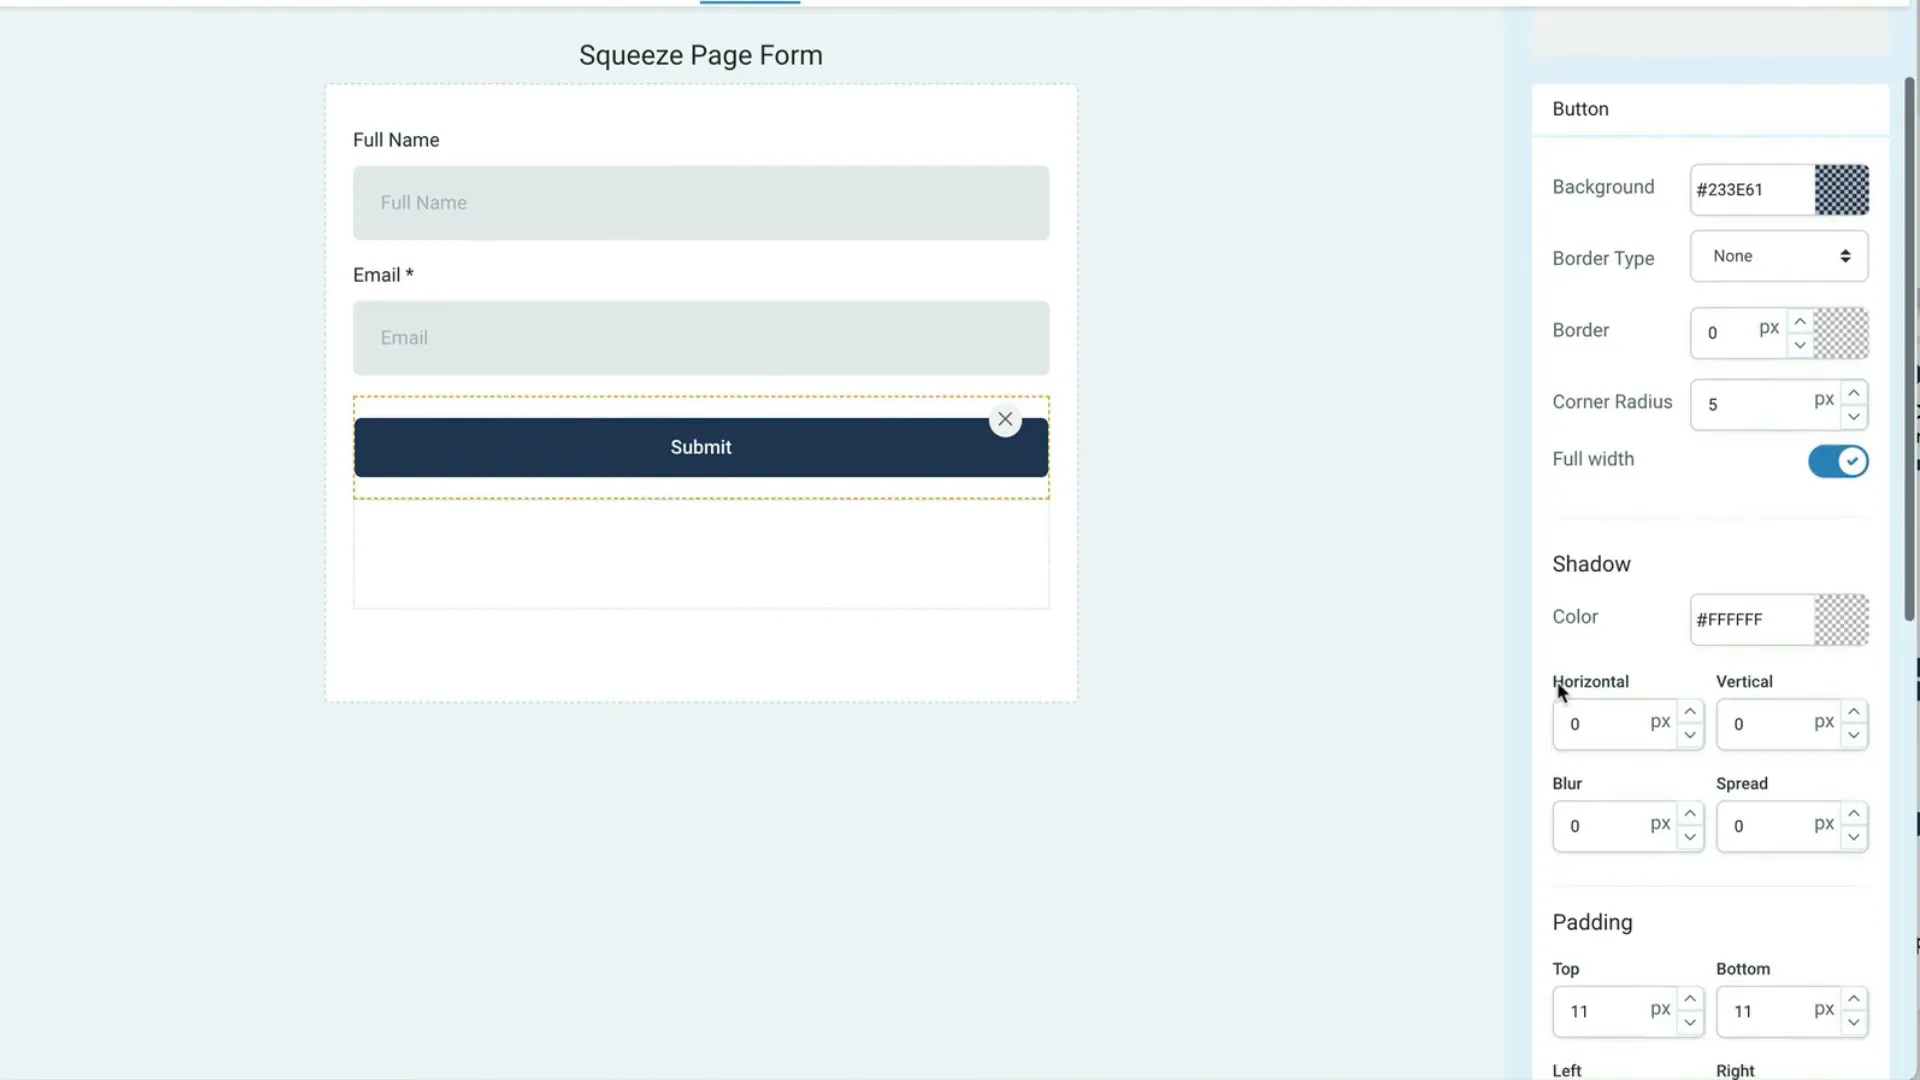
Don't forget to include a submit button. Change the text from "Button" to "Submit" and customize its appearance. Make it full-width and set the color to your brand’s specific blue (for example, #233e61).
Once the form is ready, save it to use in your funnel.
Step 2: Creating the Funnel
Now that the form is set up, it’s time to create the actual funnel.
-
Go to the funnels section in GHL and click "Create New Funnel." Name it "Squeeze Page Funnel."
-
Add a new step and name it "Squeeze Page." Choose to create from a blank template since you are starting fresh.
-
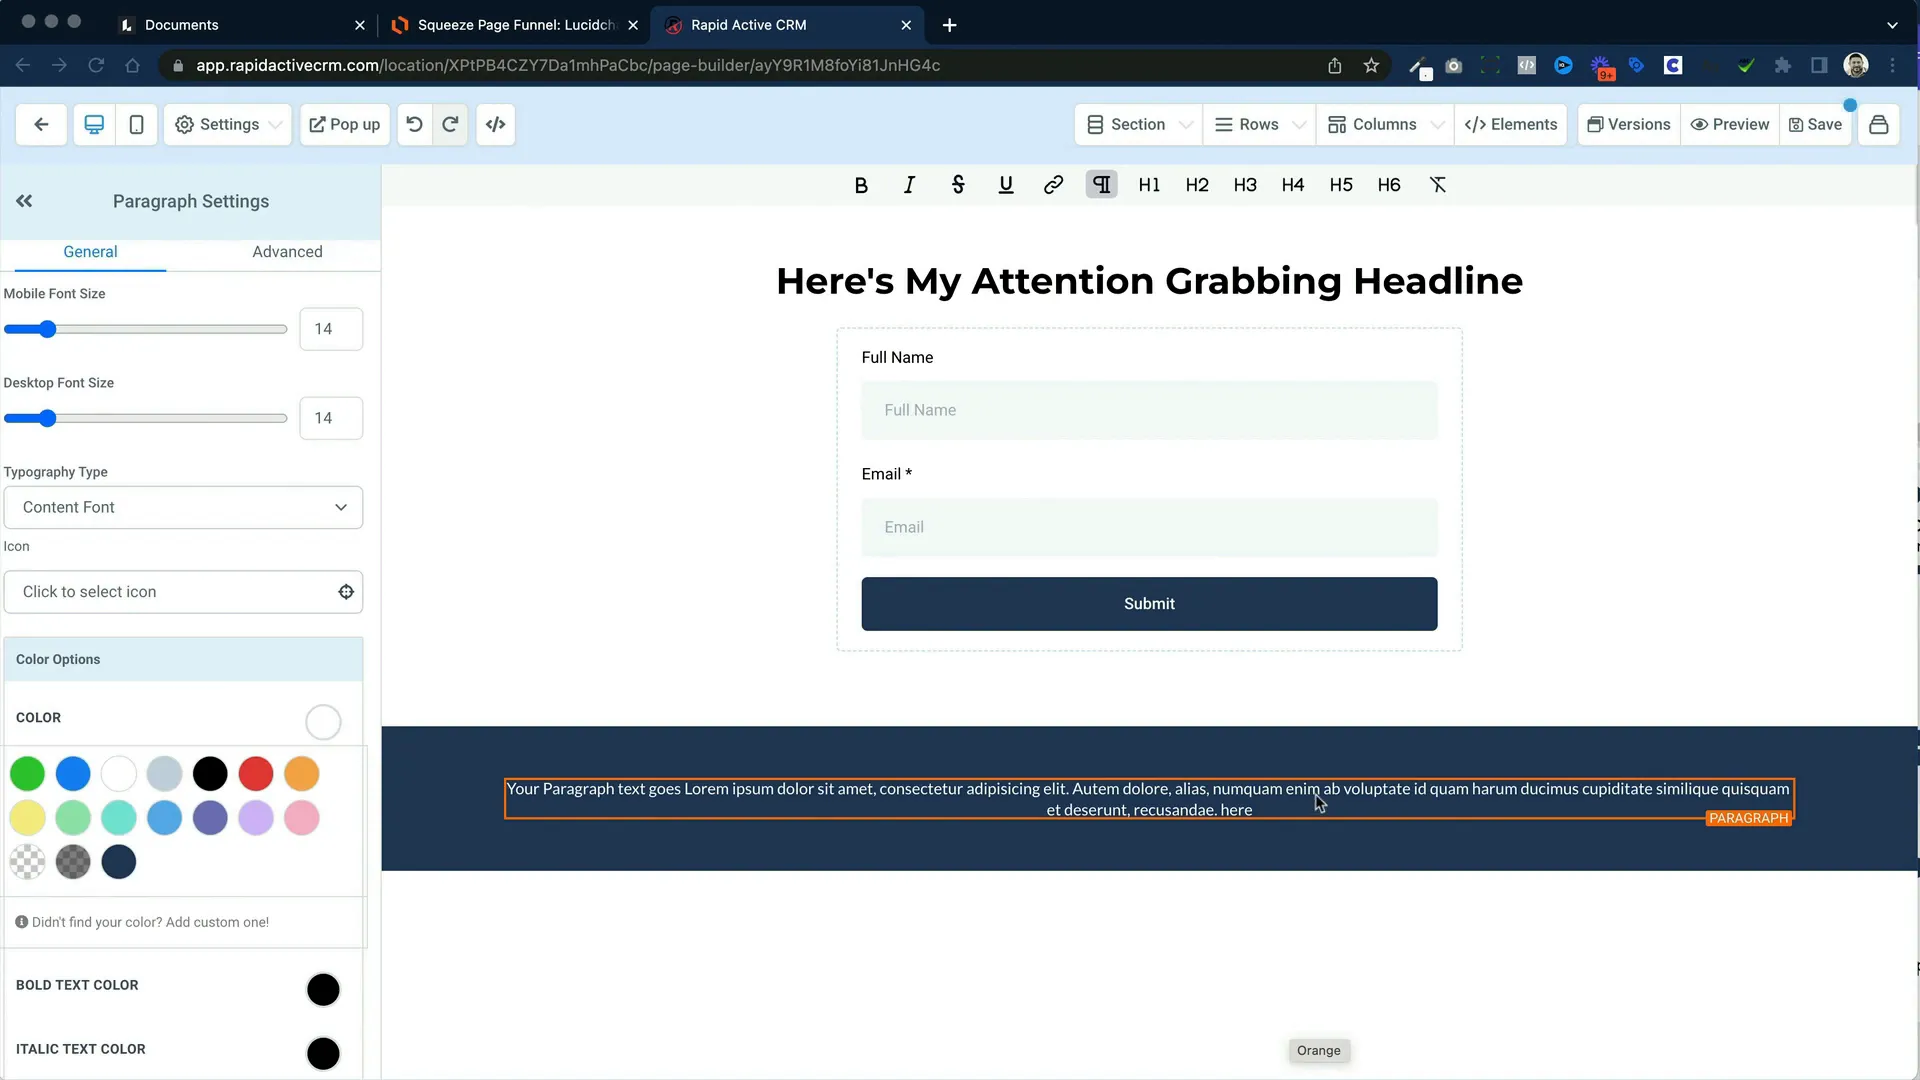
Add a one-column layout to the top area of the page and insert your attention-grabbing headline. Something like "Here’s My Attention-Grabbing Headline" works well.
-
Drag and drop your squeeze page form into the funnel. Adjust the spacing as needed to make it visually appealing.
-
Add a footer section to comply with Facebook regulations. Include a disclaimer that the site is not part of Facebook and is not endorsed by them.
-
Clone the footer to add copyright information and ensure proper spacing.
At this point, the page layout is coming together, but it might still look a bit plain.
Step 3: Enhancing the Design
To make your squeeze page more engaging, adding images and background colors can enhance the overall look.
-
Convert the footer into a two-column area by cloning it. Delete unnecessary content from one side to make space for an image.
-
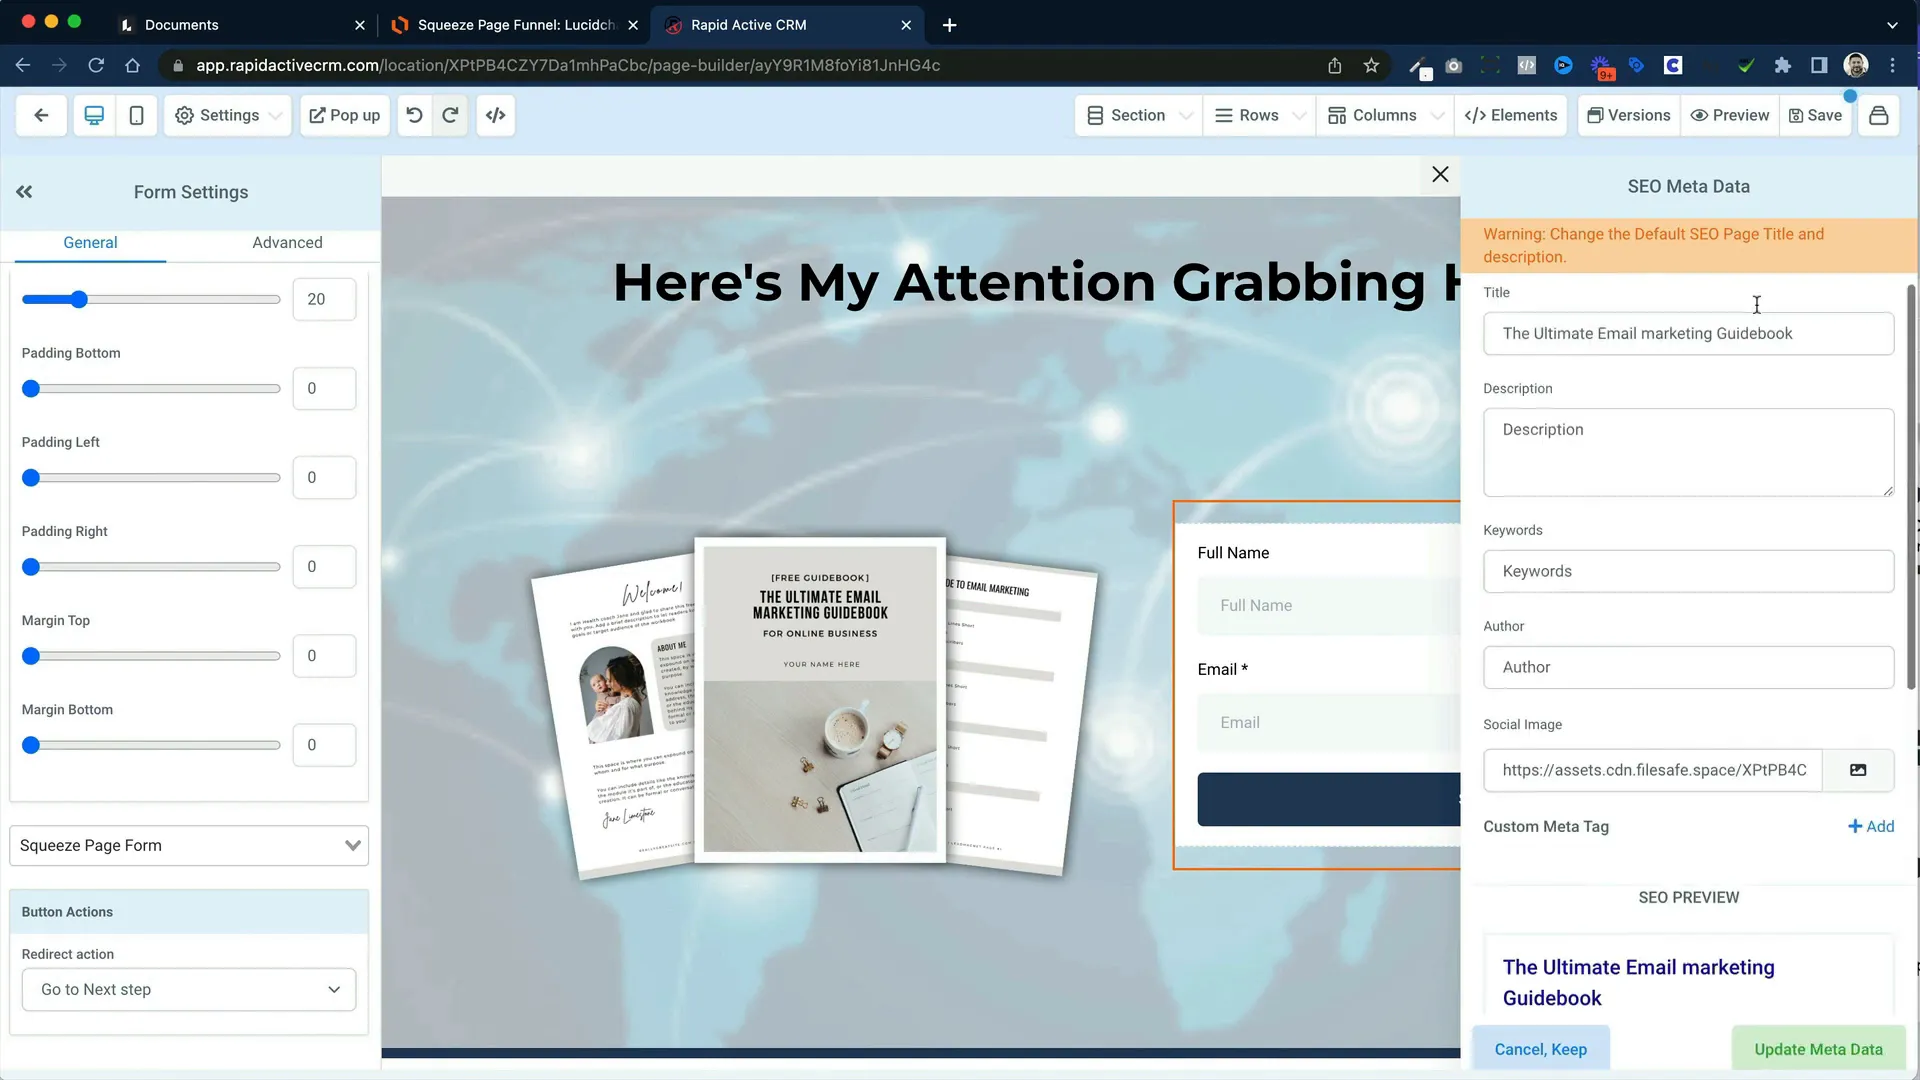
Select an image for your squeeze page, like the "Ultimate Email Marketing Guidebook," and place it appropriately.
-
Consider adding a background image. Choose a visually appealing image and adjust its opacity so the text remains readable.
-
Specify what happens when the form is submitted by selecting "Go to Next Step," which will lead to your Thank You page.
-
Set the SEO metadata for the squeeze page with a relevant title and description. This is crucial for search visibility.
After these adjustments, save the page, and you’re ready to build the Thank You page.
Step 4: Building the Thank You Page
The Thank You page can be easily created by cloning the squeeze page.
-
Click on "Clone Funnel Step" to duplicate the squeeze page and rename it to "Thank You."
-
Edit the page in a new tab. Keep the headline but replace the form with a video that provides further insights or instructions.
-
Create a new section with three columns to outline next steps for the lead, such as joining a Facebook group or checking out YouTube videos.
-
Add buttons under each step with appropriate links and save your changes.
-
Once again, update the SEO metadata for this page.
This page serves as a transition to further engagement with your leads.

Step 5: Automating the Workflow
With your pages ready, it’s essential to set up automation to nurture your leads effectively.
-
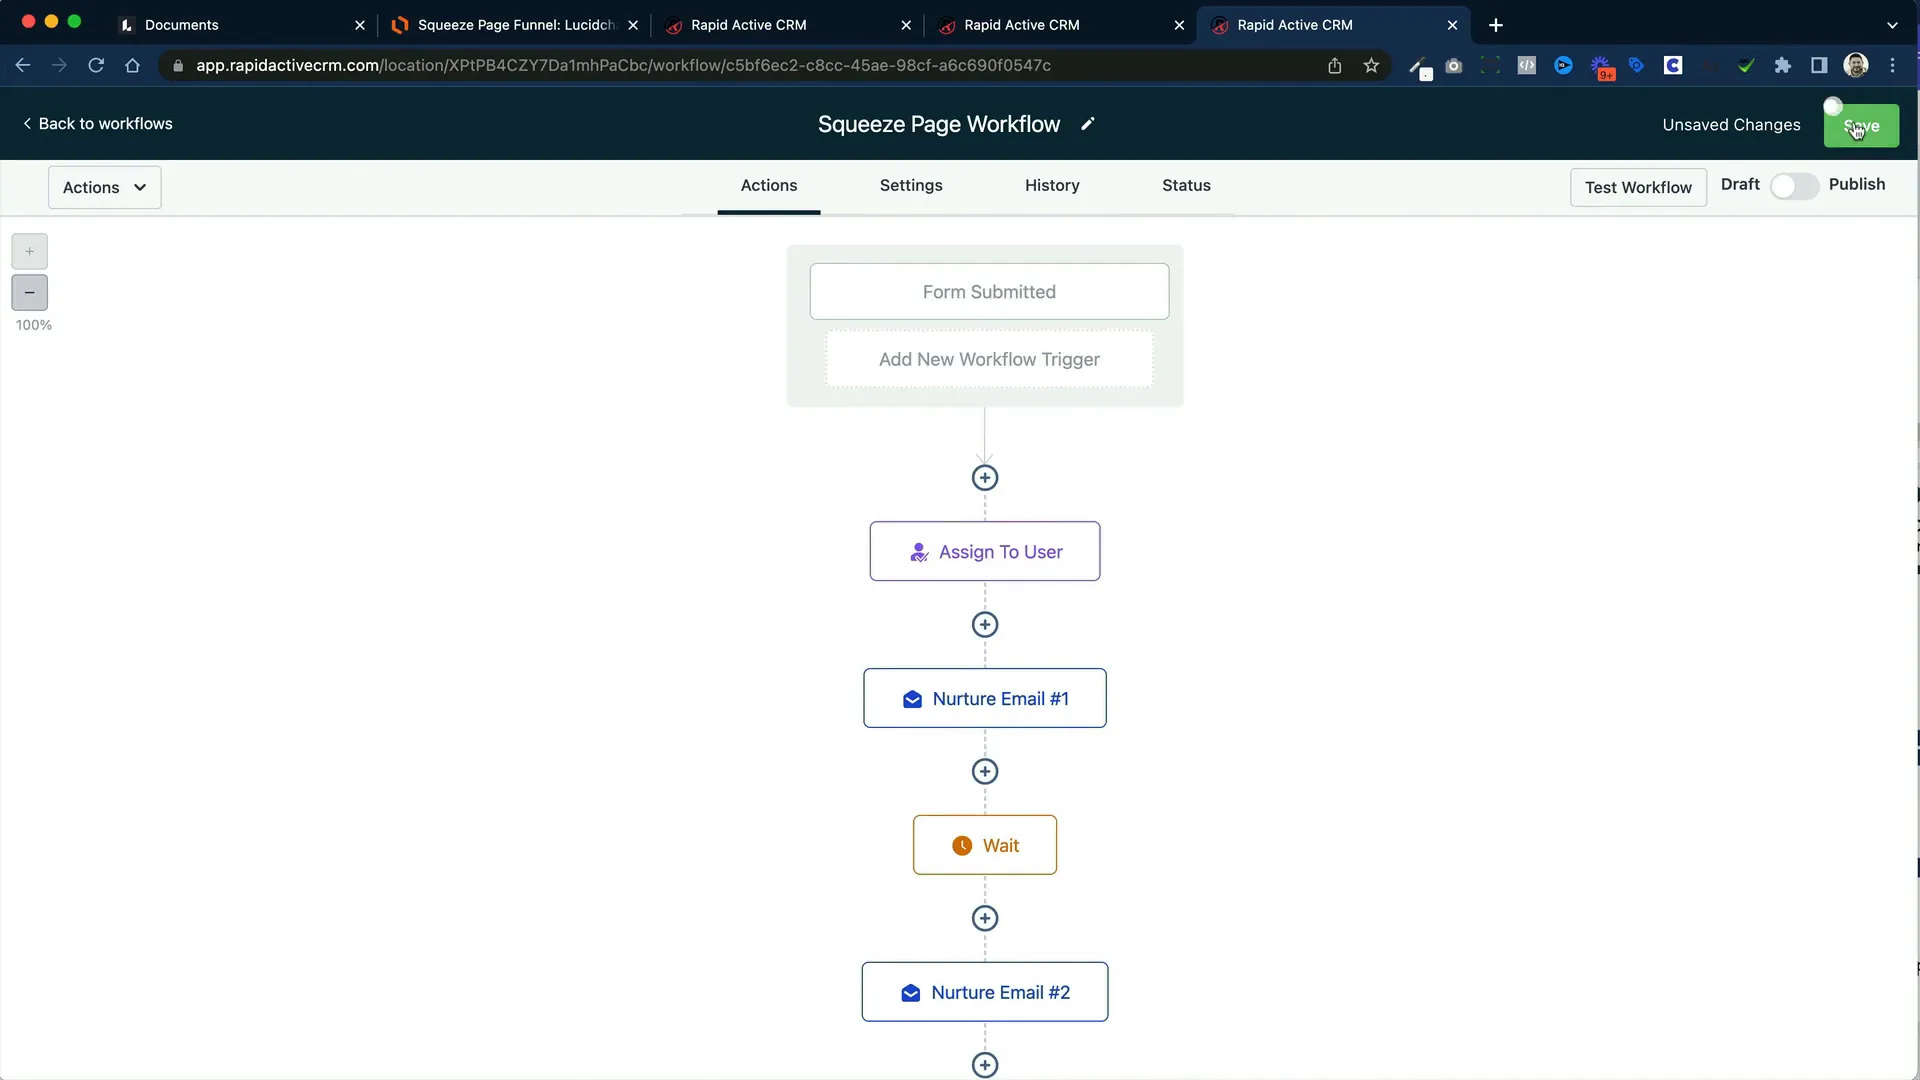
Navigate to the automation section and click "Create Workflow." Name it "Squeeze Page Workflow."
-
Add a trigger for when the form is submitted. Select your squeeze page form to connect it to your automation.
-
Assign the lead to a user in your system who will handle the follow-up.
-
Set up the first email nurture action. This email should thank the lead and deliver the promised resource.
-
Include an unsubscribe link in your email signature to comply with regulations and avoid spam filters.
-
Add wait time before subsequent emails. For example, set up a wait of 24 hours before sending the next email in the sequence.
-
Clone the email actions for additional follow-up emails, adjusting the content as necessary for each.
After setting up the workflow, make sure to publish it to activate the automation.
Conclusion
Creating a squeeze page funnel in GoHighLevel involves several steps: building the form, creating the funnel, enhancing the design, setting up the Thank You page, and automating your email workflow. By following these steps, you can effectively capture leads and nurture them into potential customers.
If you found this guide helpful, don’t forget to like and subscribe for more insights on marketing automation and funnel building!


