In today's fast-paced digital landscape, mastering email marketing is crucial for business success. This blog will guide you through the processes to create emails with Lead Connector, ensuring your email campaigns are automated, efficient, and effective.
Table of Contents
- Introduction to Lead Connector
- Structuring Your Email Sequence
- Building a Comprehensive Email Workflow
- Managing Email Bounce and Spam Reports
- Creating Unsubscribe Workflows
- Utilizing AI for Email Marketing
- FAQs
Introduction to Lead Connector
Lead Connector is an advanced platform designed to streamline your email marketing efforts. With its user-friendly interface, you can easily create, manage, and automate your email campaigns. This tool not only saves time but also enhances your marketing effectiveness by allowing you to focus on what matters most—engaging with your audience.
By utilizing Lead Connector, you can build comprehensive email sequences that reach your audience at the right time. Whether you are promoting a product, sharing valuable content, or nurturing leads, Lead Connector simplifies the entire process.
Logging into Your Account
To get started with Lead Connector, you first need to log into your account. Head over to the Lead Connector login page and enter your credentials. If you are a new user, you can create an account easily.
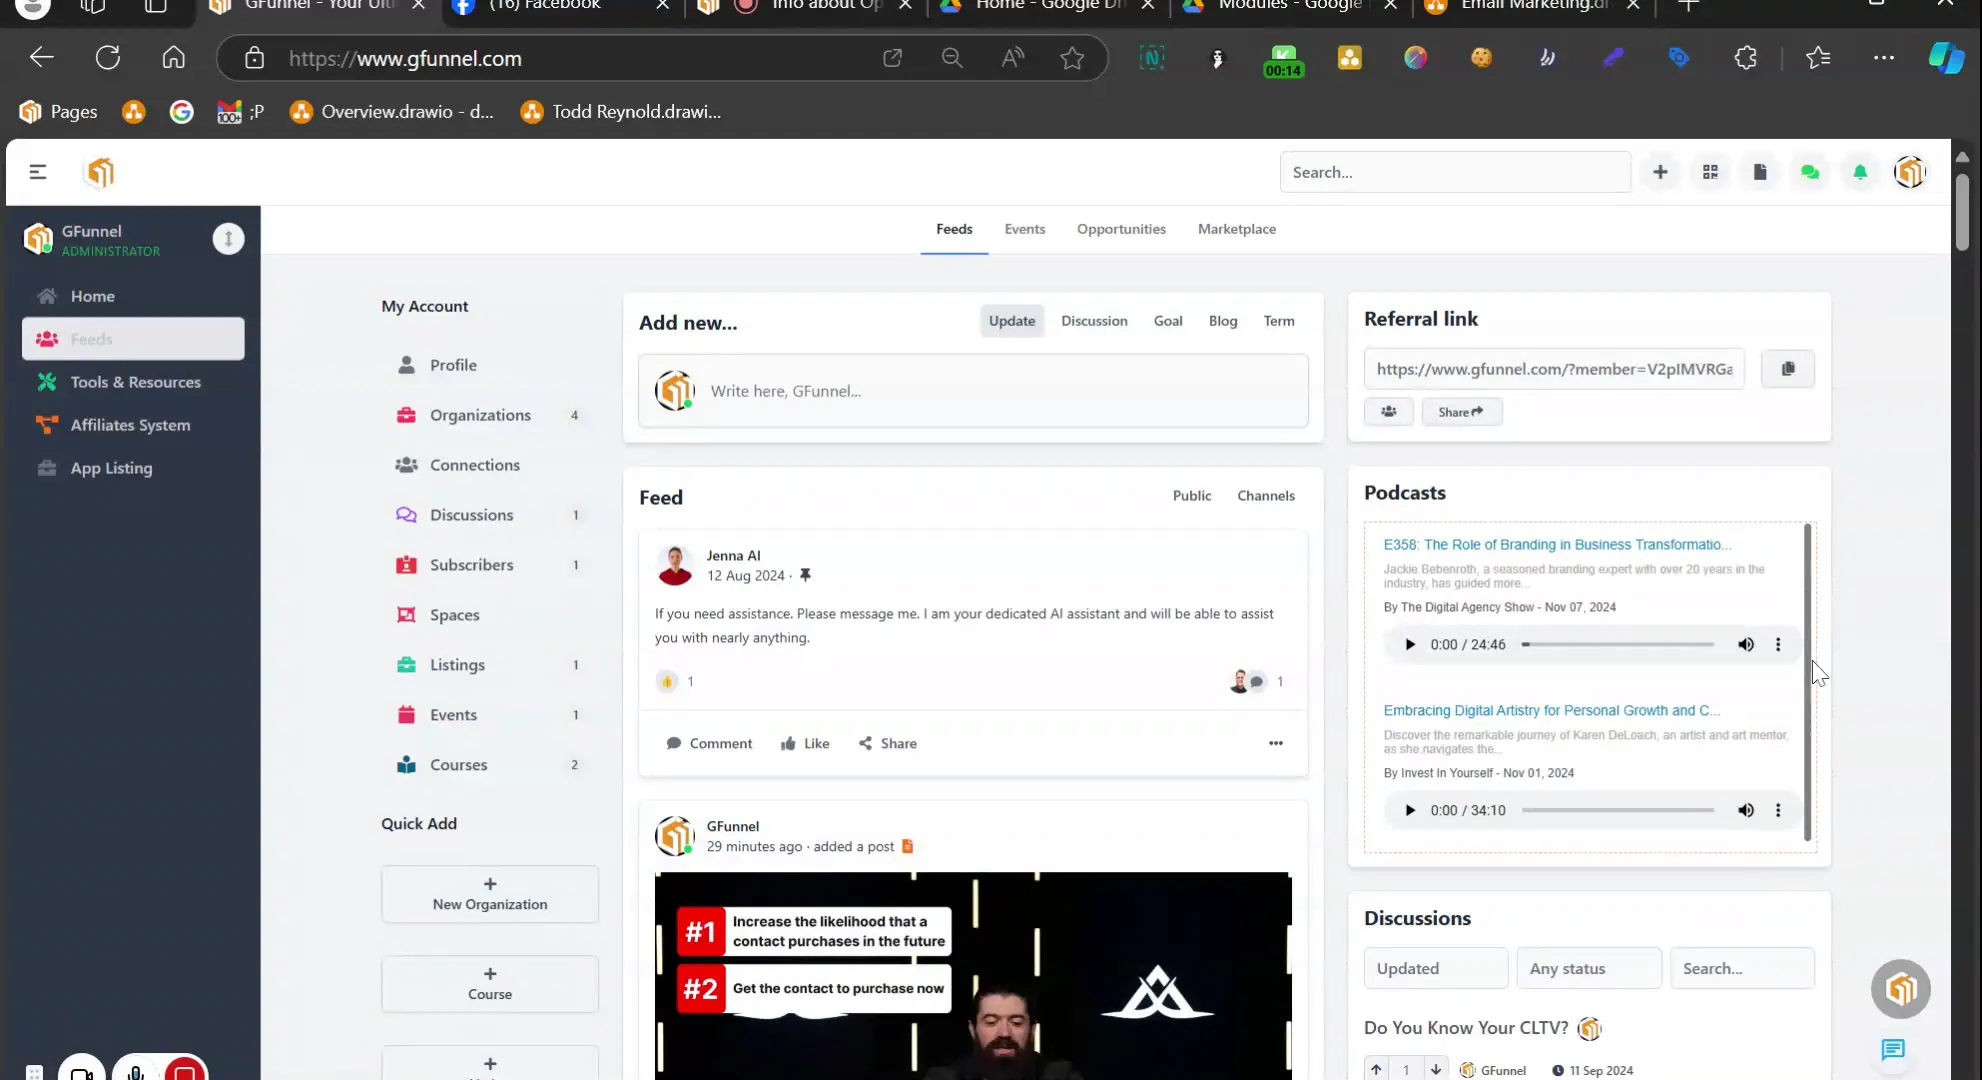
Once logged in, you will be taken to your dashboard where all your marketing tools are accessible. It’s designed to give you an overview of your campaigns and automations at a glance.
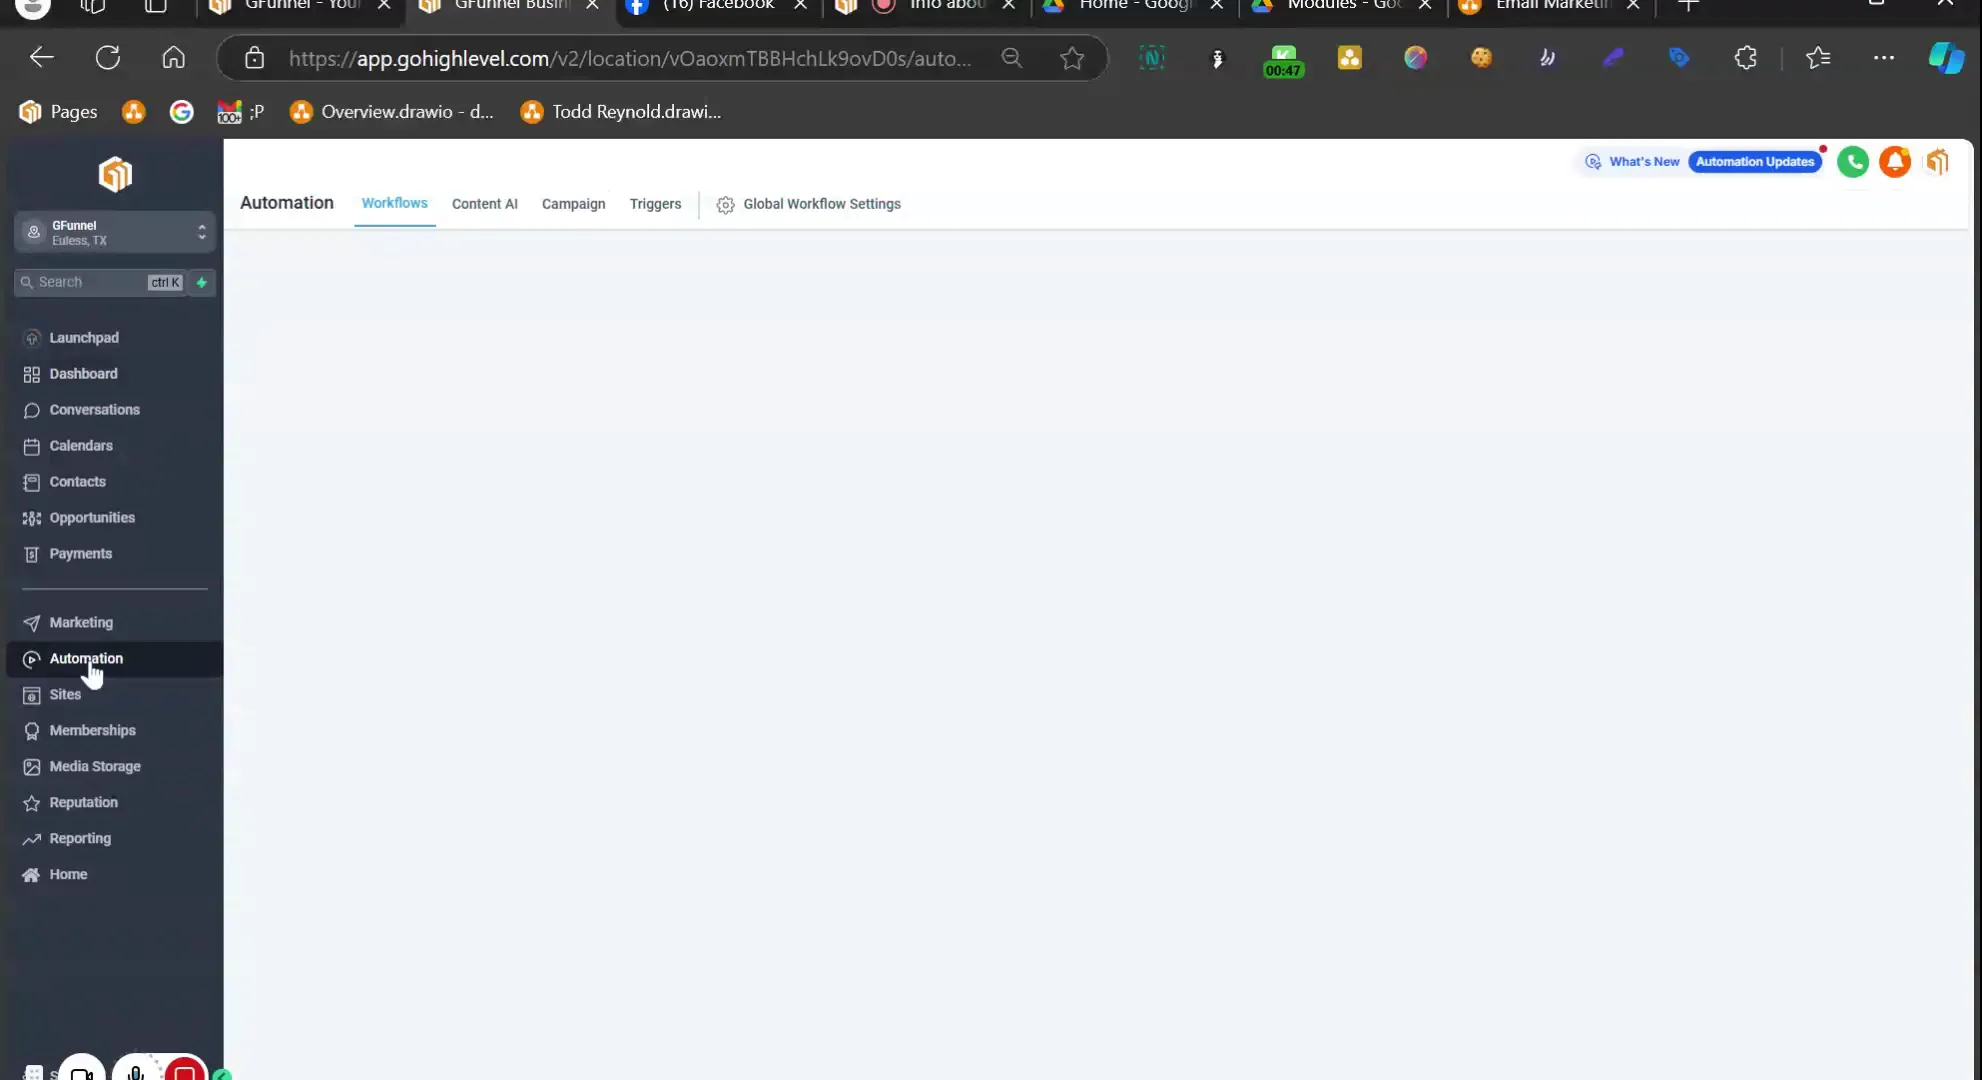
Navigating to Automations
After logging in, the next step is to navigate to the automations section. This area is crucial for setting up your email sequences. Click on the 'Automations' tab from your dashboard to access various options available for workflow management.
Organizing your automations is key. A well-structured automation section allows for easy navigation and management of your campaigns. You will find it easier to locate specific workflows when they are categorized correctly.
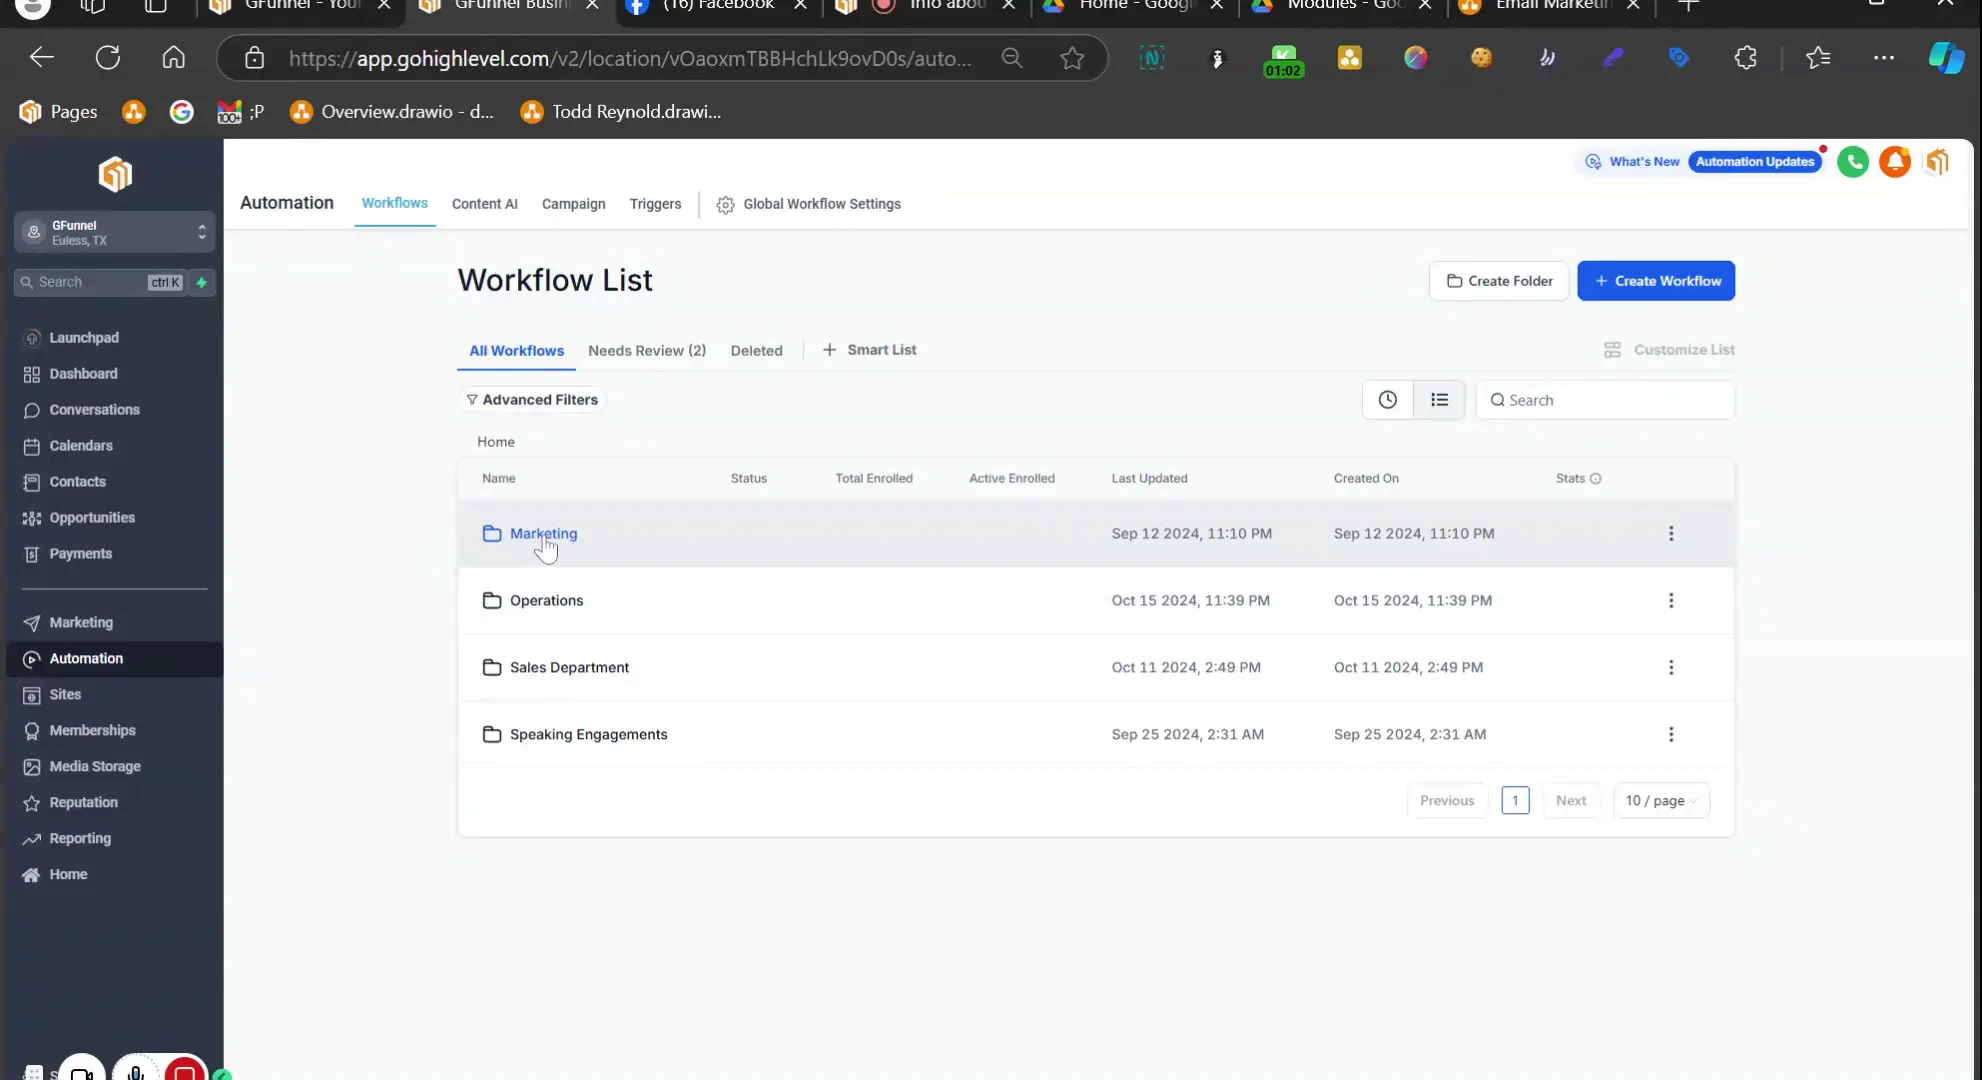
Organizing Your Workflows
Organizing your workflows is essential for maintaining clarity and efficiency. You can create folders for different types of campaigns, such as marketing, sales, or customer engagement. This helps prevent clutter and confusion.
For example, consider creating a main folder for 'Marketing' and subfolders for 'Email Marketing', 'Social Media', and 'Content Marketing'. This structure allows you to quickly find and manage your workflows.
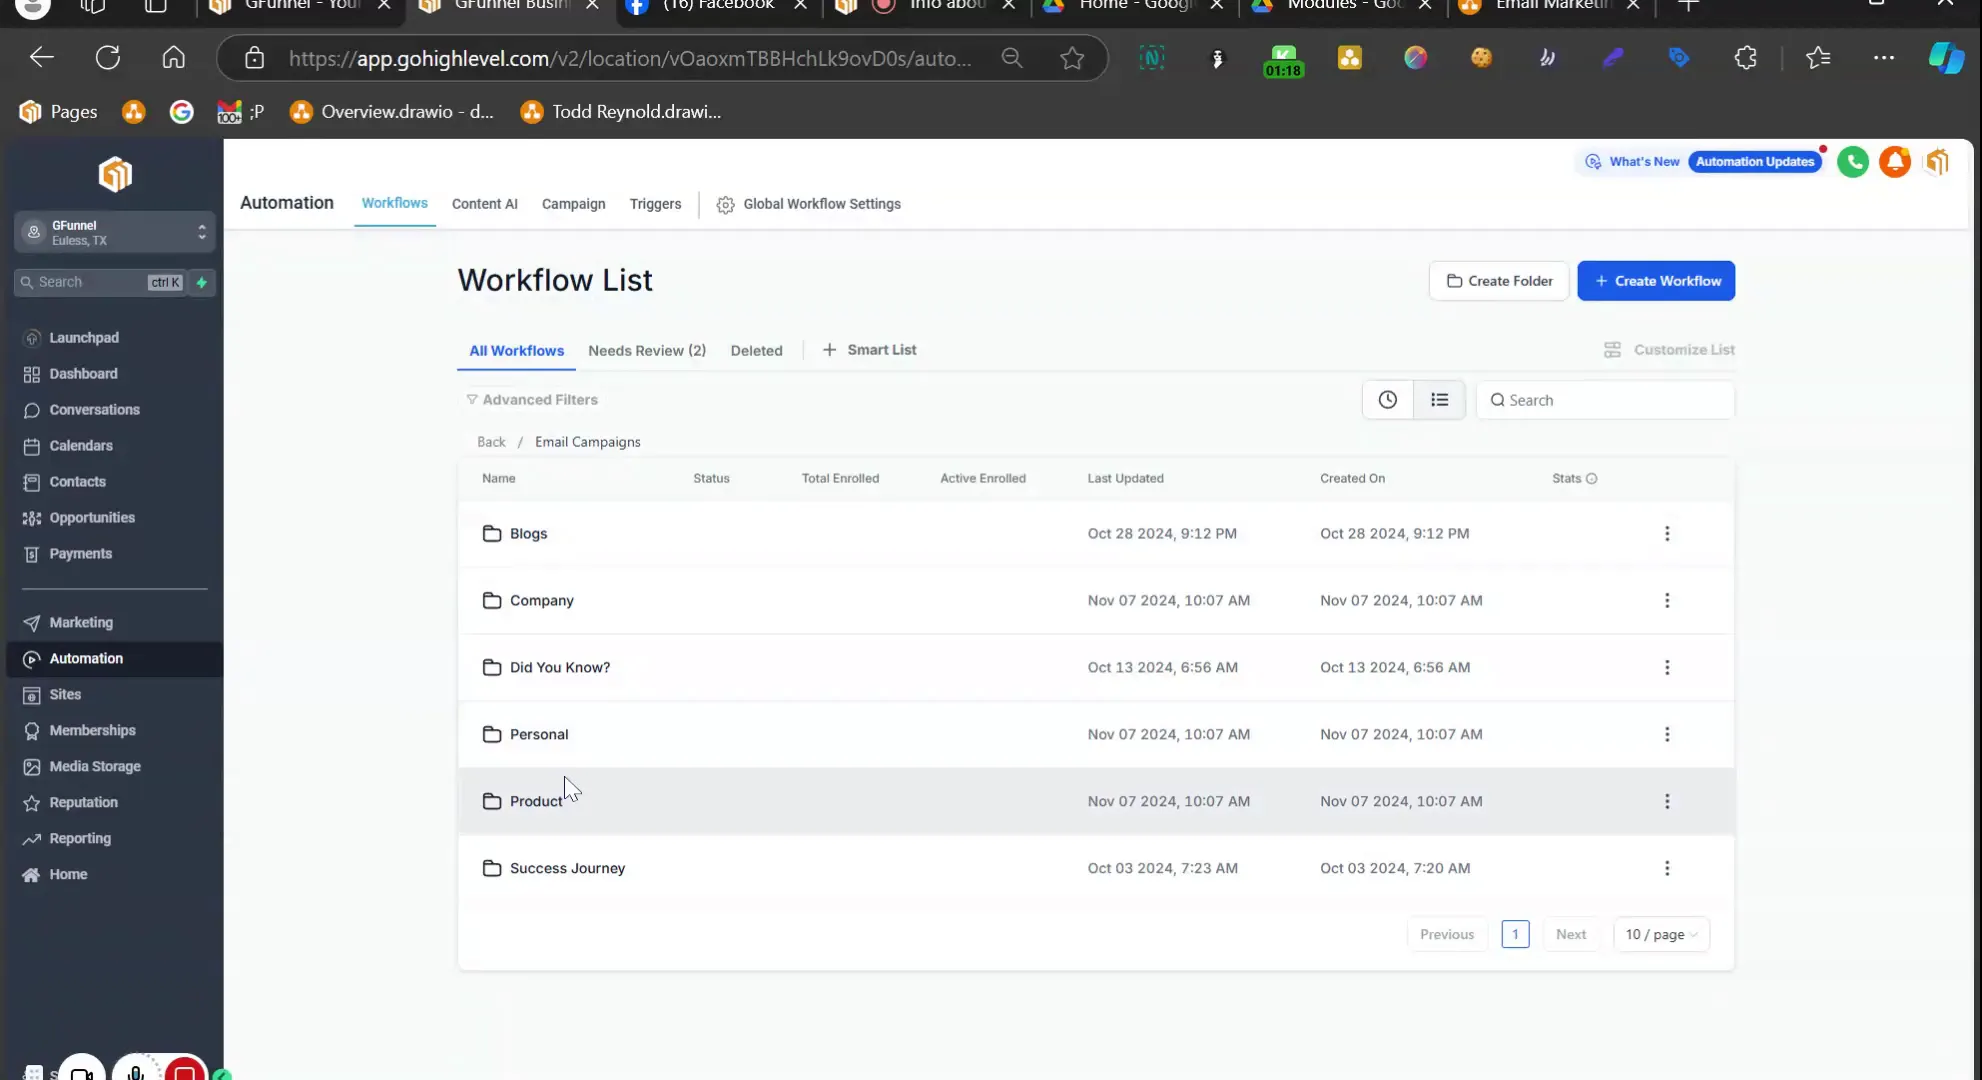
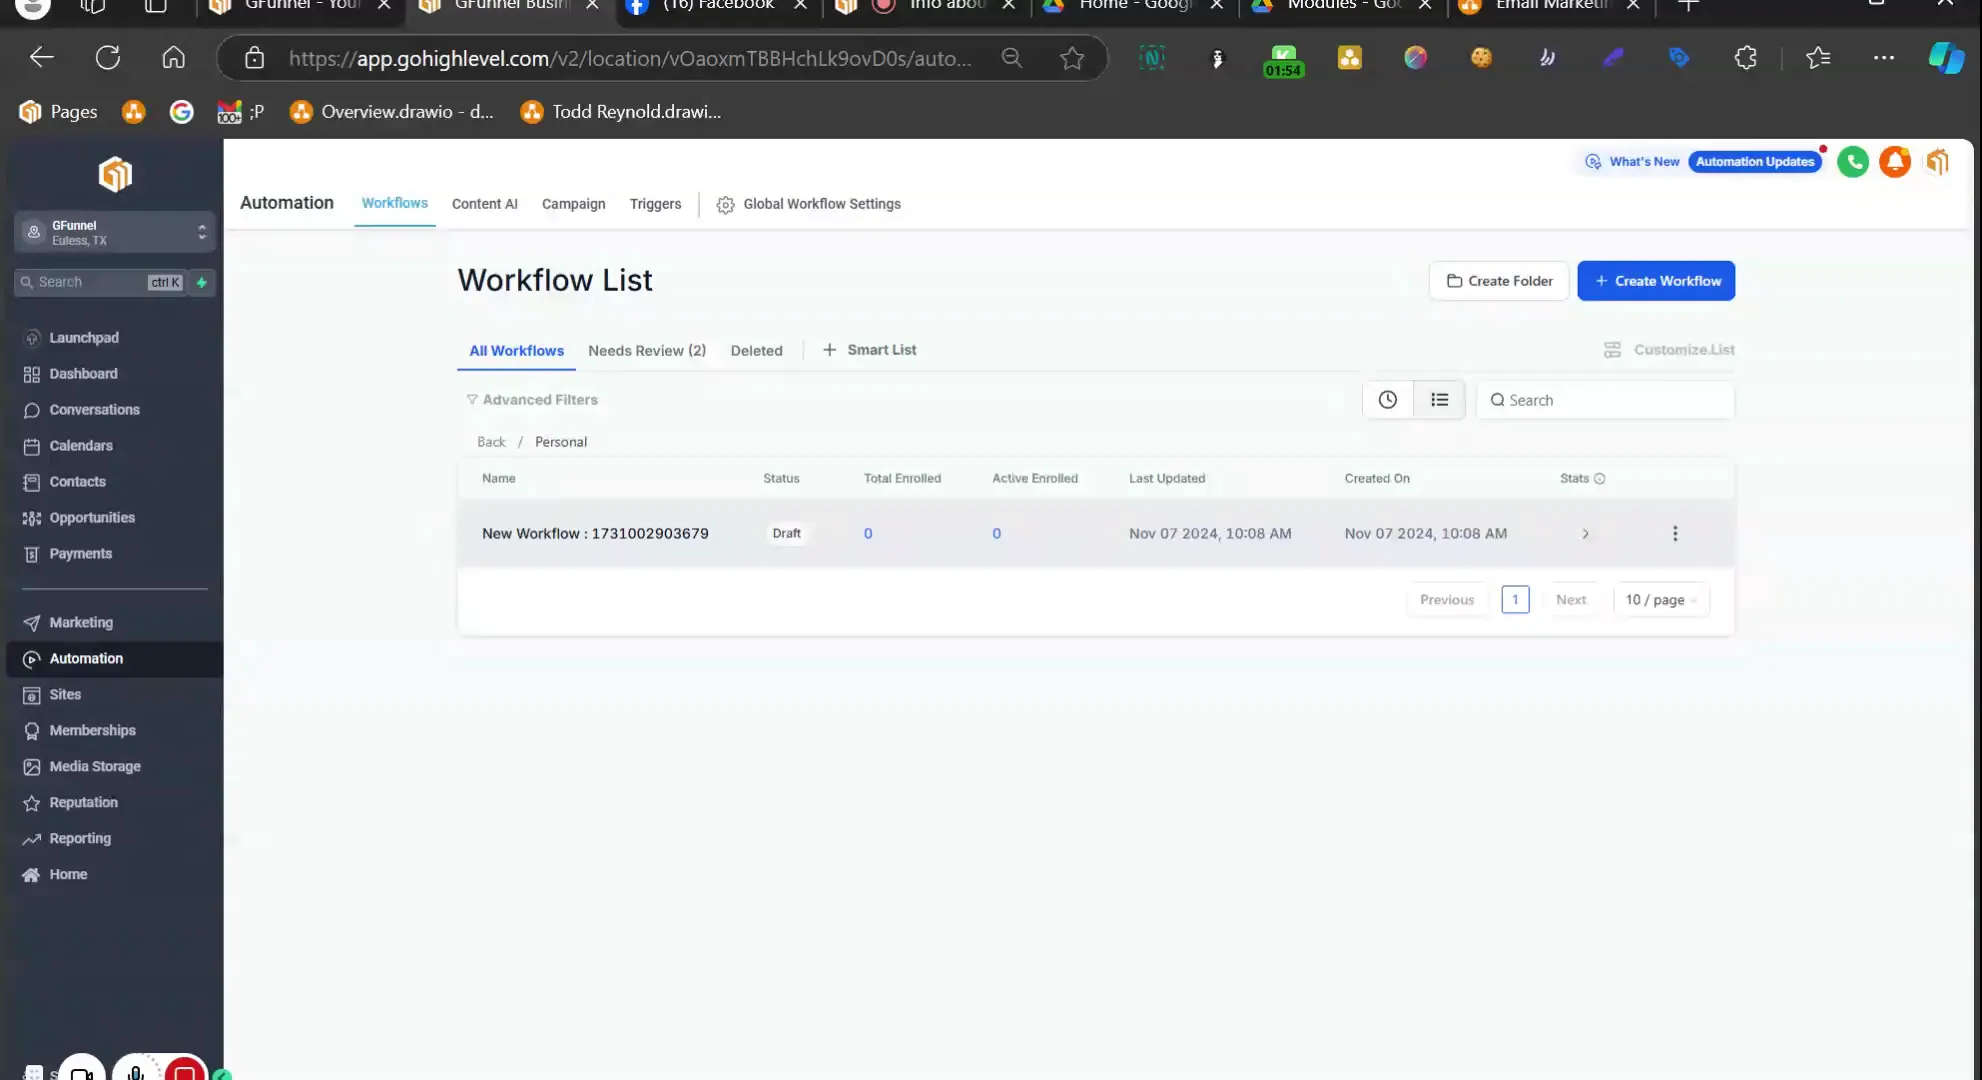
Creating Email Campaign Folders
Within your automations, it's beneficial to create specific folders for your email campaigns. This could include folders for personal, product, and company emails. Categorizing your emails in this manner enhances your ability to locate and edit them as needed.
To create a folder, simply click on the 'Create New Folder' option, and name it according to its purpose. For instance, you might have a folder titled 'Personal' for personal outreach emails, another titled 'Product' for promotional content, and 'Company' for corporate communication.
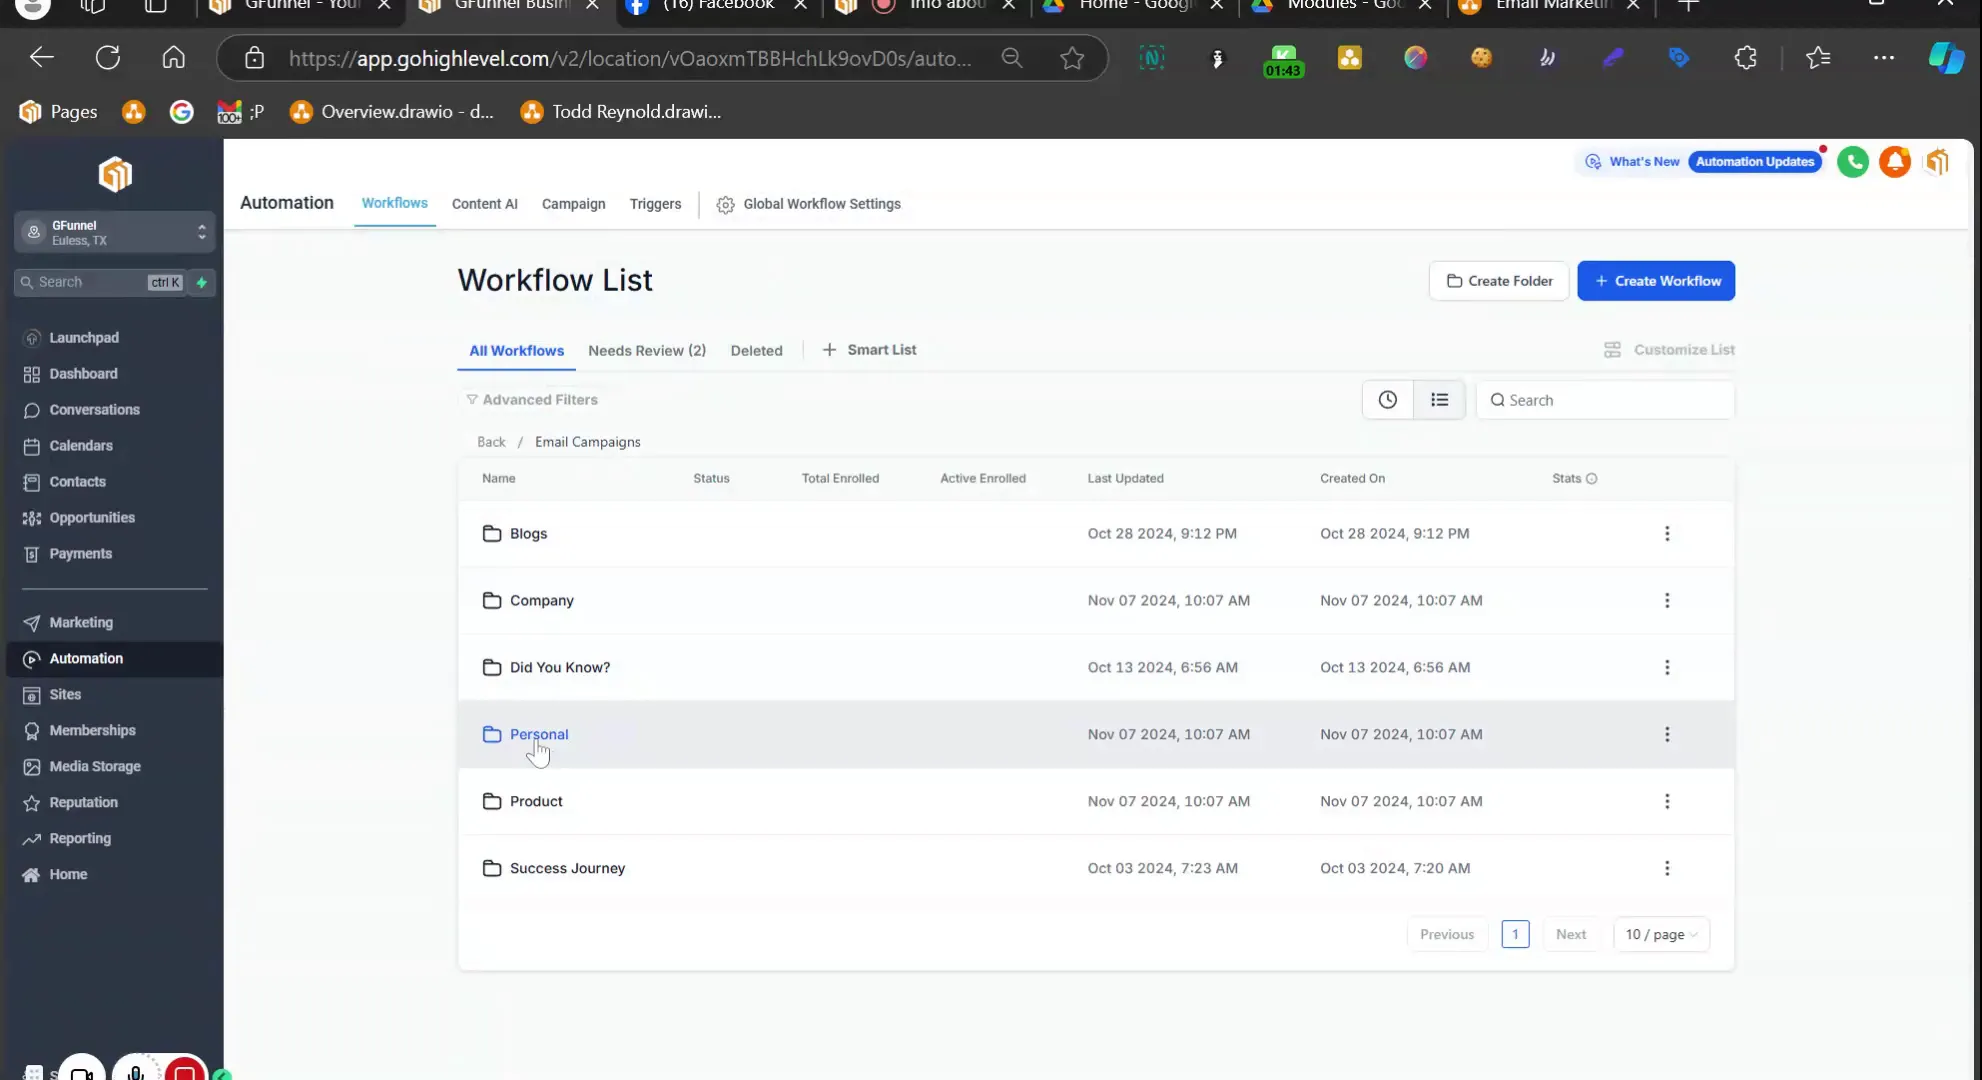
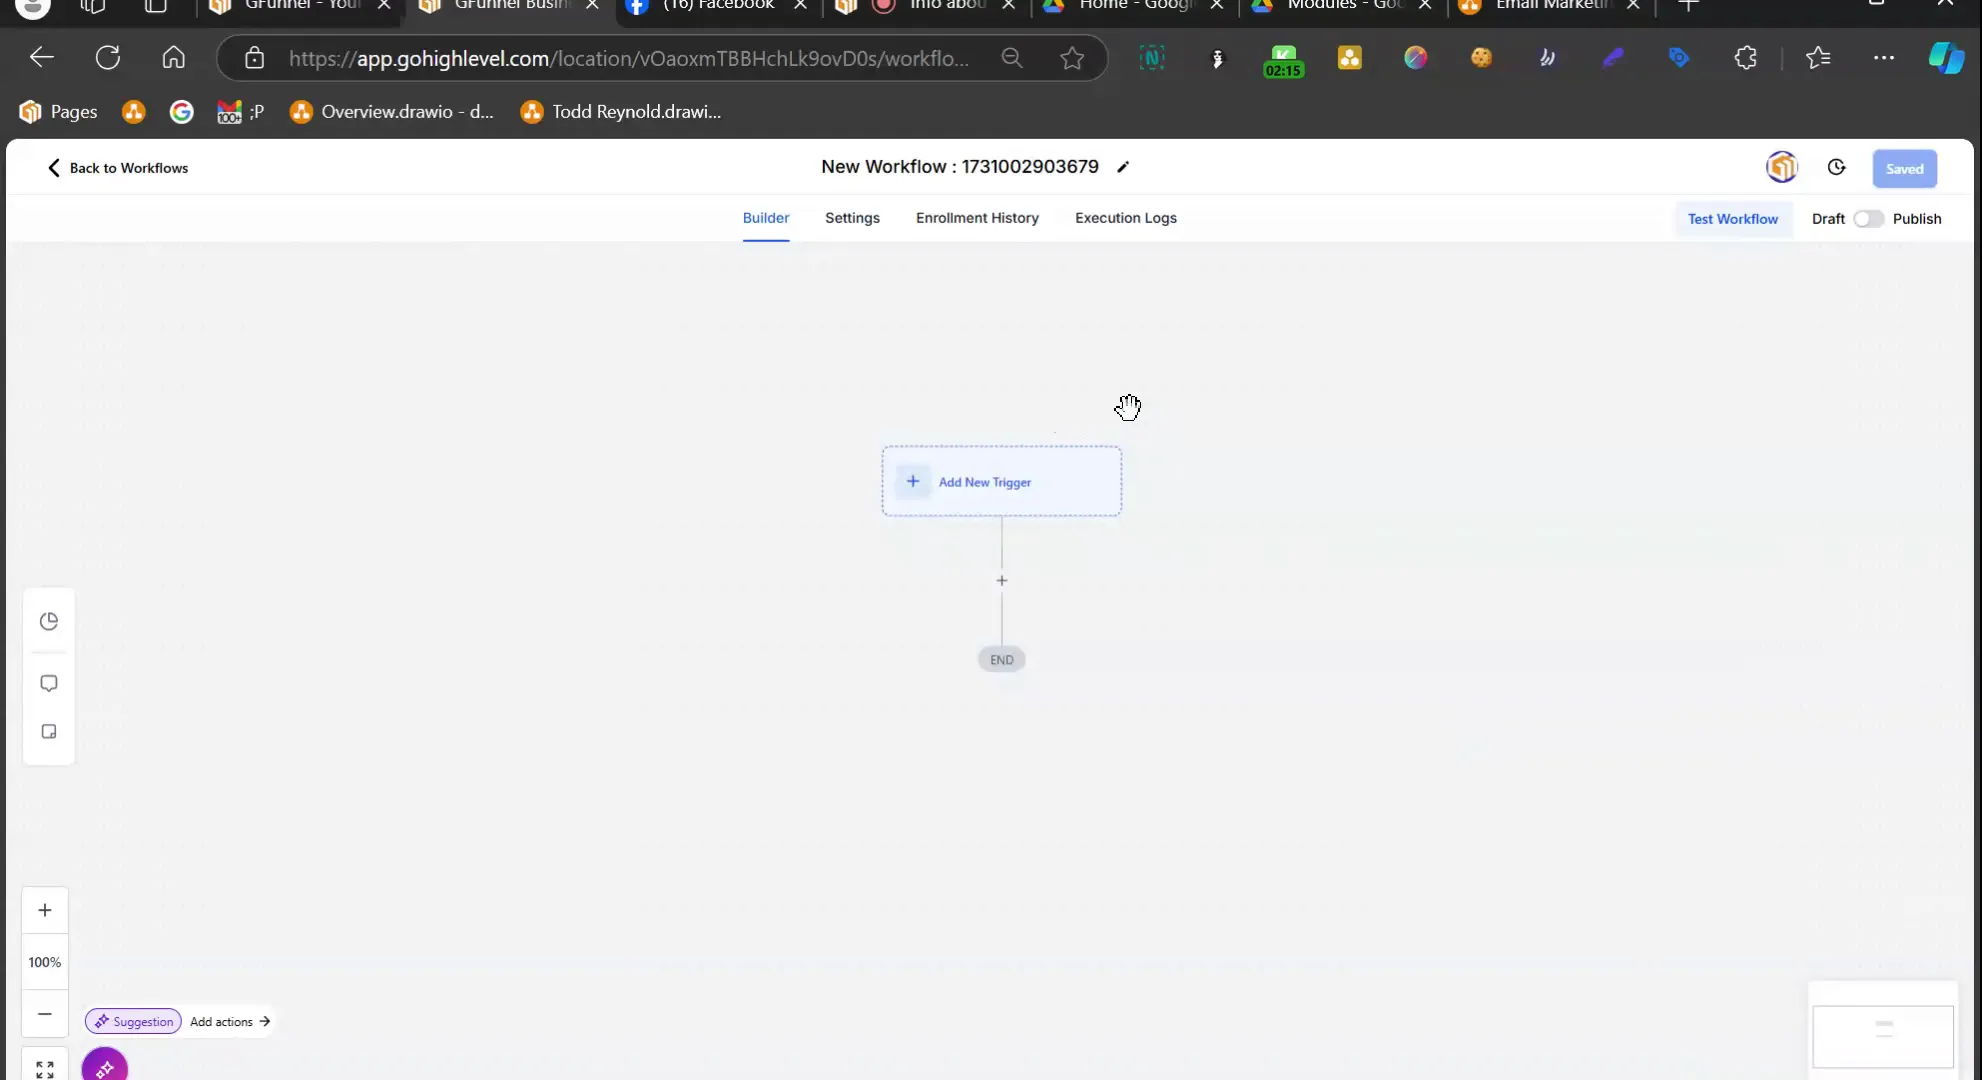
Setting Up Your Personal Email Workflow
Once your folders are established, it's time to set up your personal email workflow. This involves designing a sequence that caters to your audience’s needs while aligning with your marketing goals. Start by clicking on the 'Personal' folder and creating a new workflow.
In this workflow, you can add various email templates, schedule sending times, and define triggers based on user interactions. The automation capabilities of Lead Connector allow you to set up these workflows so that they run seamlessly without constant manual input.
By utilizing Lead Connector, you can create emails with precision and efficiency, ensuring that your marketing efforts resonate with your audience. The ability to automate these processes means you can focus on strategy rather than execution, allowing your business to thrive.
For those looking to deepen their understanding of email marketing, consider exploring additional resources available on email automation and how to enhance your campaigns.
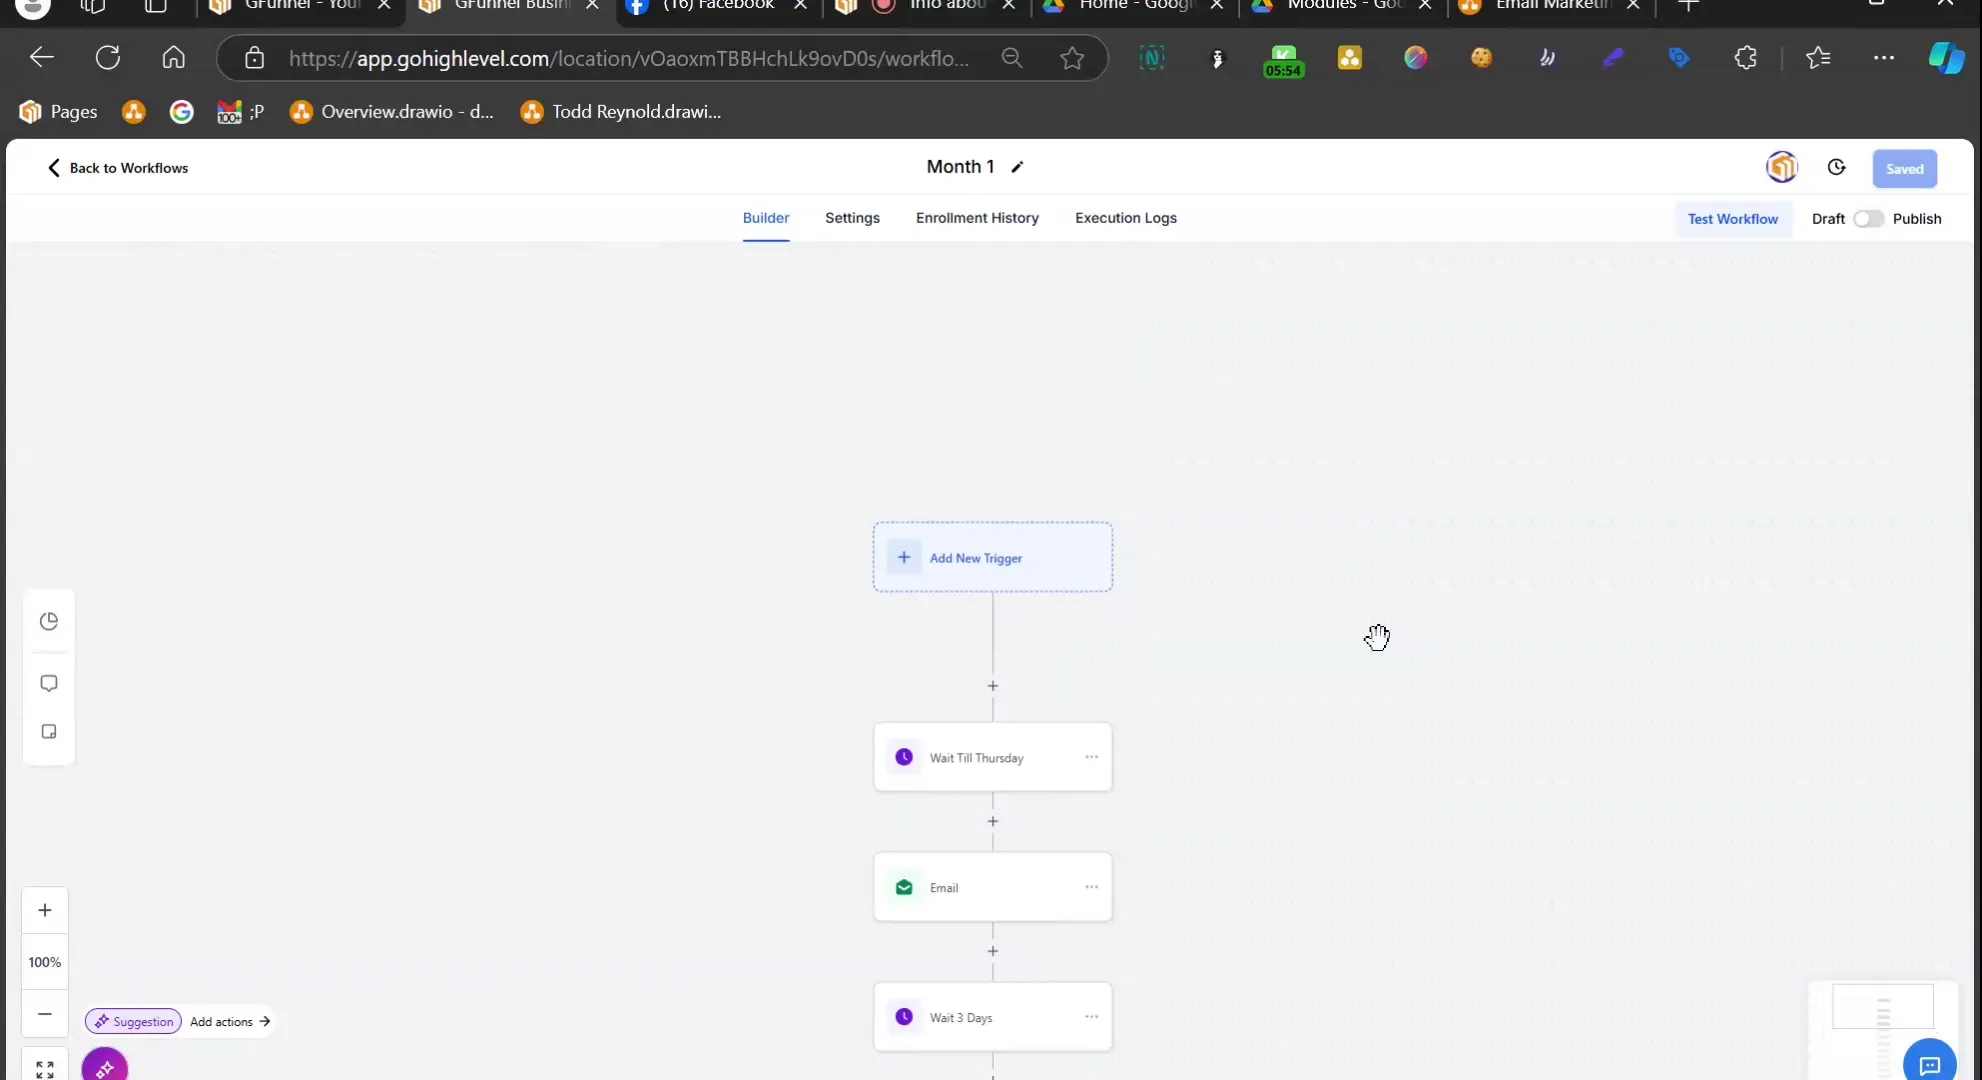
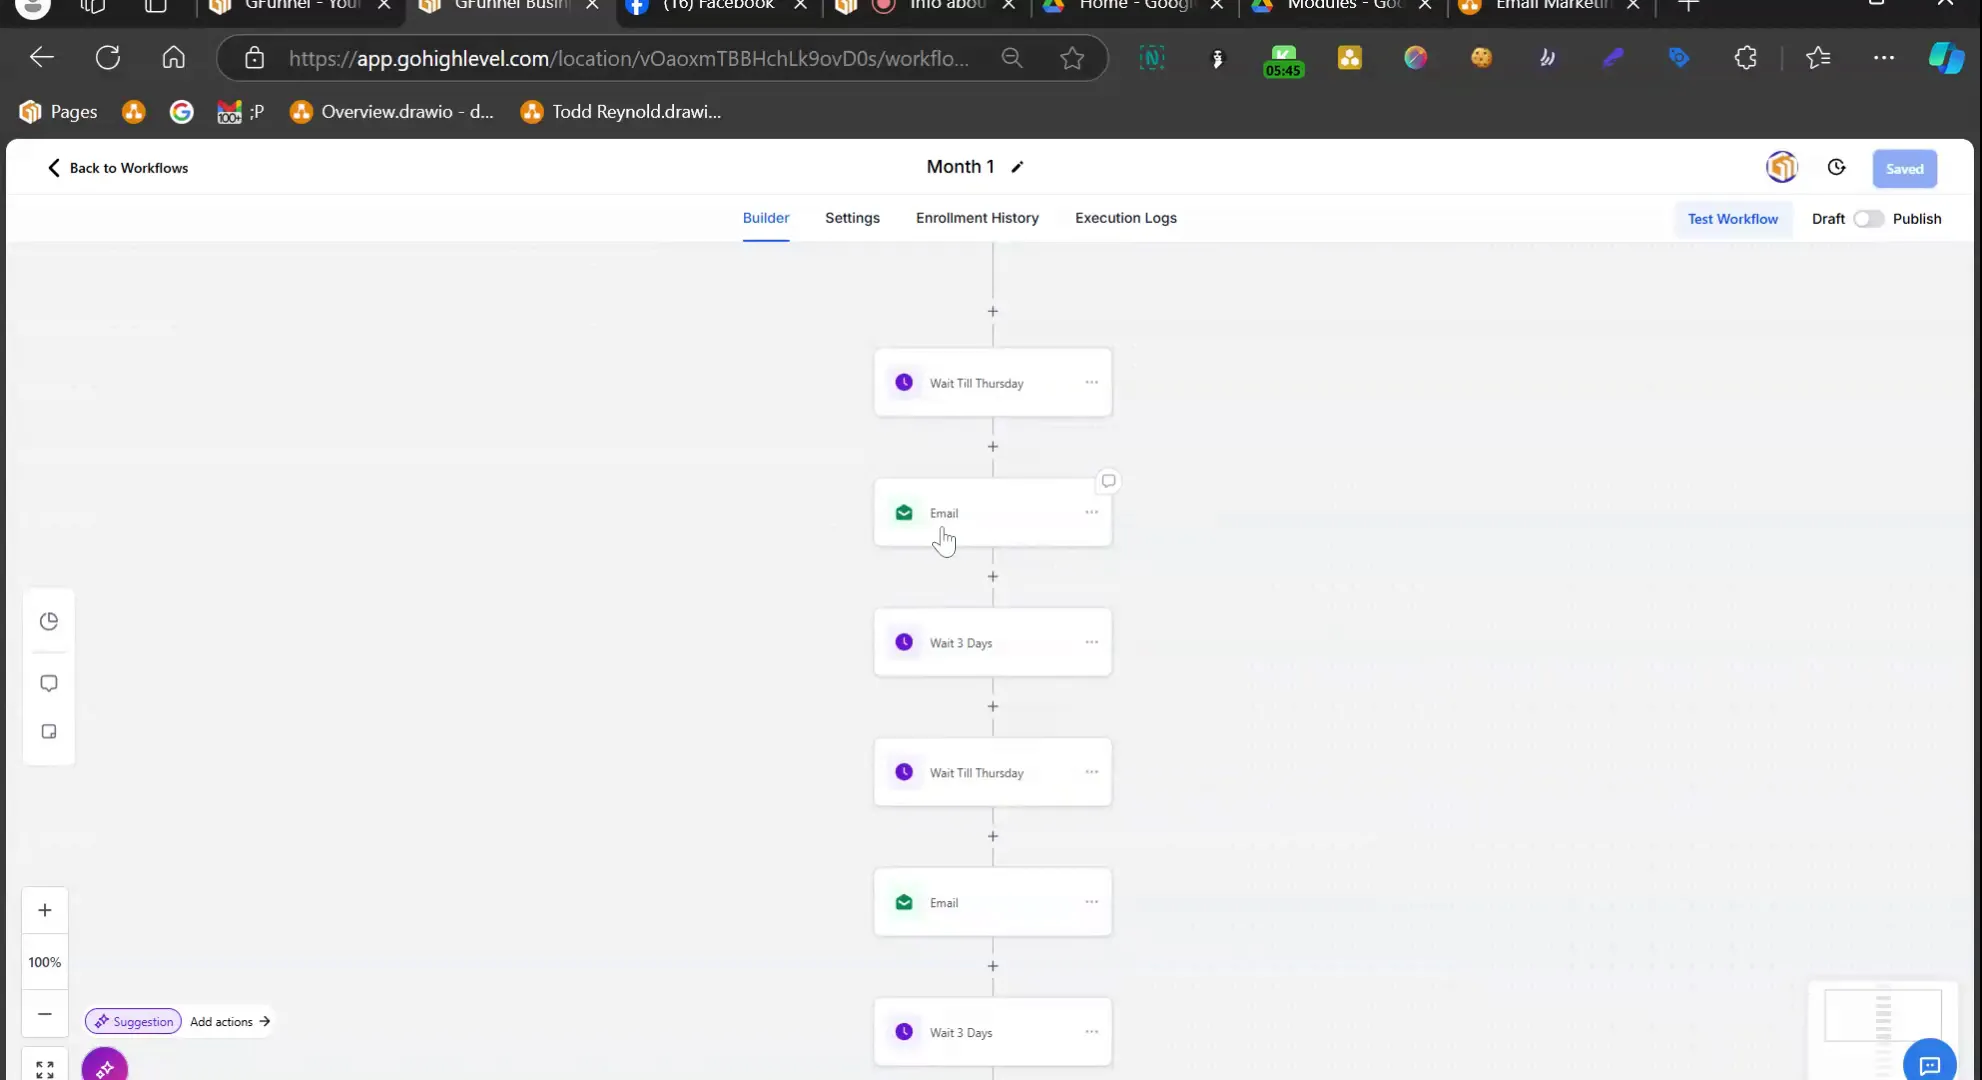
Structuring Your Email Sequence
Creating a structured email sequence is vital for effective communication with your audience. Start by breaking your campaign into manageable parts. This approach not only simplifies the process but also helps in identifying any errors that may arise.
Begin by defining the timeline for your emails. For example, you can organize your emails by weeks or months. This modular approach allows for flexibility and scalability in your campaigns. If you plan to run a campaign over several months, create a sequence that outlines each month’s focus and corresponding emails.
When structuring your email sequence, always consider the audience's needs. Tailor your content to provide value, whether it’s informative, promotional, or nurturing. Each email should have a clear purpose and call to action, guiding the recipient on what to do next.
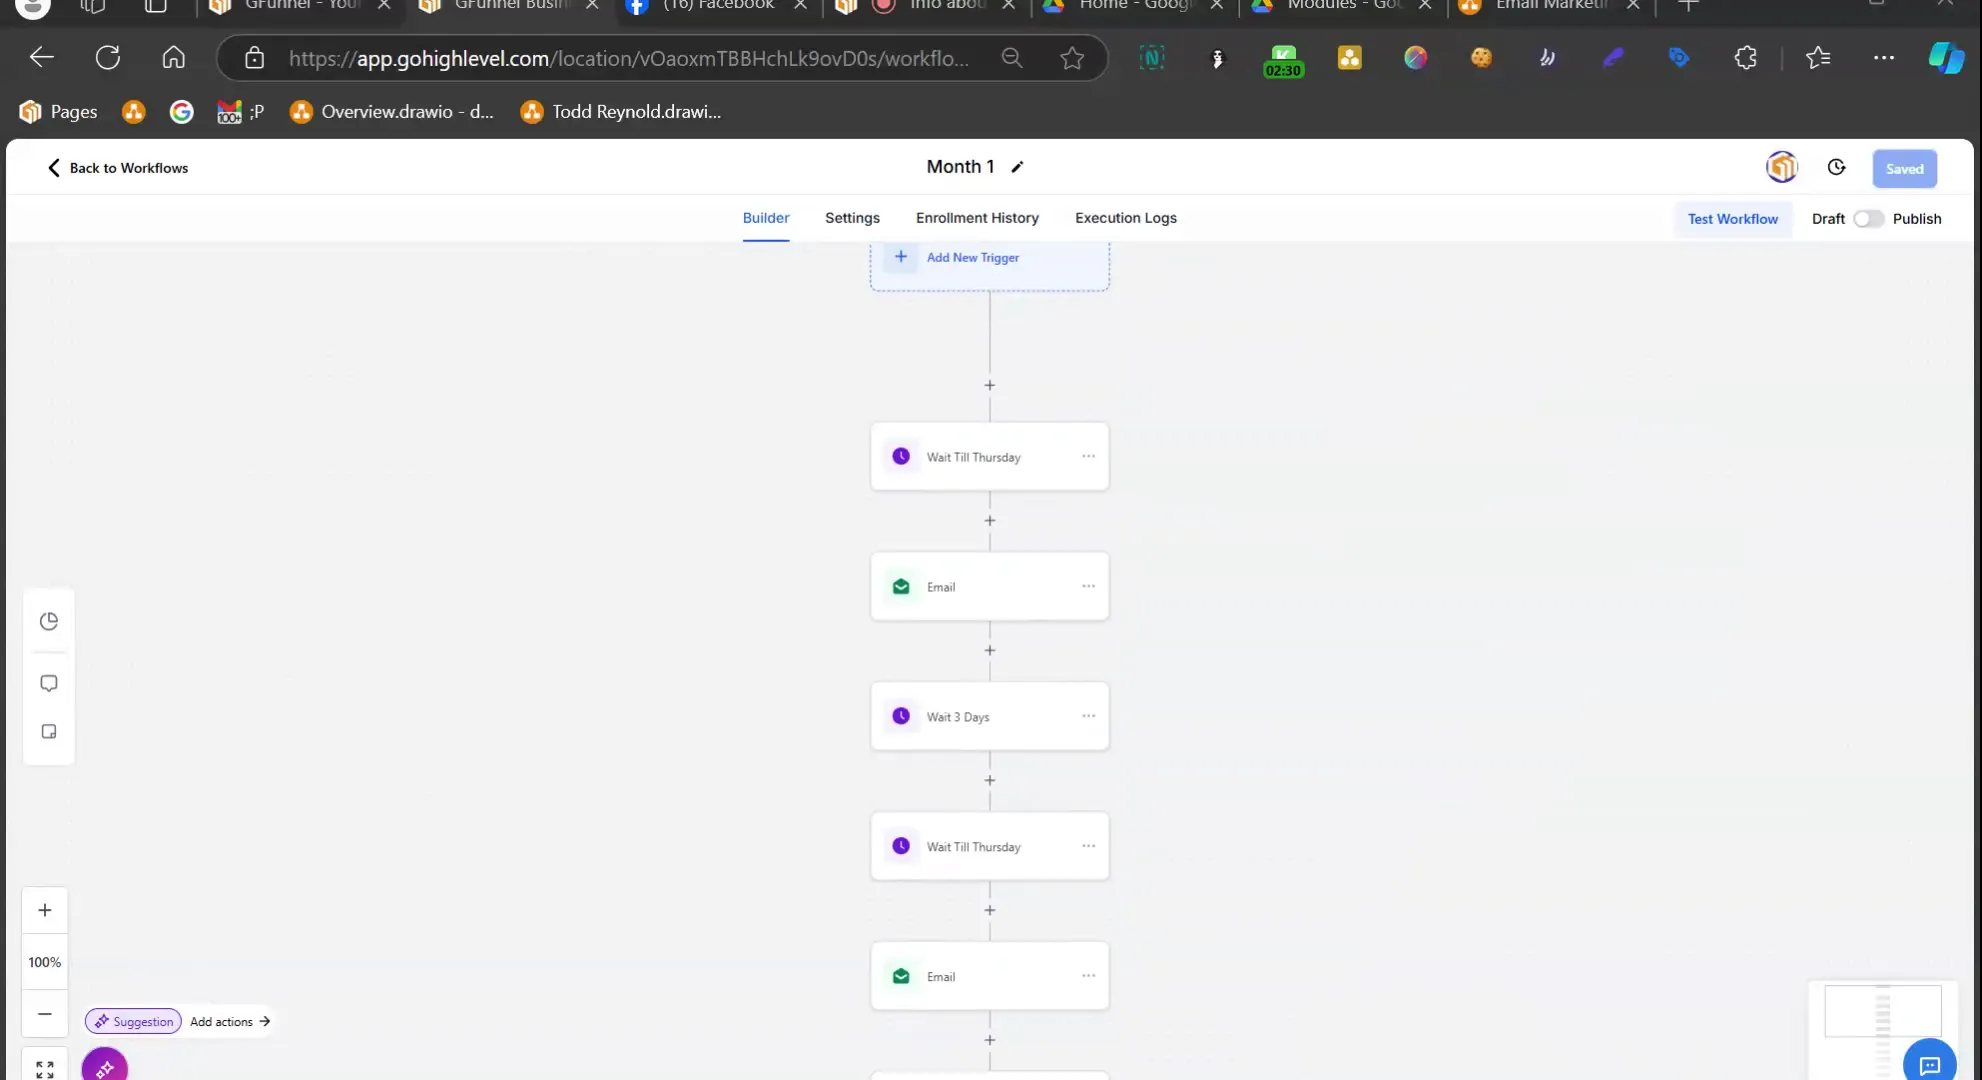
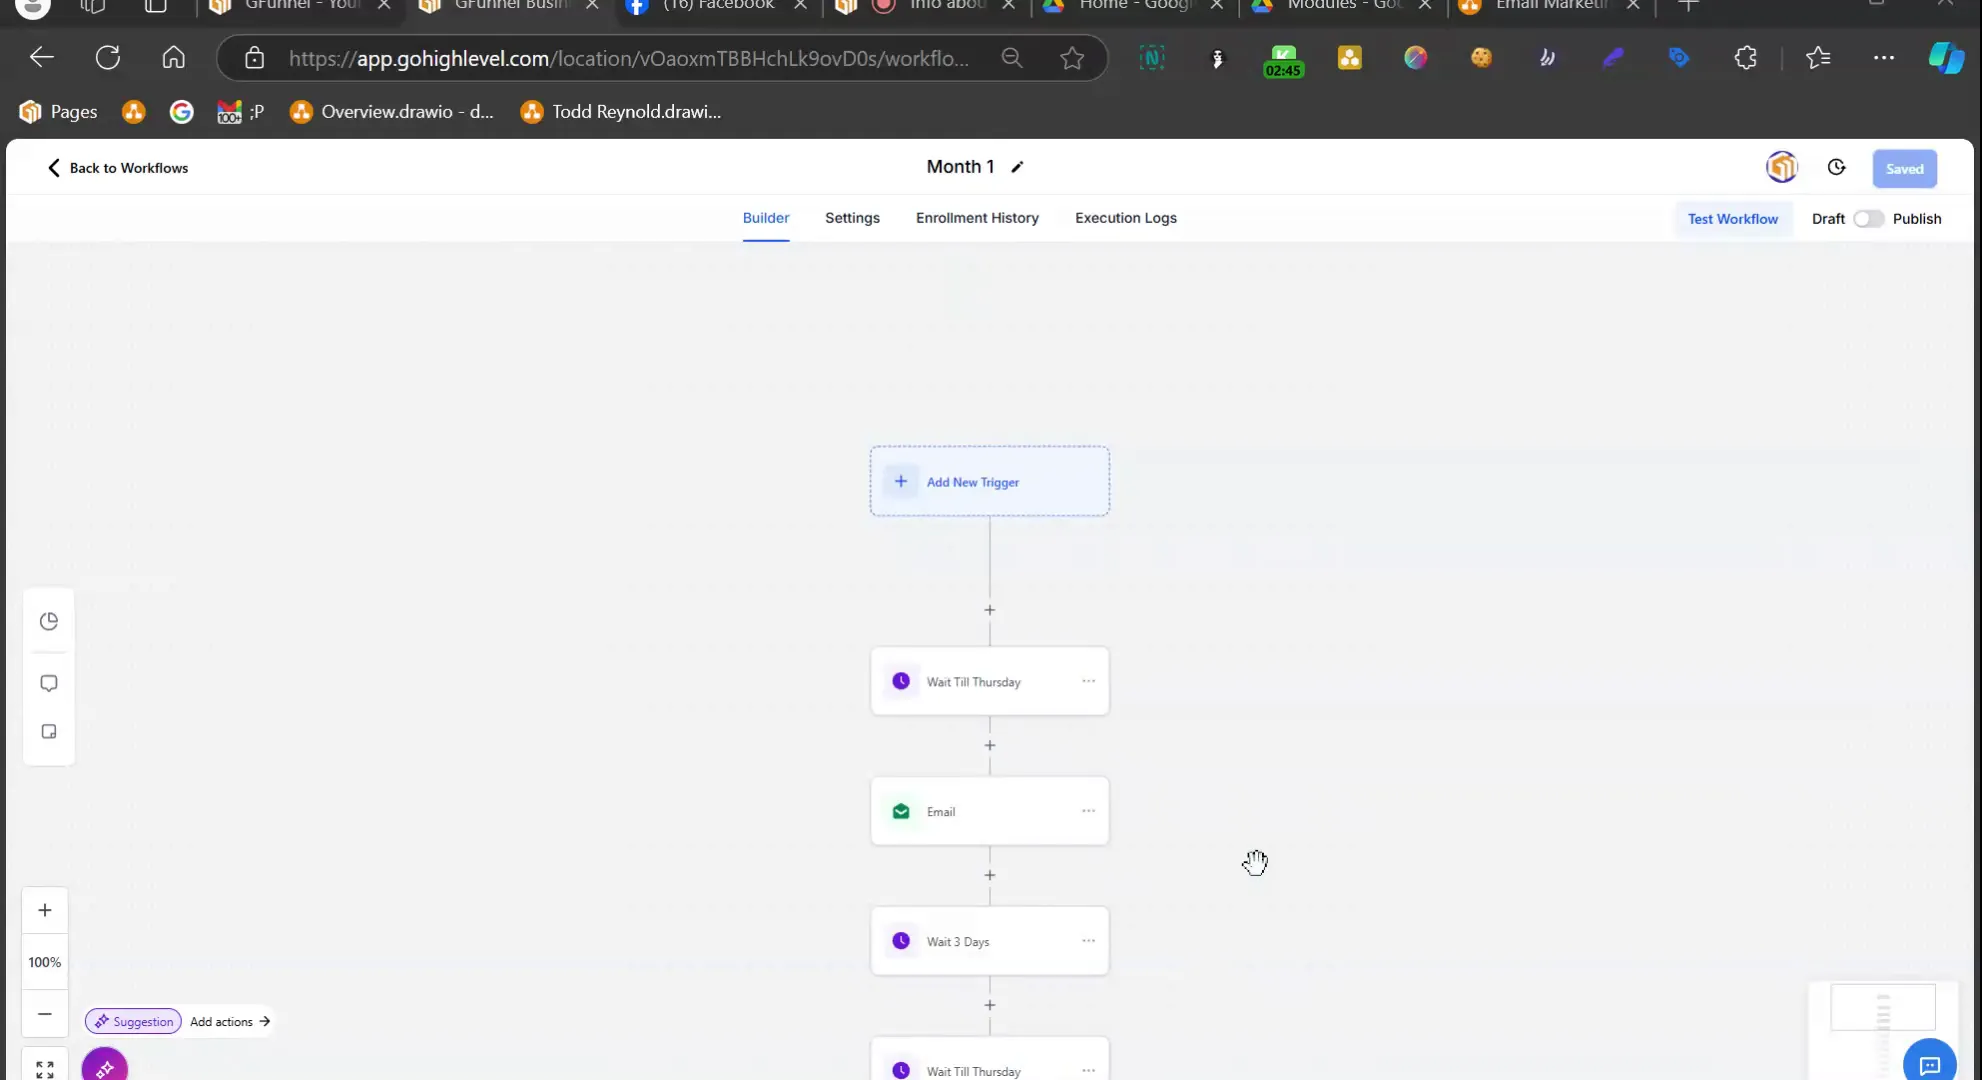
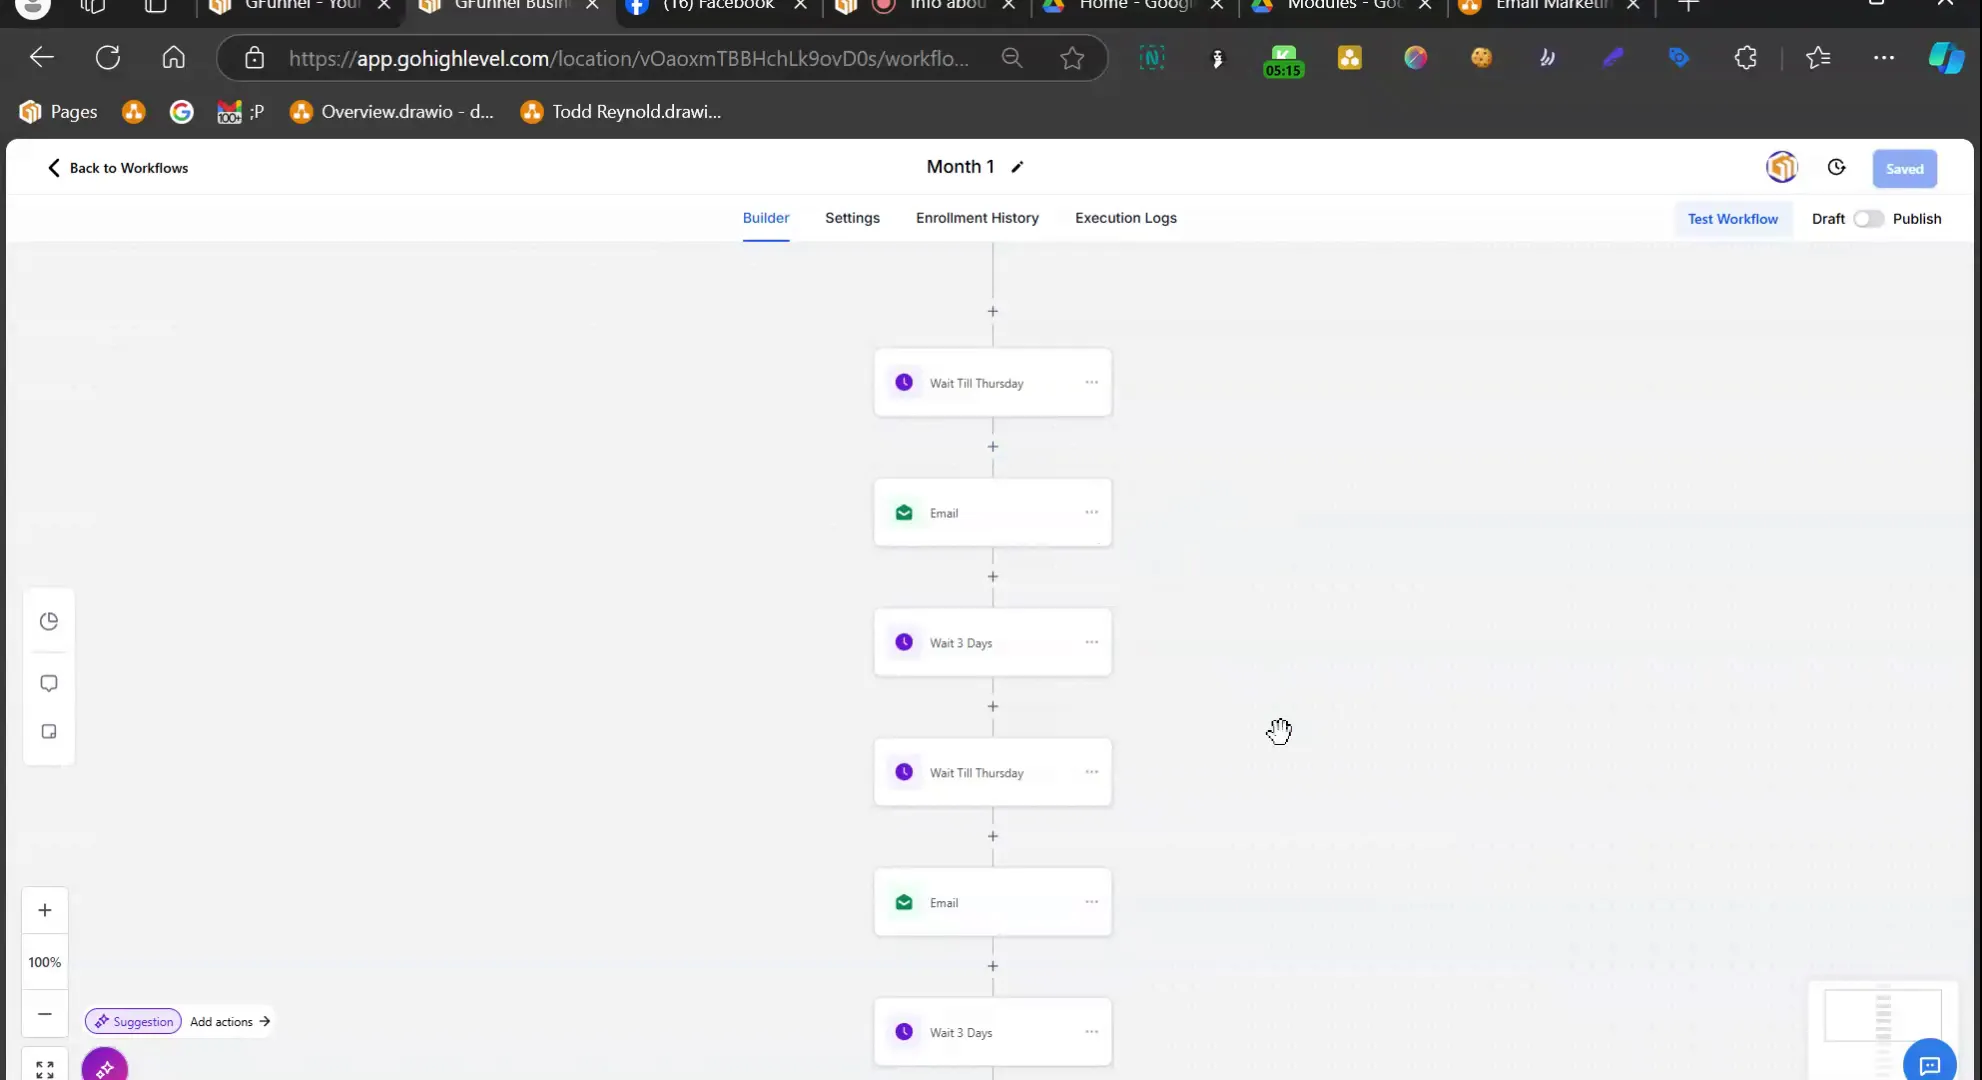
Using Wait Actions in Your Workflow
Wait actions are essential for pacing your email sequence. They allow you to control the timing of your communications, ensuring that your audience receives emails at appropriate intervals.
For instance, you might set a wait period until a specific day of the week to send out your emails. This ensures consistency and predictability, which can enhance engagement. If you plan to send emails every Thursday, set a wait action to hold the sequence until that day.
Additionally, incorporating buffer periods—like a three-day wait—can safeguard against potential system failures. This precaution ensures that your email sequence continues smoothly, even if there are minor delays.
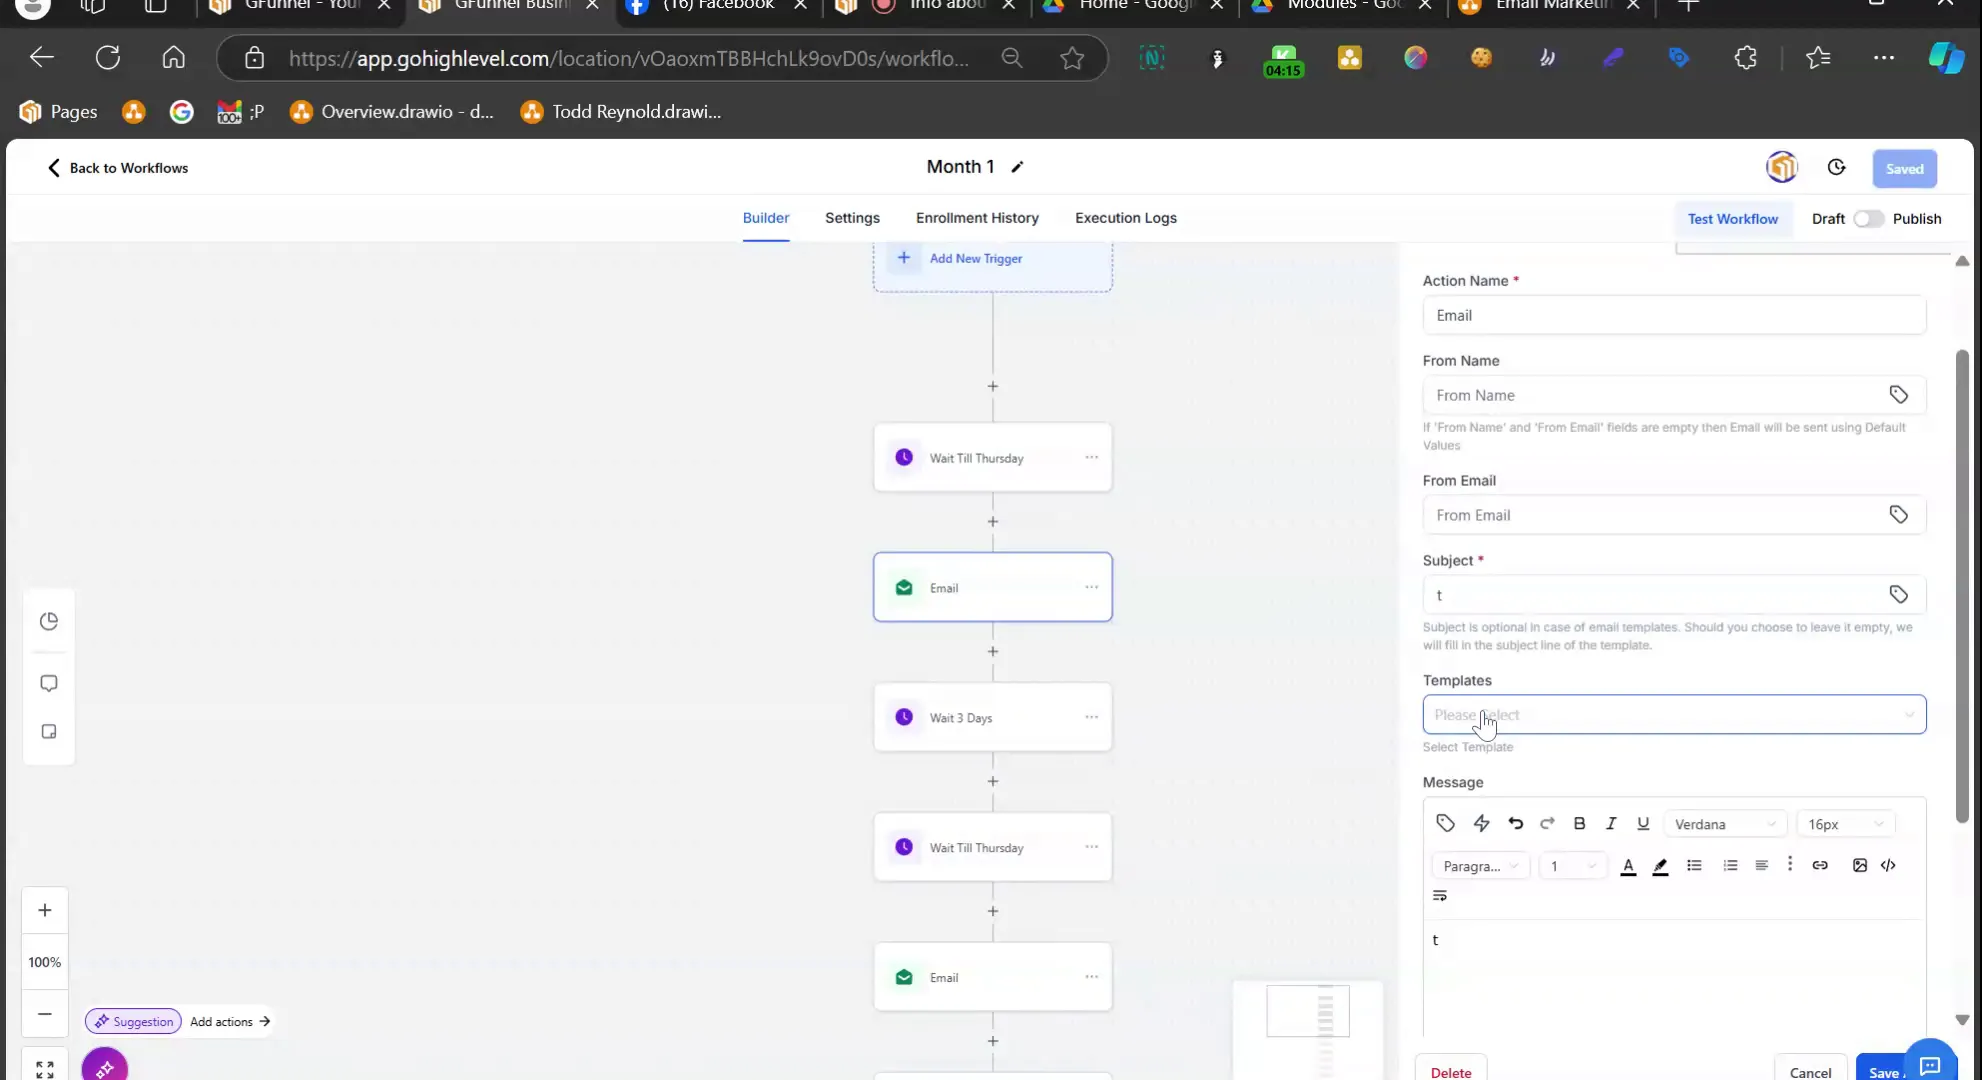
Creating Email Templates
Templates are a powerful feature that saves time and maintains consistency across your emails. Instead of starting from scratch for each email, create templates that can be reused and adjusted as needed.
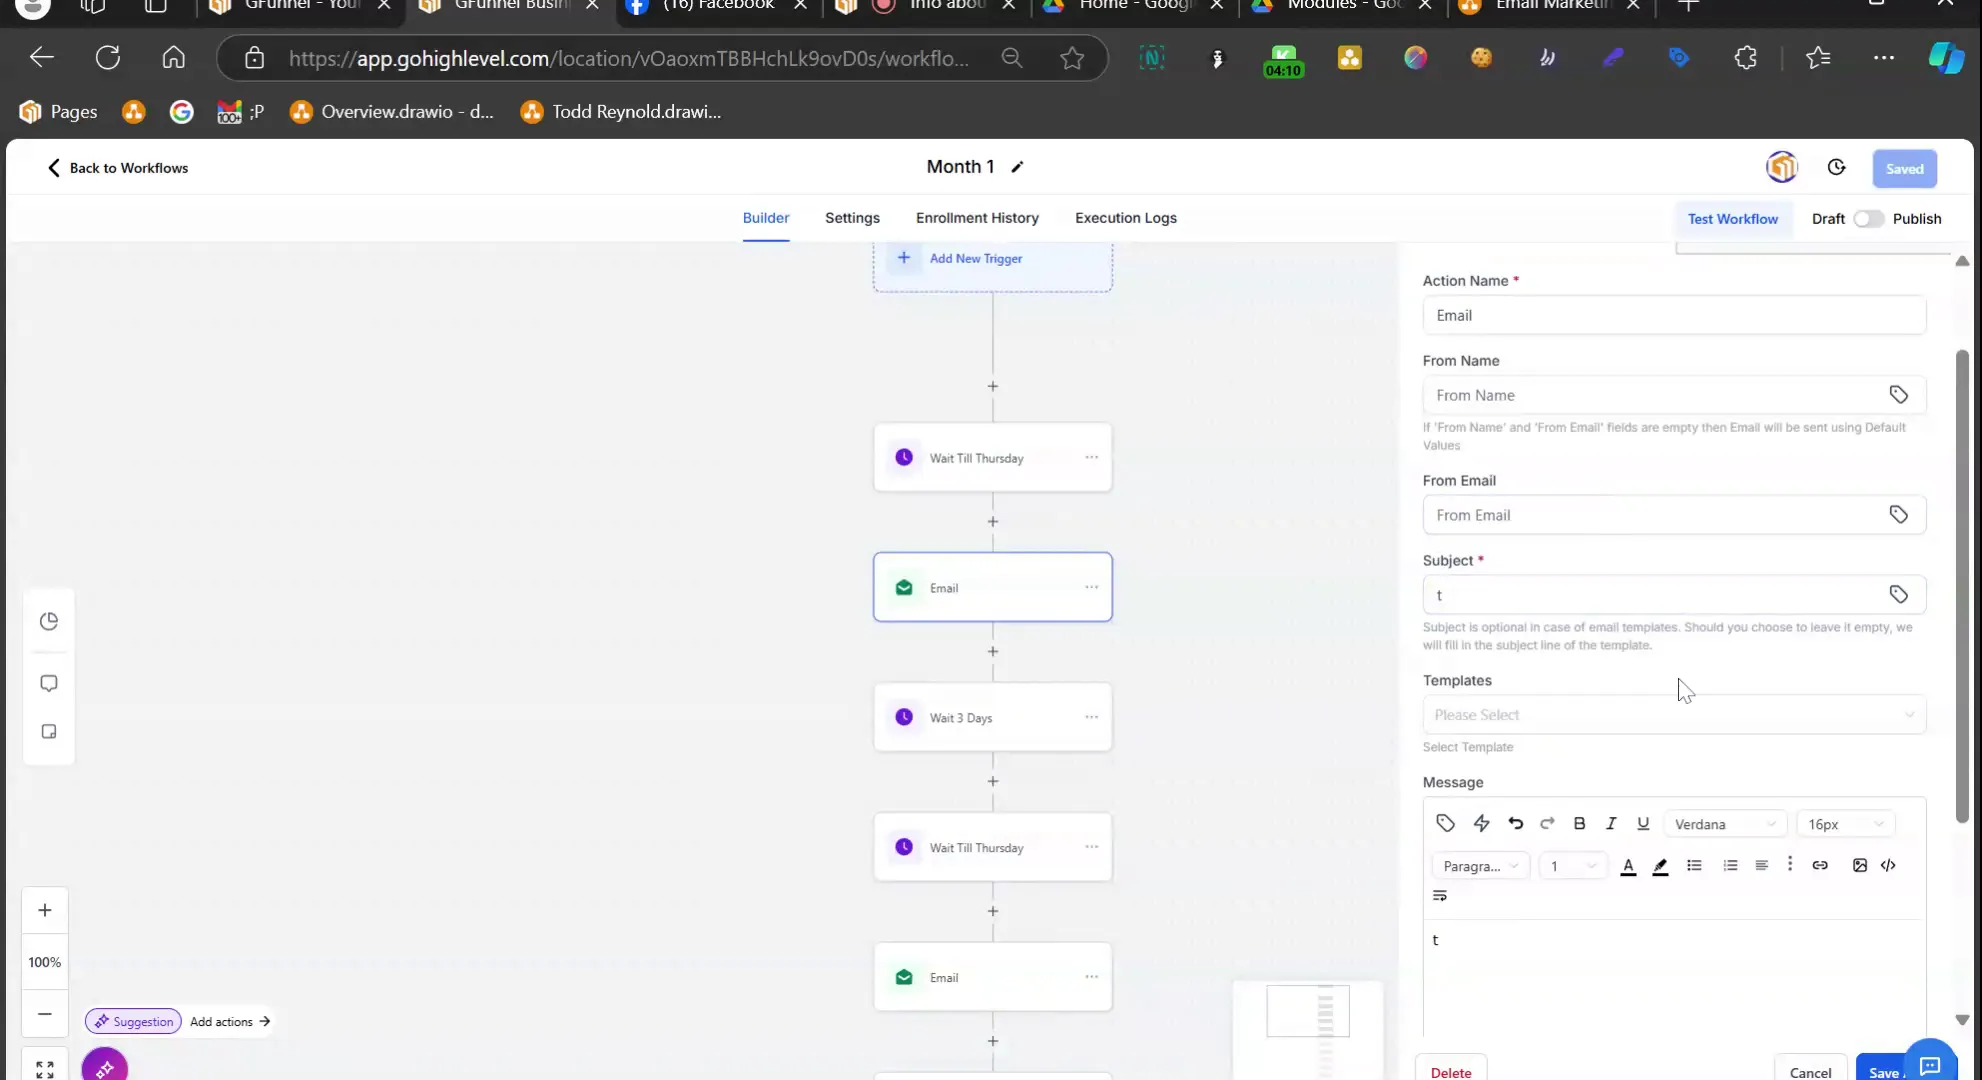
To create a template, begin by establishing the core content elements that you want to include, such as headers, body text, and calls to action. Once your template is set, you can easily modify specific details without disrupting the overall structure of your workflow.
Remember, the goal is to minimize manual edits. With templates in place, you can focus on refining your content and strategy rather than getting bogged down in repetitive tasks.
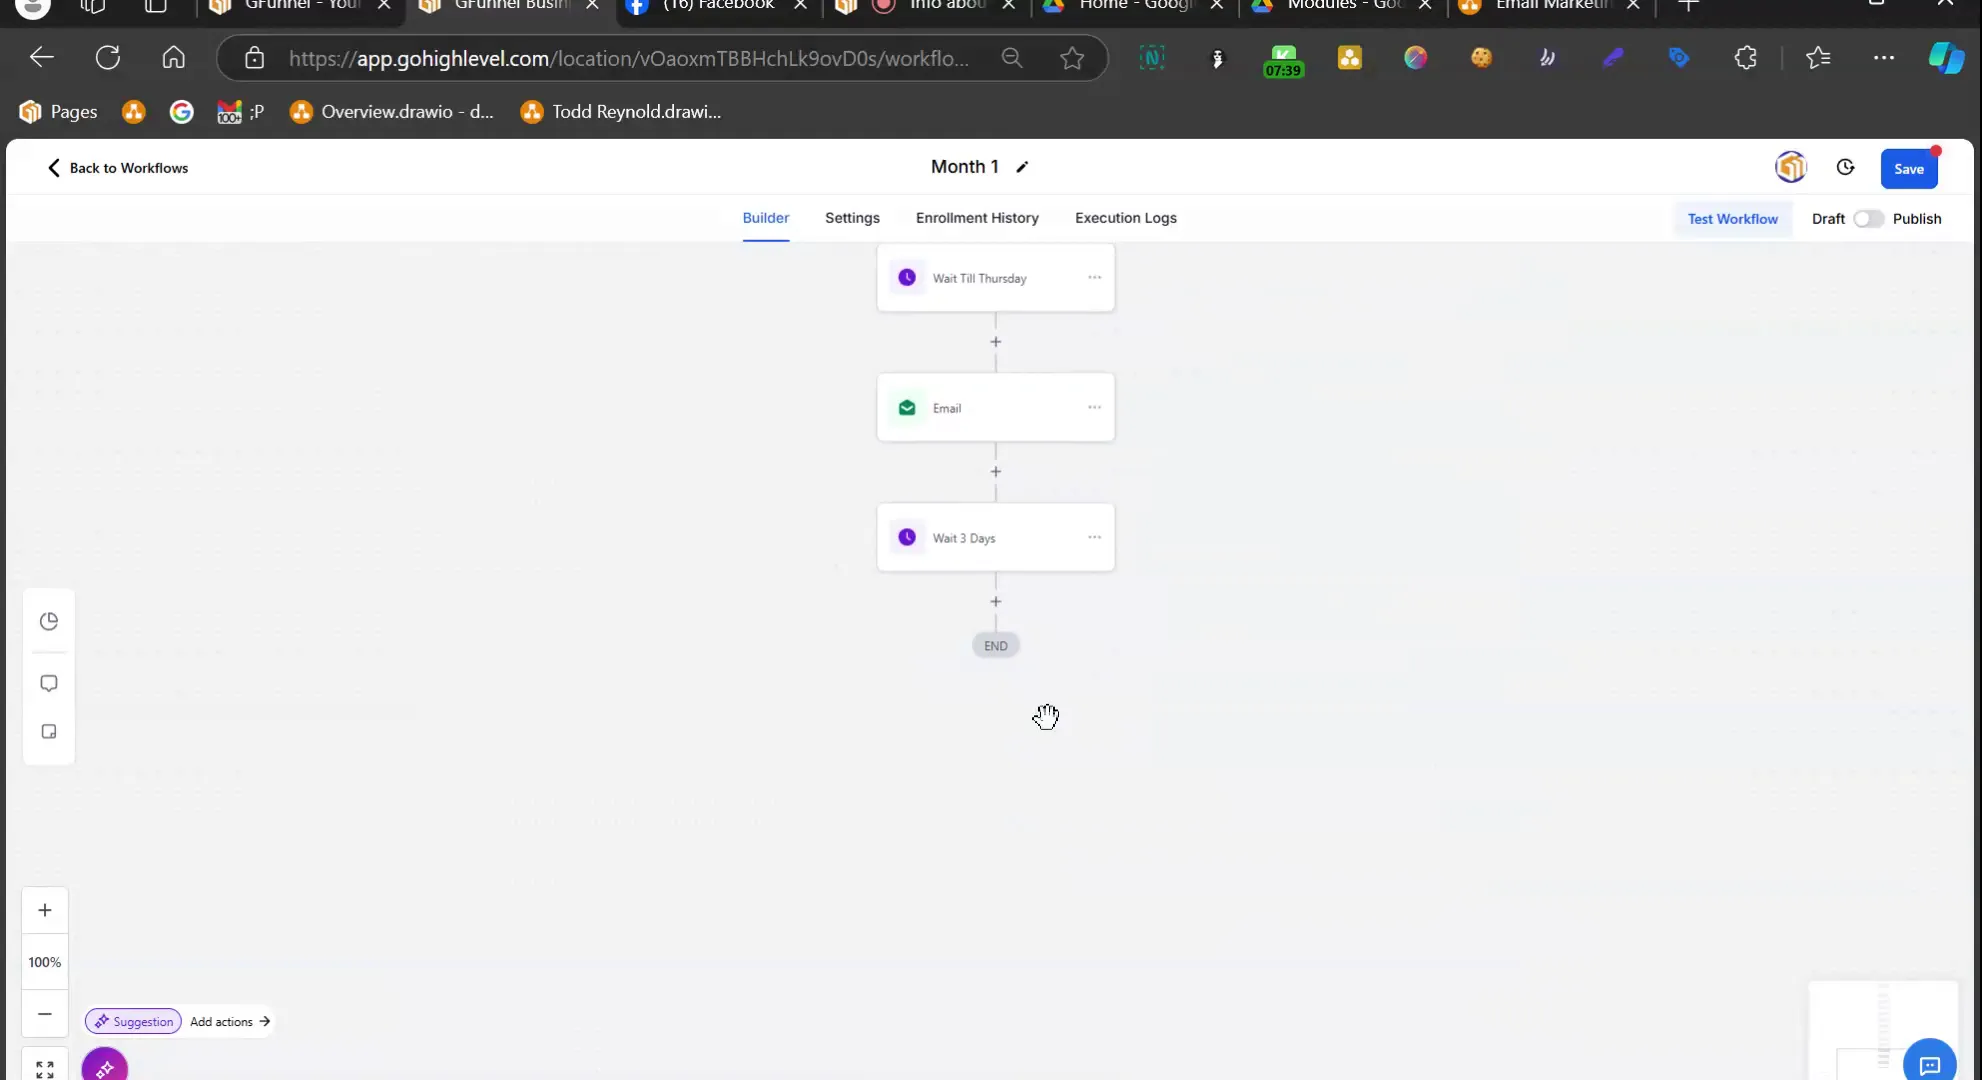
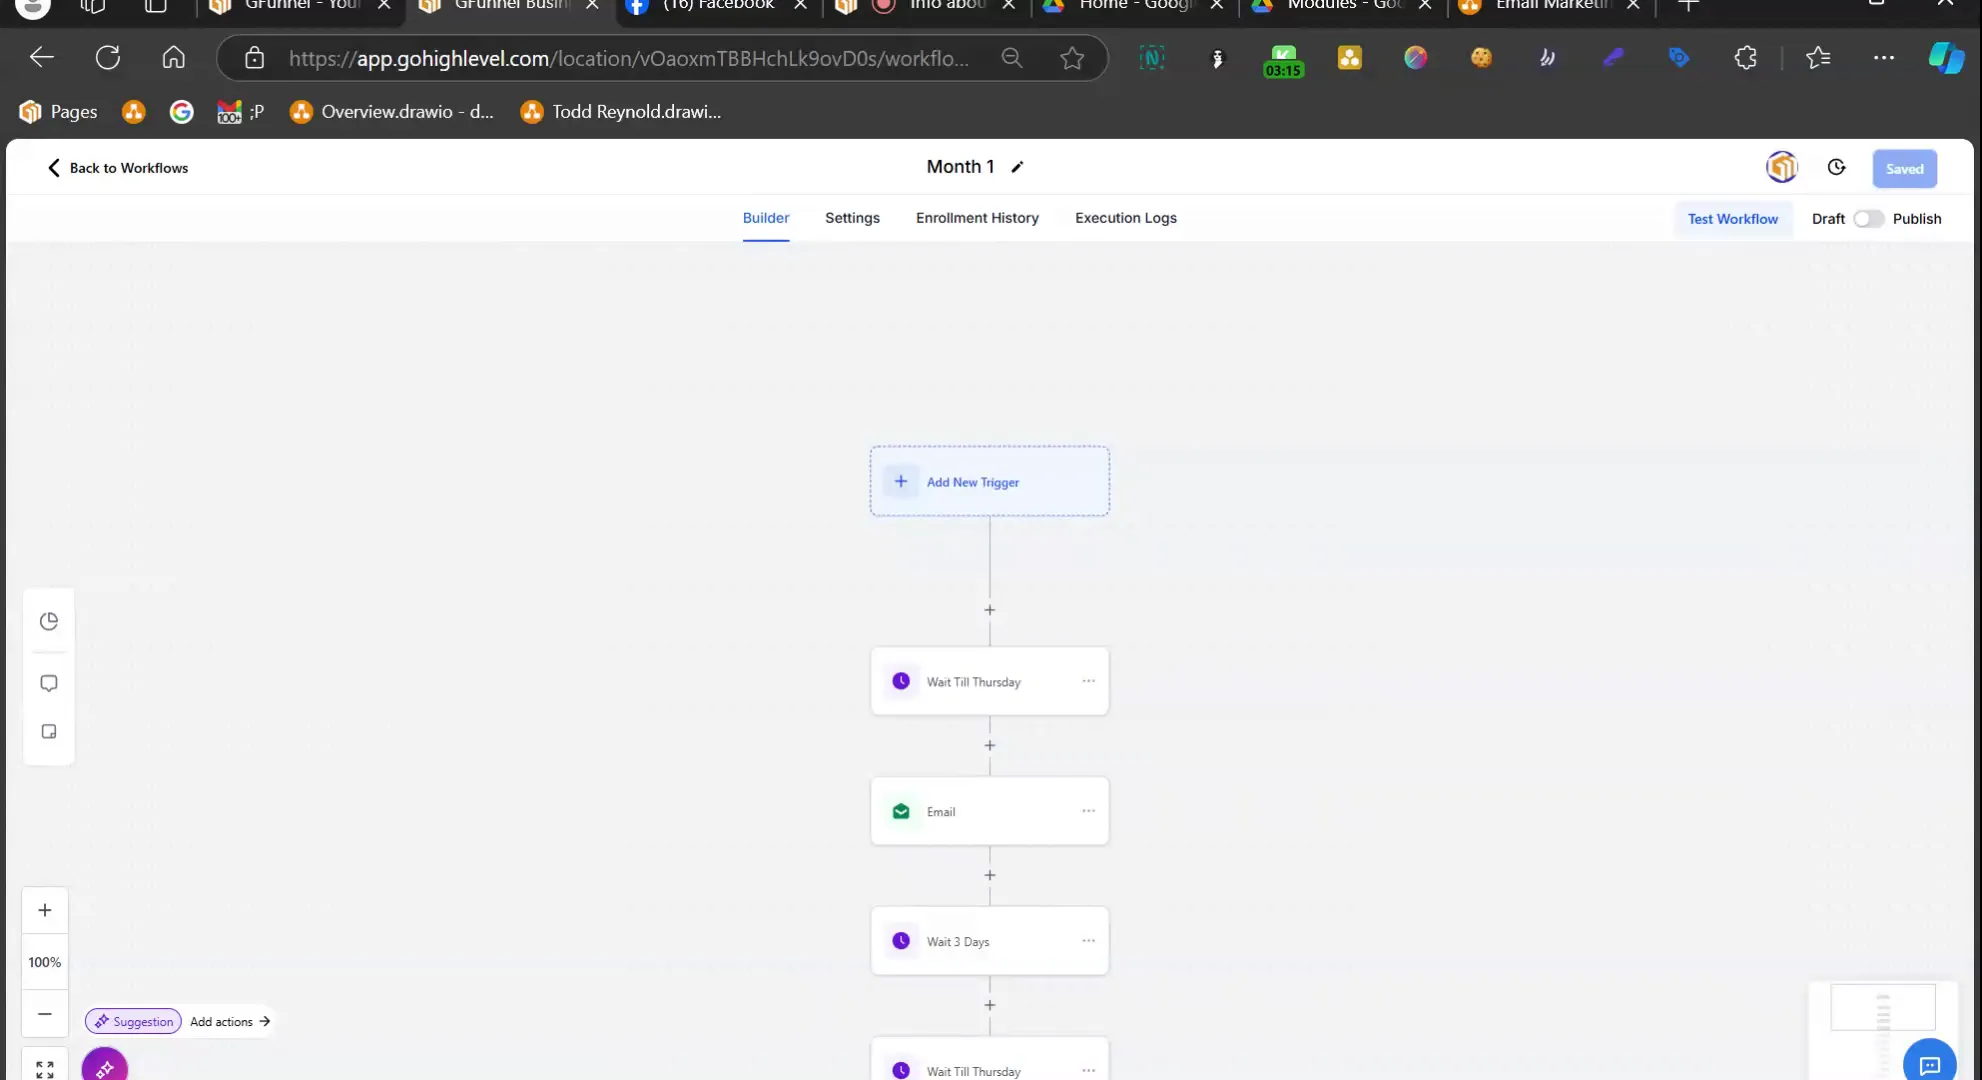
Finalizing Your Email Sequence
Once your emails and templates are set, it’s time to finalize your email sequence. Review each component to ensure that it aligns with your marketing goals and audience expectations.
Check for consistency in tone, branding, and messaging. Make sure that all links work and that the calls to action are clear and compelling. This step is crucial to ensure that your audience knows what steps to take after reading your emails.
After finalizing, you can run a test sequence to see how everything flows together. This will help you identify any last-minute adjustments before launching your campaign.
Understanding Email Engagement Tracking
Email engagement tracking is vital for measuring the success of your campaigns. With Lead Connector, you can monitor key metrics such as open rates, click-through rates, and conversion rates.
By analyzing these metrics, you can gain insights into how your audience interacts with your emails. This information is invaluable for optimizing future campaigns. If certain emails have lower engagement, consider revising your content or testing different sending times.
Incorporate A/B testing strategies to compare different email styles or subject lines. This experimentation will help you refine your approach and improve overall engagement.
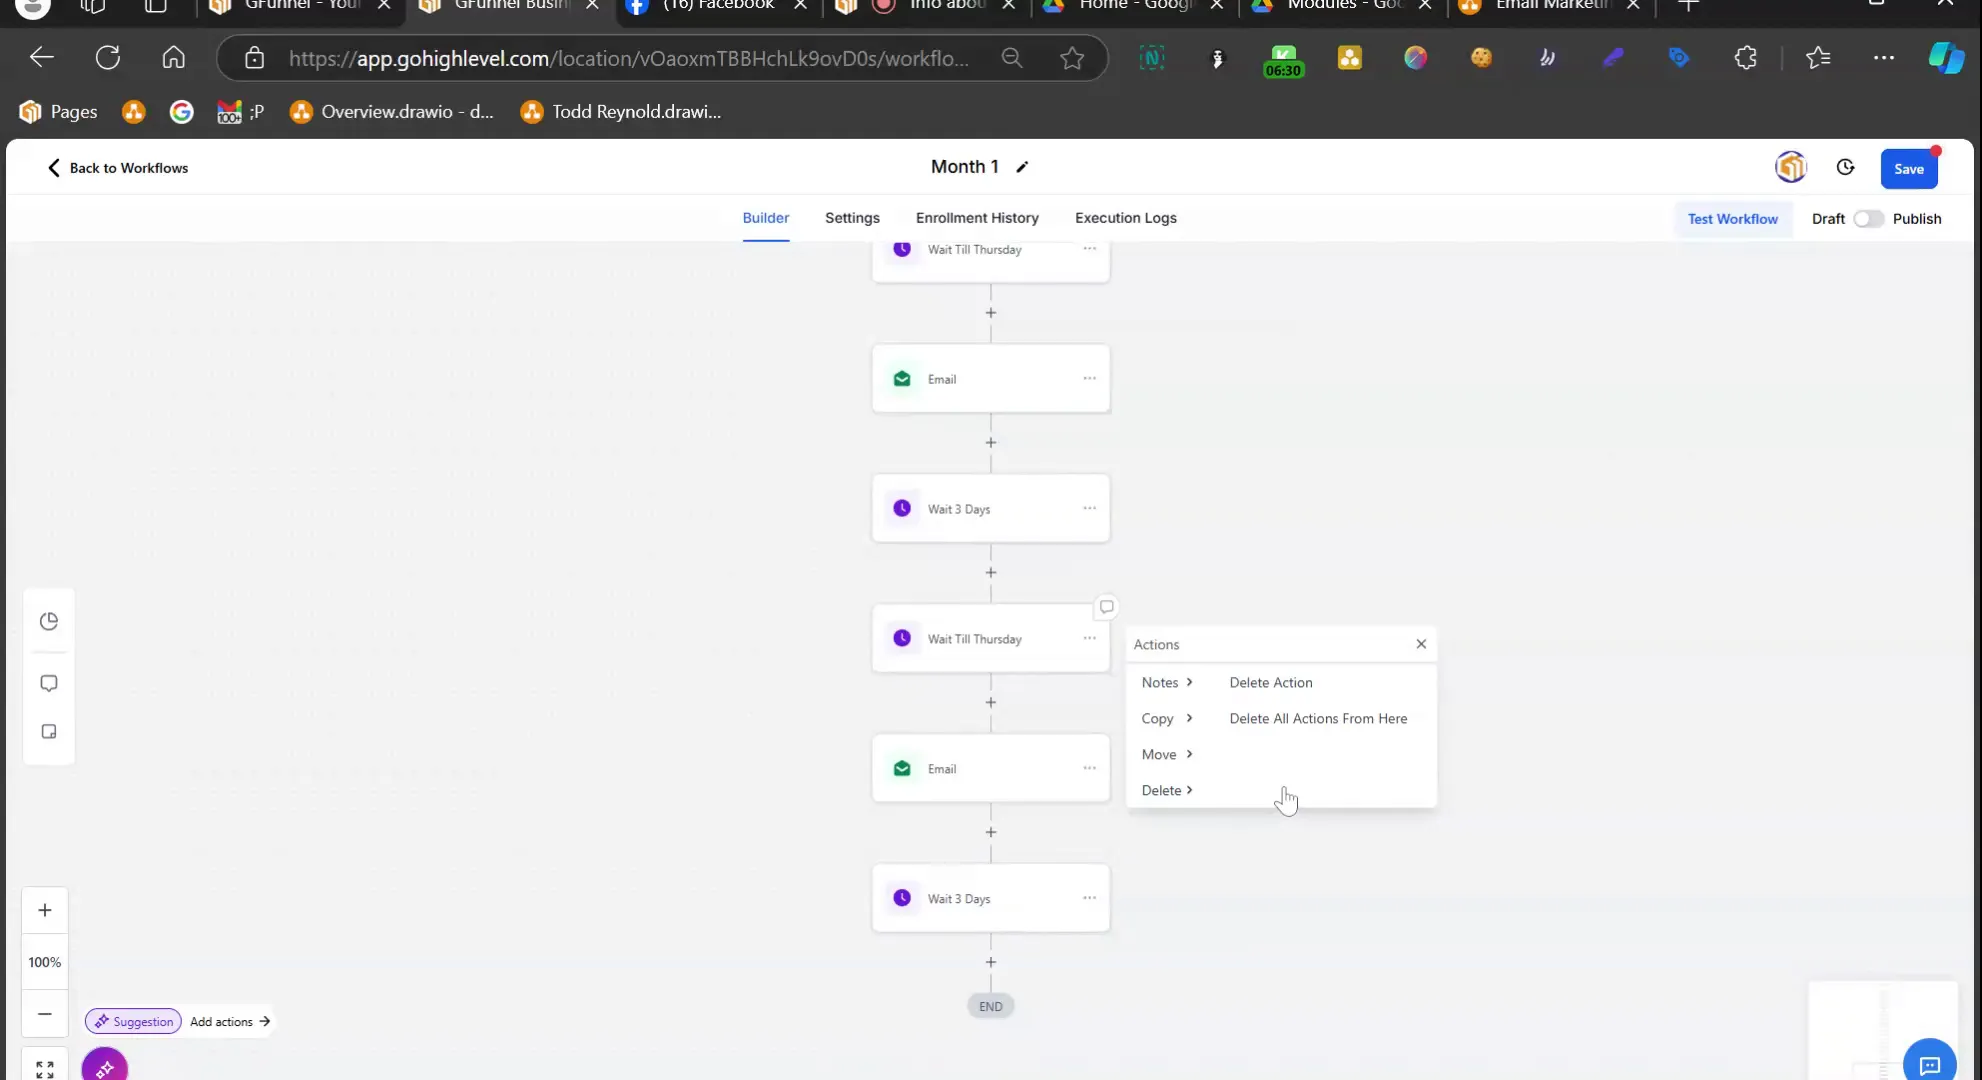
Adding Complexity to Your Email Process
As you become more comfortable with your email sequences, you might want to introduce additional complexity. This can involve adding conditional logic to your workflows, allowing for personalized email paths based on user interactions.
For example, if a recipient clicks a link in your email, you can set up a trigger that sends them a follow-up email tailored to their interests. Alternatively, you could segment your audience based on their previous interactions and send targeted campaigns accordingly.
Utilizing these advanced features will enhance the personalization of your email marketing, leading to higher engagement and conversion rates. Keep in mind that while complexity can improve results, it’s essential to maintain clarity in your workflows to avoid potential errors.
By leveraging the capabilities of Lead Connector, you can create dynamic and engaging email sequences that resonate with your audience. Start building your email sequences today and automate your marketing efforts for ongoing success.
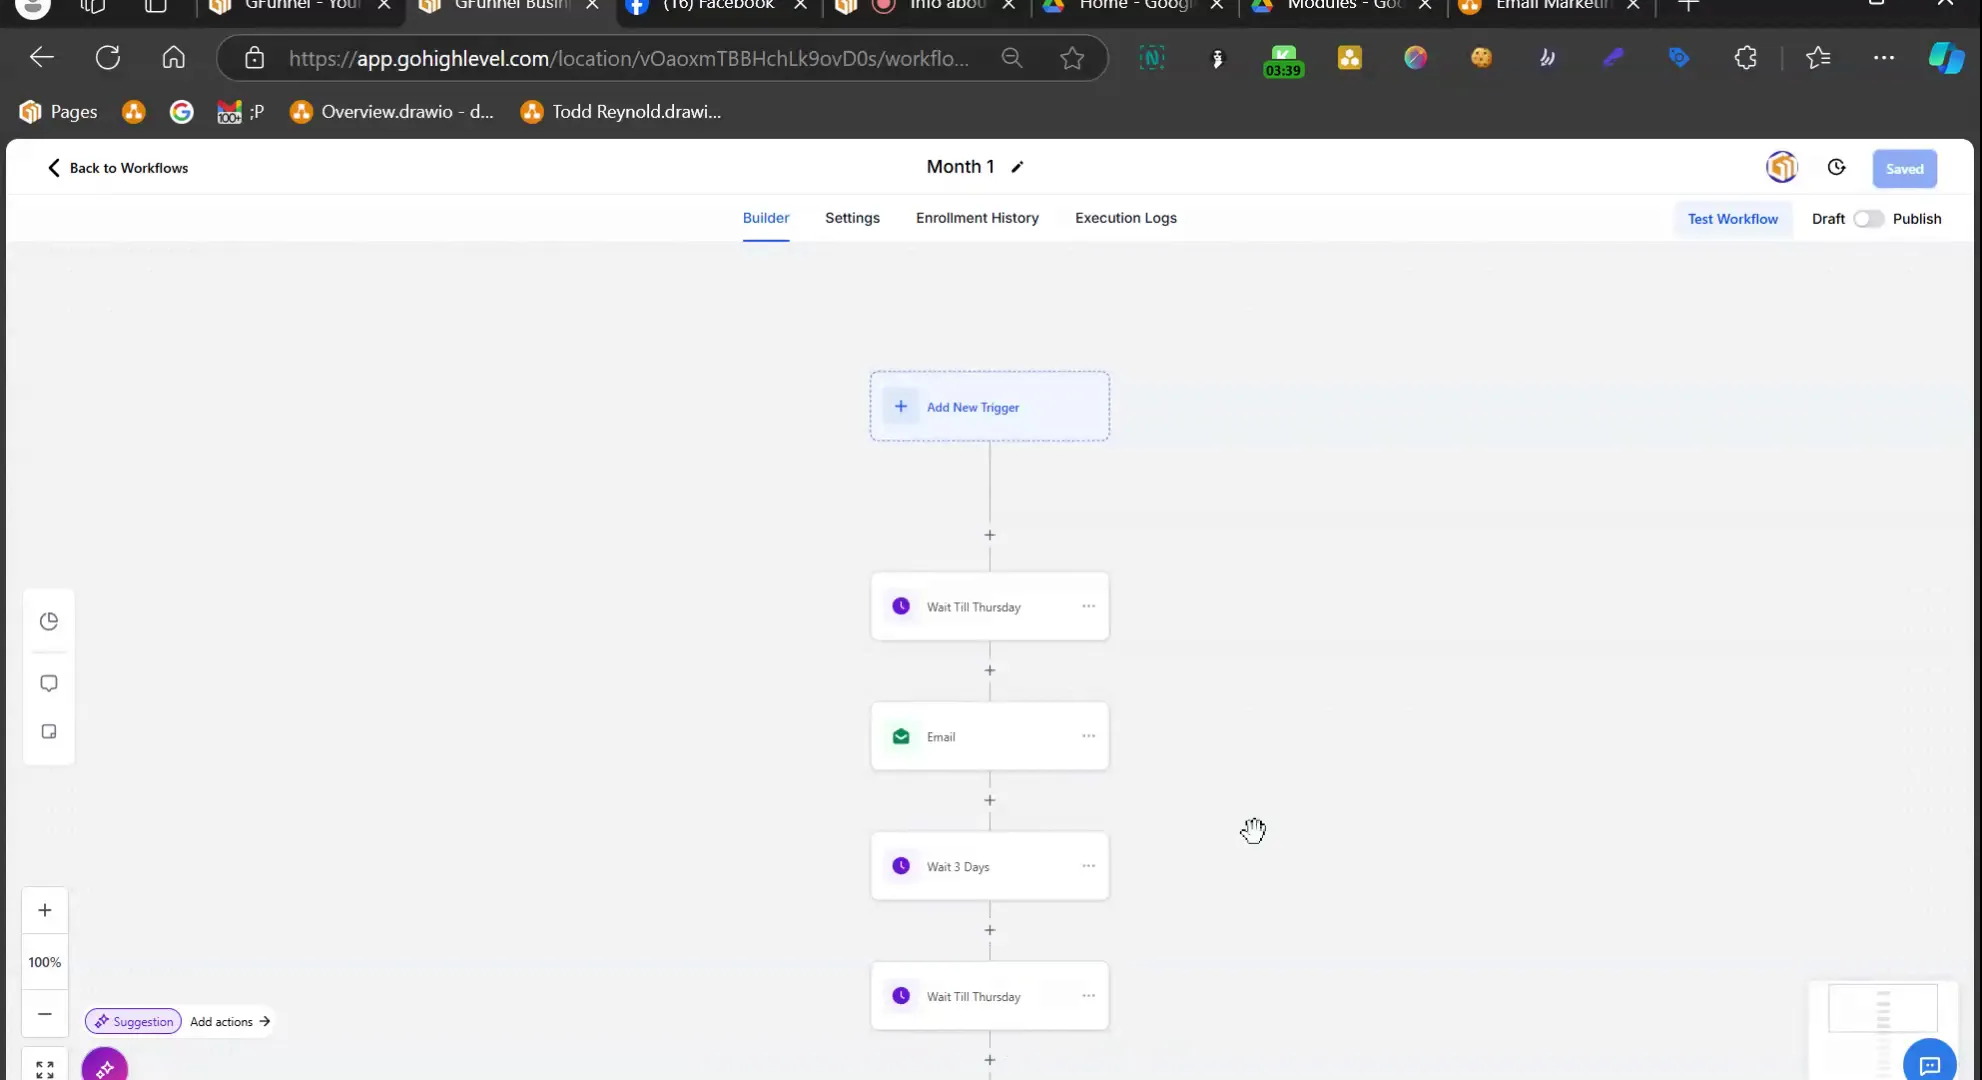
Building a Comprehensive Email Workflow
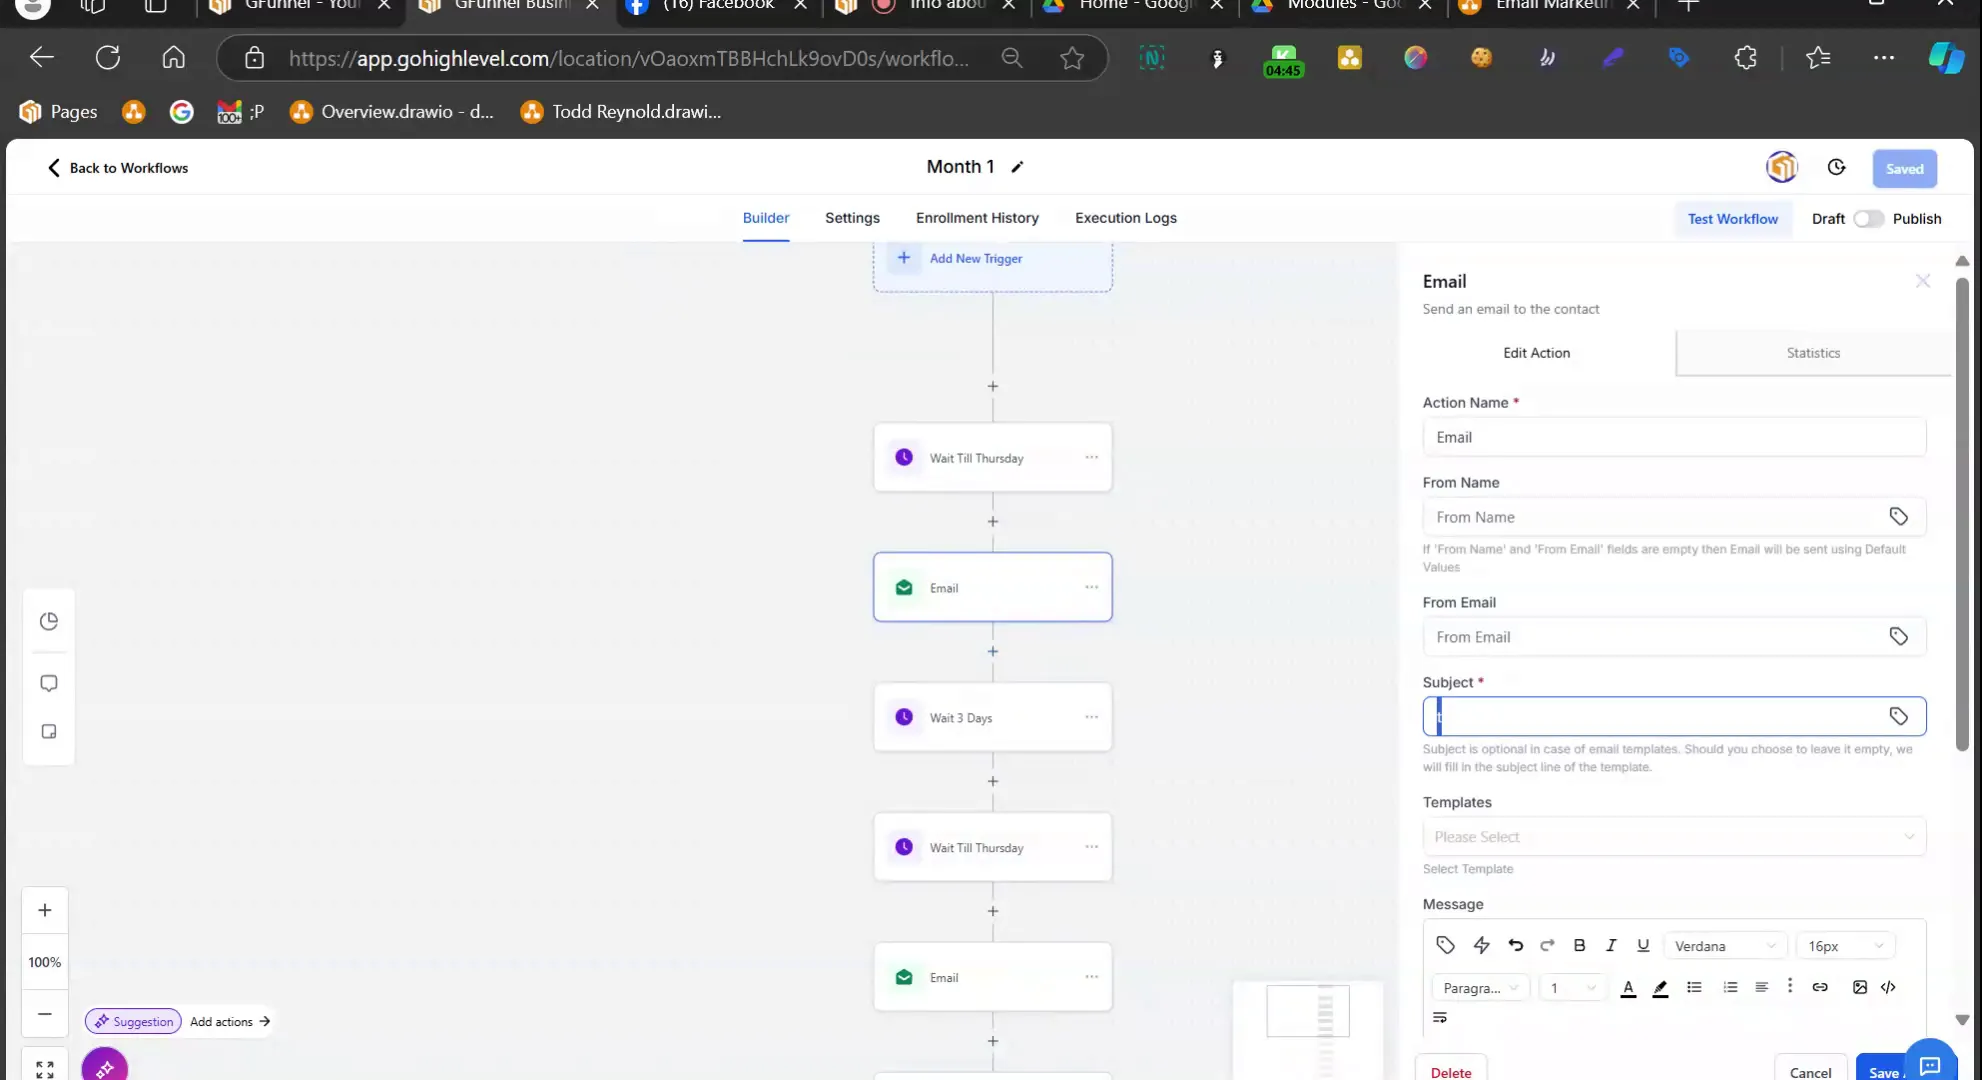
Creating a comprehensive email workflow is essential for automating your email marketing efforts. With Lead Connector, you can structure your email sequences to ensure effective communication with your audience. Start by defining the purpose of your emails, whether it's to nurture leads, promote products, or provide valuable content.
Begin by outlining the sequence of emails you plan to send. This could be a series of emails over a week, a month, or even longer. For instance, you might decide to send a welcome email immediately after sign-up, followed by a series of educational emails over the next few weeks.
Utilizing Triggers and Actions
In your workflow, utilize triggers to initiate actions based on user behavior. For example, if a user opens an email, you might want to follow up with a targeted message. This level of customization ensures that your audience receives relevant content based on their interactions.
Lead Connector allows you to set up various triggers, such as email opens, clicks, or even time-based actions. By doing so, you can ensure that your email marketing is not only automated but also personalized.
Segmenting Your Audience
Segmentation is a powerful feature that allows you to tailor your email campaigns to specific audience groups. By categorizing your audience based on their interests, behavior, or demographics, you can create more targeted and effective email sequences. For example, you might segment your audience into groups such as new subscribers, engaged users, and inactive users.
With Lead Connector, you can easily manage these segments and ensure that each group receives the most relevant content. This approach not only improves engagement rates but also enhances the overall effectiveness of your email marketing strategy.
Managing Email Bounce and Spam Reports
Managing email bounce and spam reports is critical for maintaining a healthy email list. A high bounce rate can negatively impact your sender reputation, while spam reports can result in your emails being blocked by ISPs. To effectively manage these issues, you need to establish a clear process within your email workflows.
With Lead Connector, you can set up automated responses for bounced emails. For instance, if an email bounces, you can automatically add the contact to a 'bounced emails' list for further review. This allows you to clean your list regularly and maintain a high deliverability rate.
Implementing Spam Reports Handling
Handling spam reports effectively is equally important. When a user reports your email as spam, it’s essential to remove them from your list immediately. You can set up an automated workflow that triggers when a spam report is received, ensuring that the user is unsubscribed and that their information is marked accordingly.
Additionally, consider sending a follow-up email to users who report spam, asking for feedback on why they chose to do so. This feedback can be invaluable in improving your email content and strategy.

Creating Unsubscribe Workflows
Unsubscribe workflows are another key component of your email strategy. It’s essential to handle unsubscribe requests gracefully to maintain a positive brand image. Lead Connector allows you to create an unsubscribe workflow that not only removes users from your list but also provides them with an option to adjust their preferences instead of completely unsubscribing.
For instance, when a user clicks the unsubscribe link, you can redirect them to a preferences page where they can choose to receive fewer emails or select specific topics of interest. This approach can help retain engaged users while respecting those who wish to opt out.
Follow-Up Strategies
After a user unsubscribes, consider implementing a follow-up strategy. Sending a brief email to thank them for their time and to ask for feedback can provide insights into how to improve your email marketing efforts. You can also include a call-to-action to encourage them to re-subscribe in the future.
By using Lead Connector to automate these processes, you can ensure that your unsubscribe workflows are efficient and respectful, maintaining a positive relationship with your audience.
Utilizing AI for Email Marketing
Artificial Intelligence (AI) can significantly enhance your email marketing efforts by automating various tasks and providing insights into user behavior. With Lead Connector, you can leverage AI to analyze your email campaigns and suggest improvements based on performance metrics.
For example, AI can help determine the optimal sending times for your emails, predict user engagement levels, and even suggest content based on user preferences. This capability allows you to create more personalized and effective email campaigns.
Content Generation with AI
AI can also assist in generating email content. By analyzing past email performance and user interactions, AI can suggest headlines, body content, and calls-to-action that are more likely to resonate with your audience. This not only saves time but also increases the chances of higher engagement rates.
Incorporating AI into your email marketing strategy can lead to more efficient workflows and better results, allowing you to focus on strategy rather than execution.
FAQs
How can I get started with email automation using Lead Connector?
Getting started with email automation in Lead Connector is simple. First, log into your account and navigate to the automations section. From there, you can create new workflows, set up triggers, and define your email sequences.
Can I track the performance of my email campaigns?
Yes! Lead Connector provides robust tracking features that allow you to monitor key metrics such as open rates, click-through rates, and bounce rates. This data is essential for optimizing your email marketing strategy.
What should I do if my emails keep bouncing?
If your emails are bouncing, first check the email addresses for accuracy. Then, remove any invalid addresses from your list. Lead Connector allows you to manage bounces effectively by automating the process of cleaning your email list.
How can I reduce the number of spam reports?
To reduce spam reports, ensure that your emails provide value and are relevant to your audience. Segment your list to send targeted content, and always include an easy way for users to unsubscribe or adjust their preferences.
Is it possible to personalize emails using Lead Connector?
Absolutely! Lead Connector allows you to personalize your emails based on user data, preferences, and behavior. Personalization can significantly improve engagement and conversion rates.
By implementing these strategies within Lead Connector, you can create a powerful email marketing system that not only engages your audience but also drives results. Start automating your email marketing today and watch your business thrive.


