Welcome back, everyone! Today, I’m excited to dive into how to modify the notification settings inside the client portal for all child apps, with a special focus on courses. Whether you're unlocking a new section of your course, drip-feeding content, or receiving comments on lessons, it’s crucial to streamline these notifications. This system simplifies the experience for your students, ensuring they receive the right messages without unnecessary clutter. Let’s get started!
Accessing Notification Settings
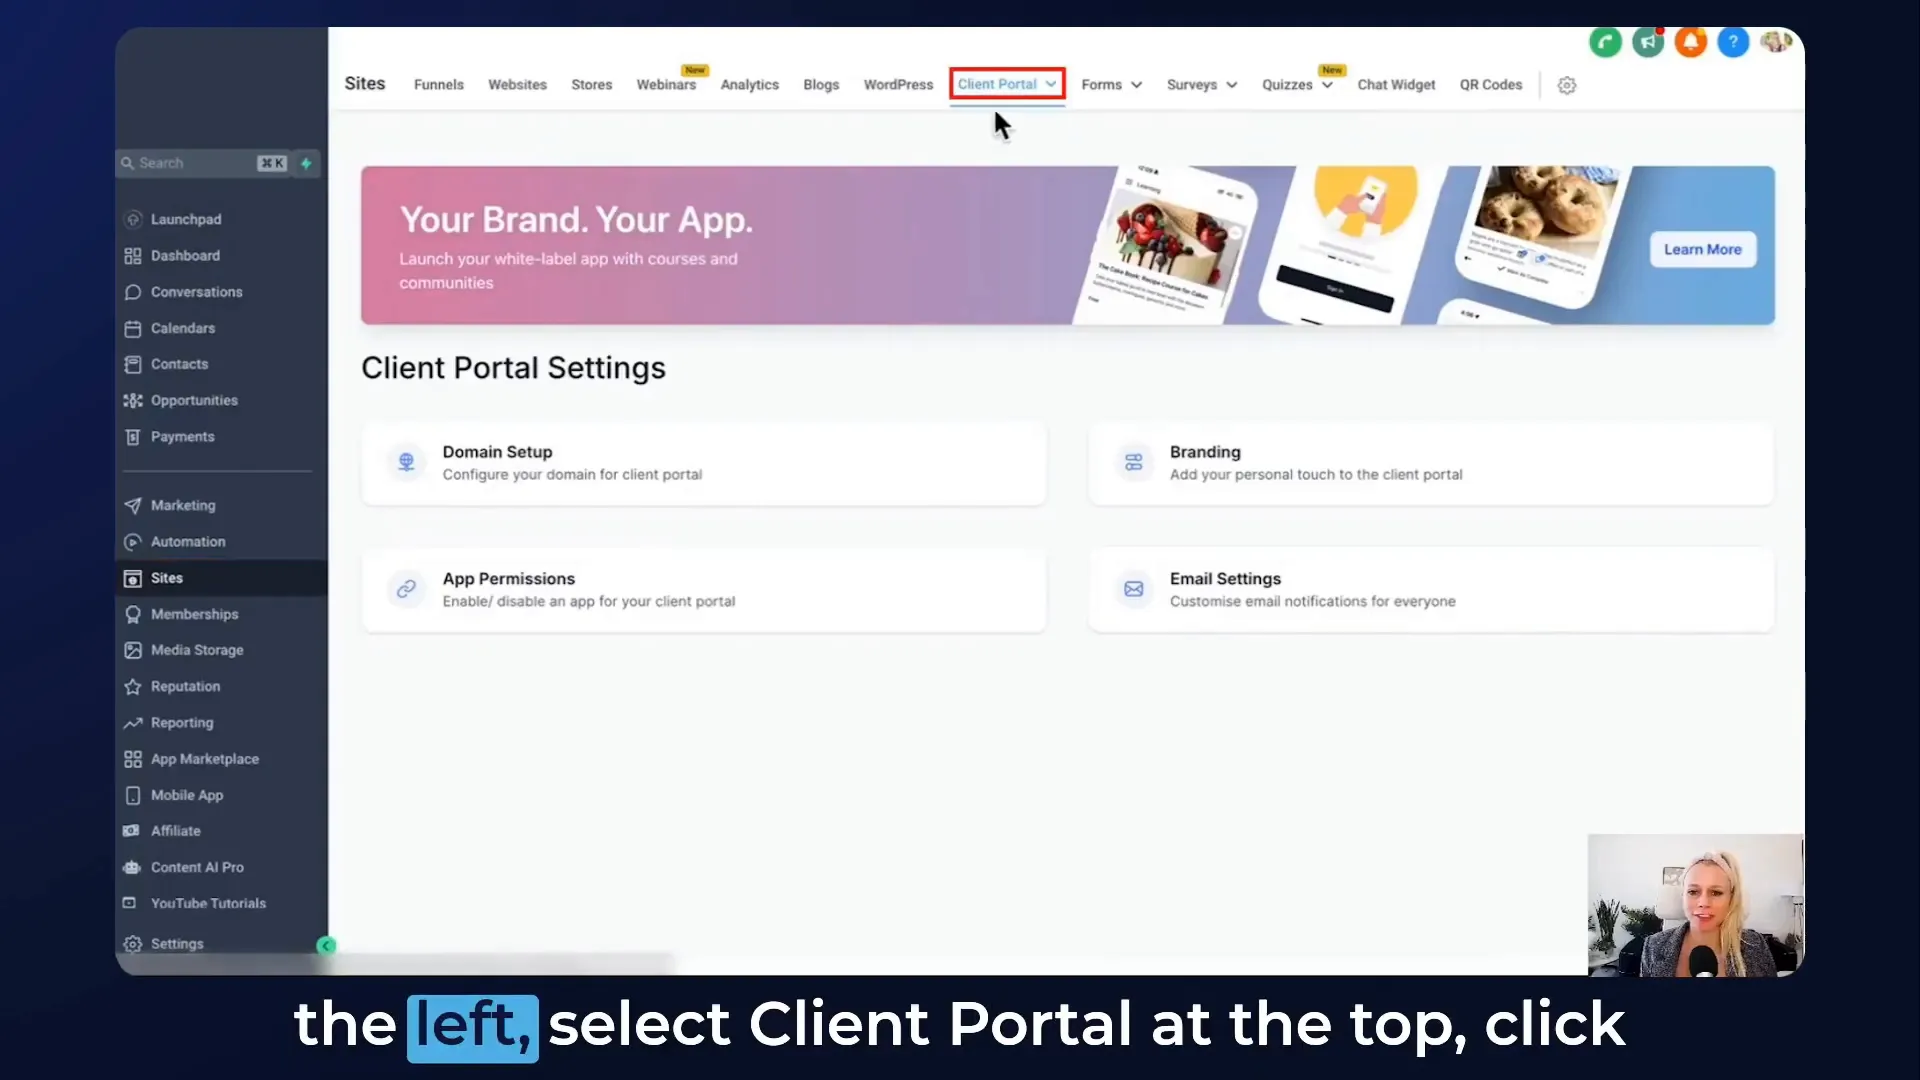
To kick things off, you’ll need to navigate to the notification settings. Follow these steps:
- Click on Sites on the left menu.
- Select Client Portal at the top.
- Click on Settings, and then on Email Settings.
Once you’re in the email settings, you’ll see all the child apps listed at the top: Communities, Certificates, and Courses. Let’s focus on the courses for today.
Setting Up Welcome Emails
When someone signs up for an offer by completing the checkout page on your website or funnel, you have the option to send a welcome email. To enable this:
- Keep the welcome email option checked if you want to send it. If you prefer not to send it because you have a more customized workflow, simply deselect it.
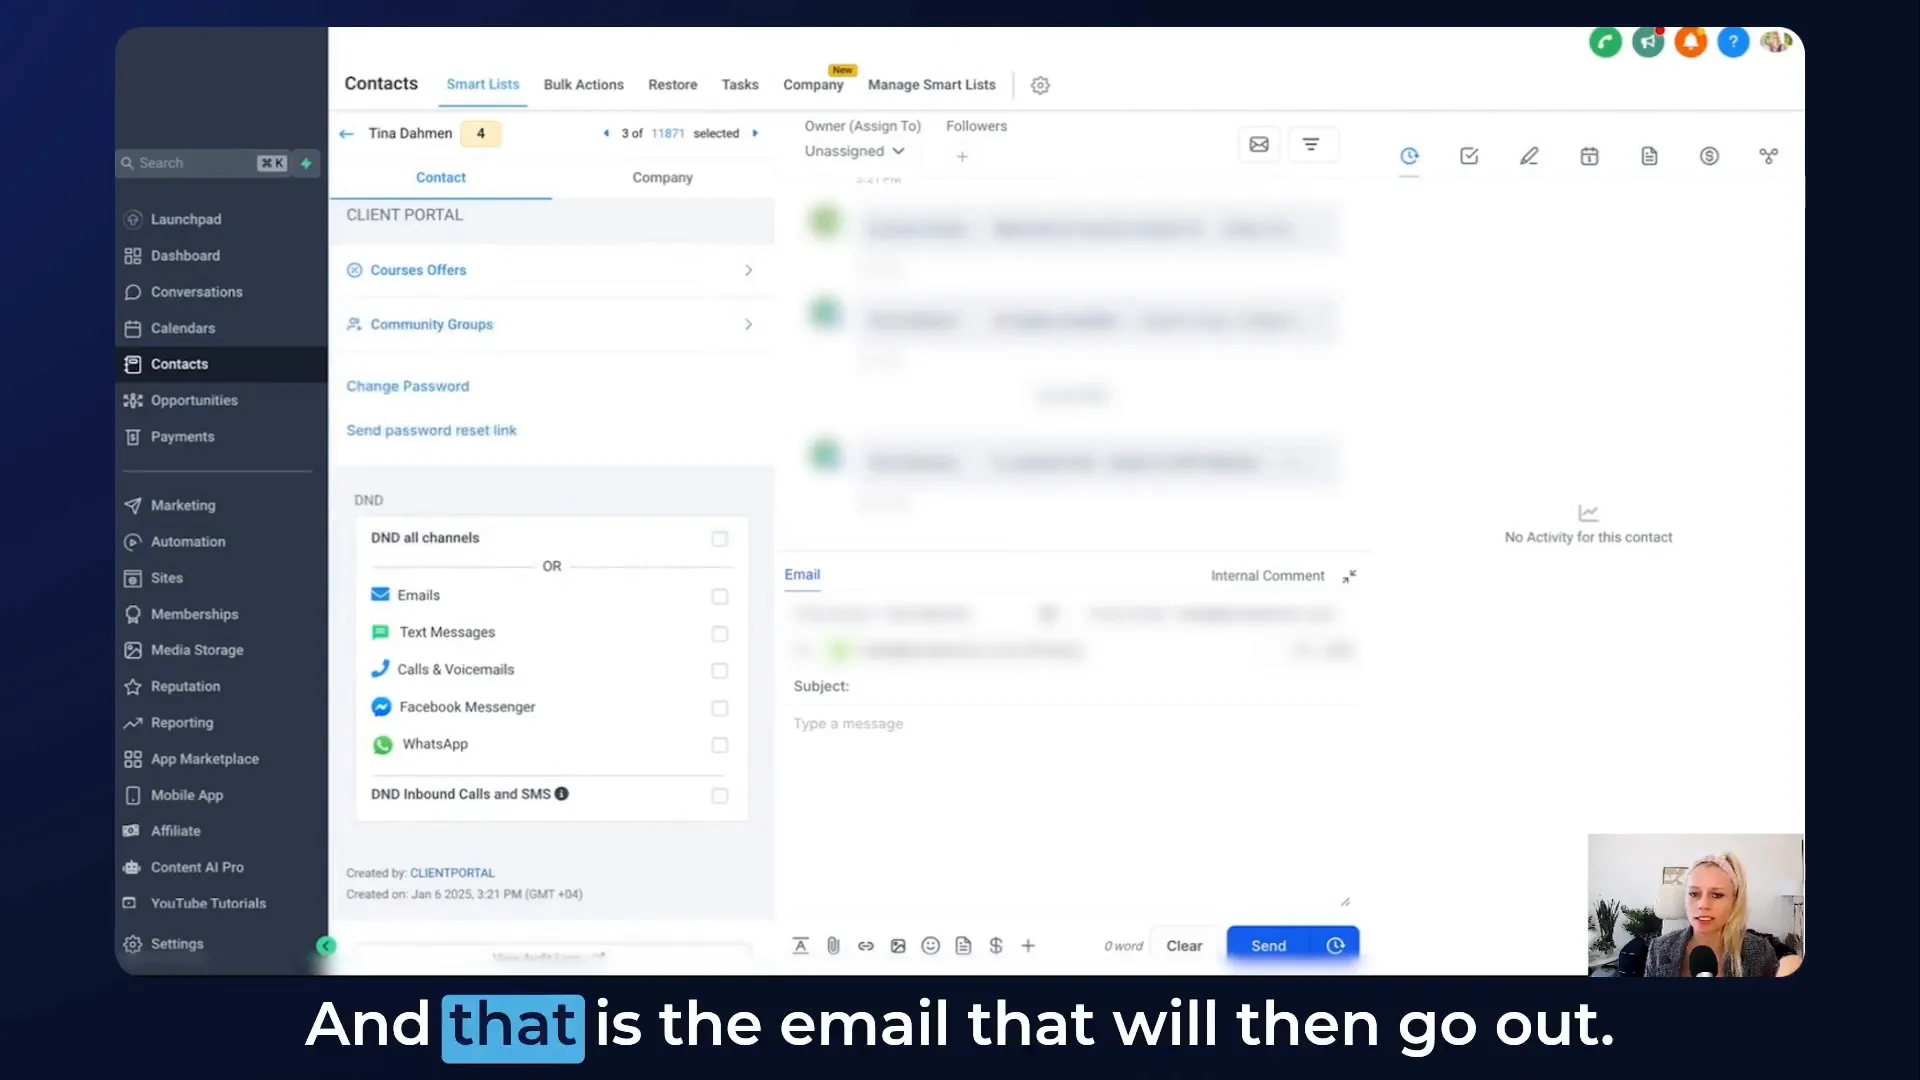
For our example, we will keep it selected. You’ll notice a default template is set to go out. If you wish to use a different template, click on it and a new window will pop up allowing you to select your preferred template.

Customizing Email Templates
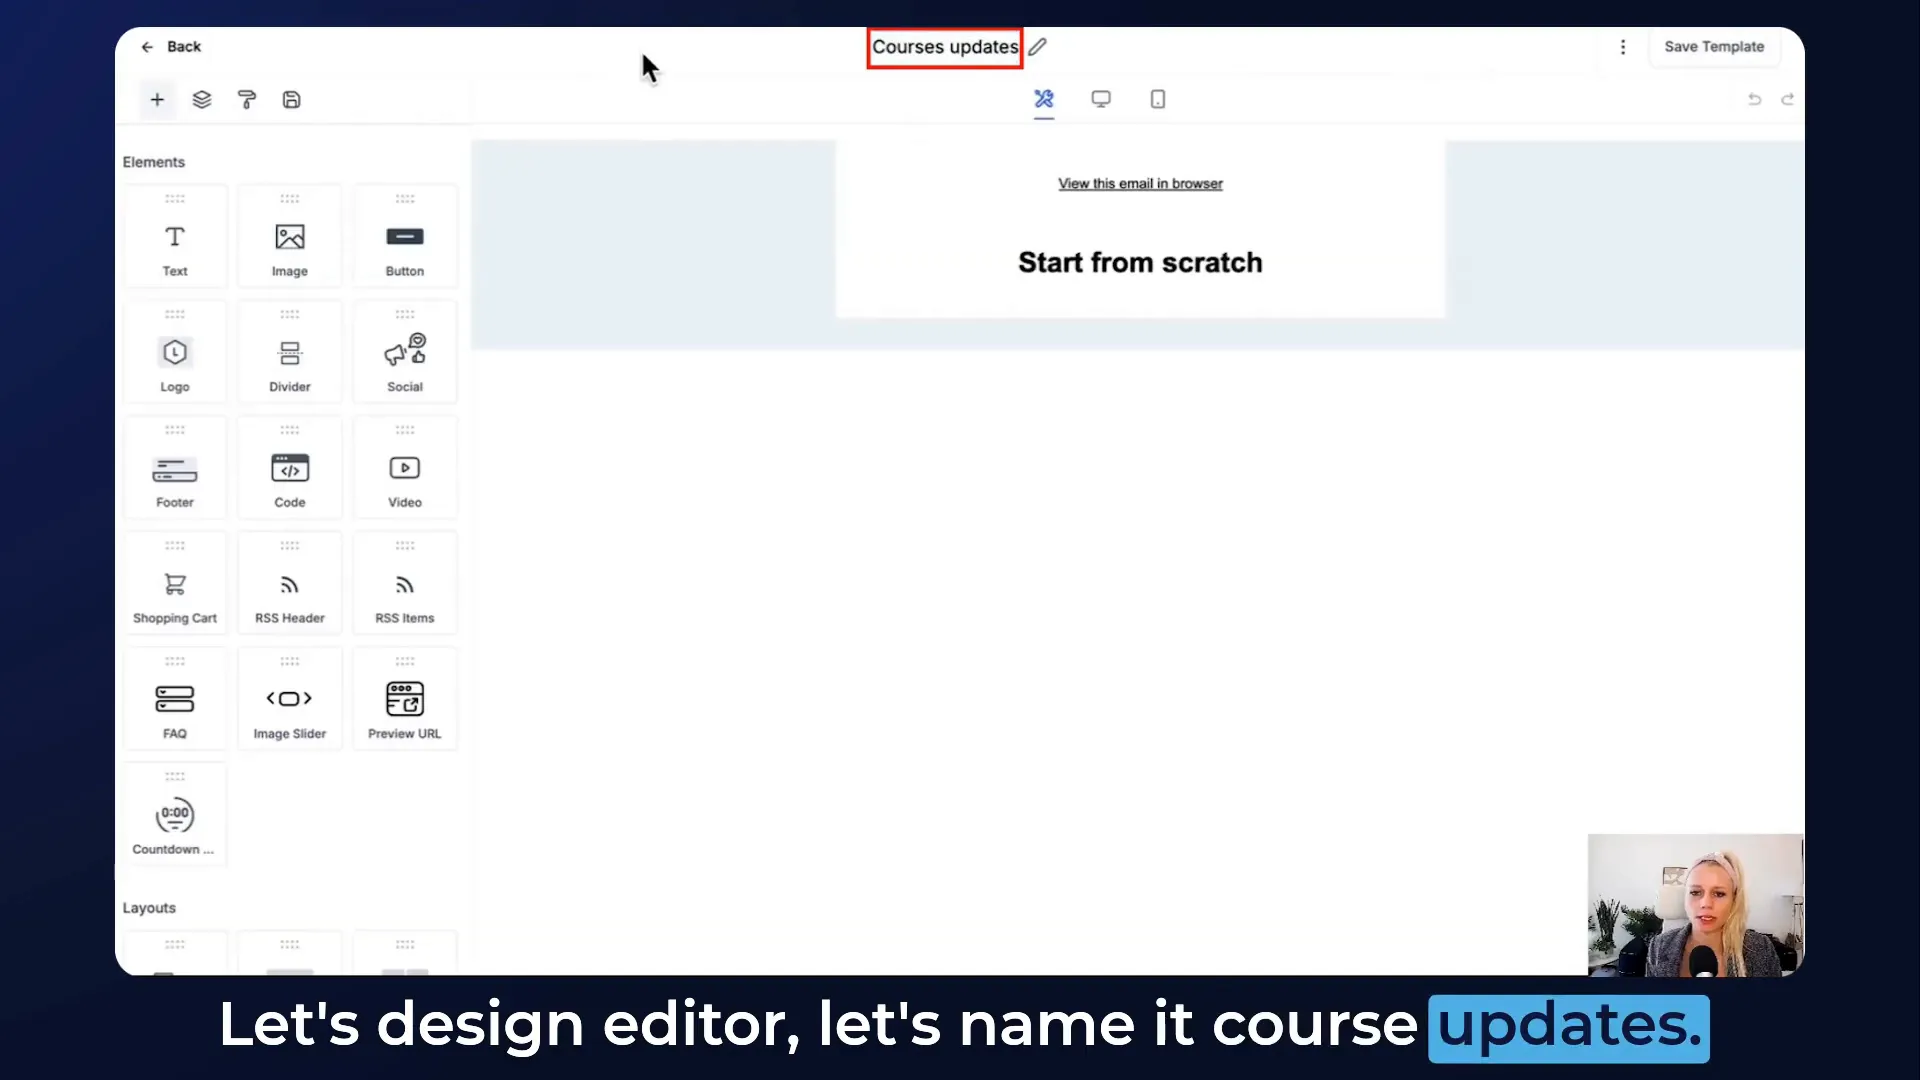
In case you need to create a new template, here’s how:
- Click on Marketing on the left.
- Go to Emails at the top.
- Select Templates and then click on New.
Let’s create a new template called Course Updates. You can customize this template as per your liking—add images, logos, welcome videos, or social media icons. The goal is to make it align with your brand.
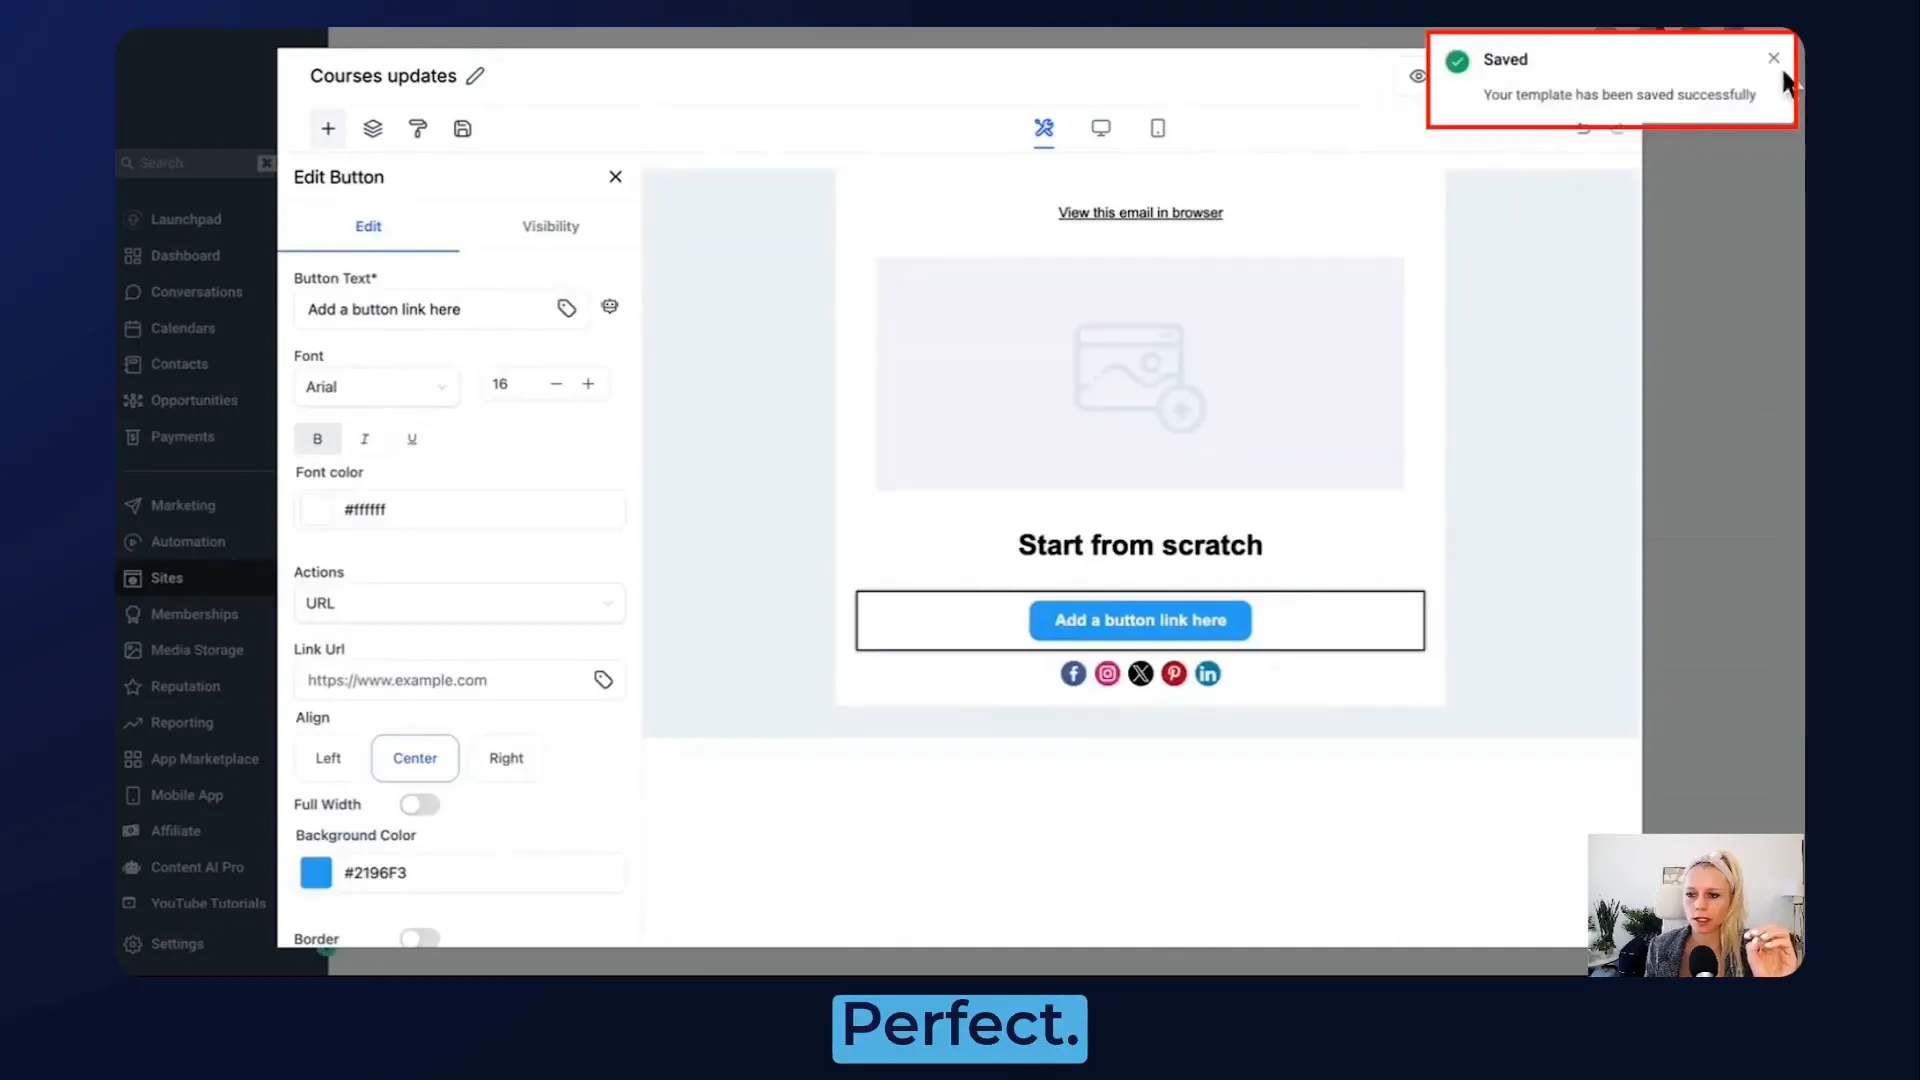
Once you’ve designed your template, hit save in the top right corner, and return to the settings. Refresh the page and select the template you just created from the drop-down menu. You can edit it right there without needing to go back to the email template builder.
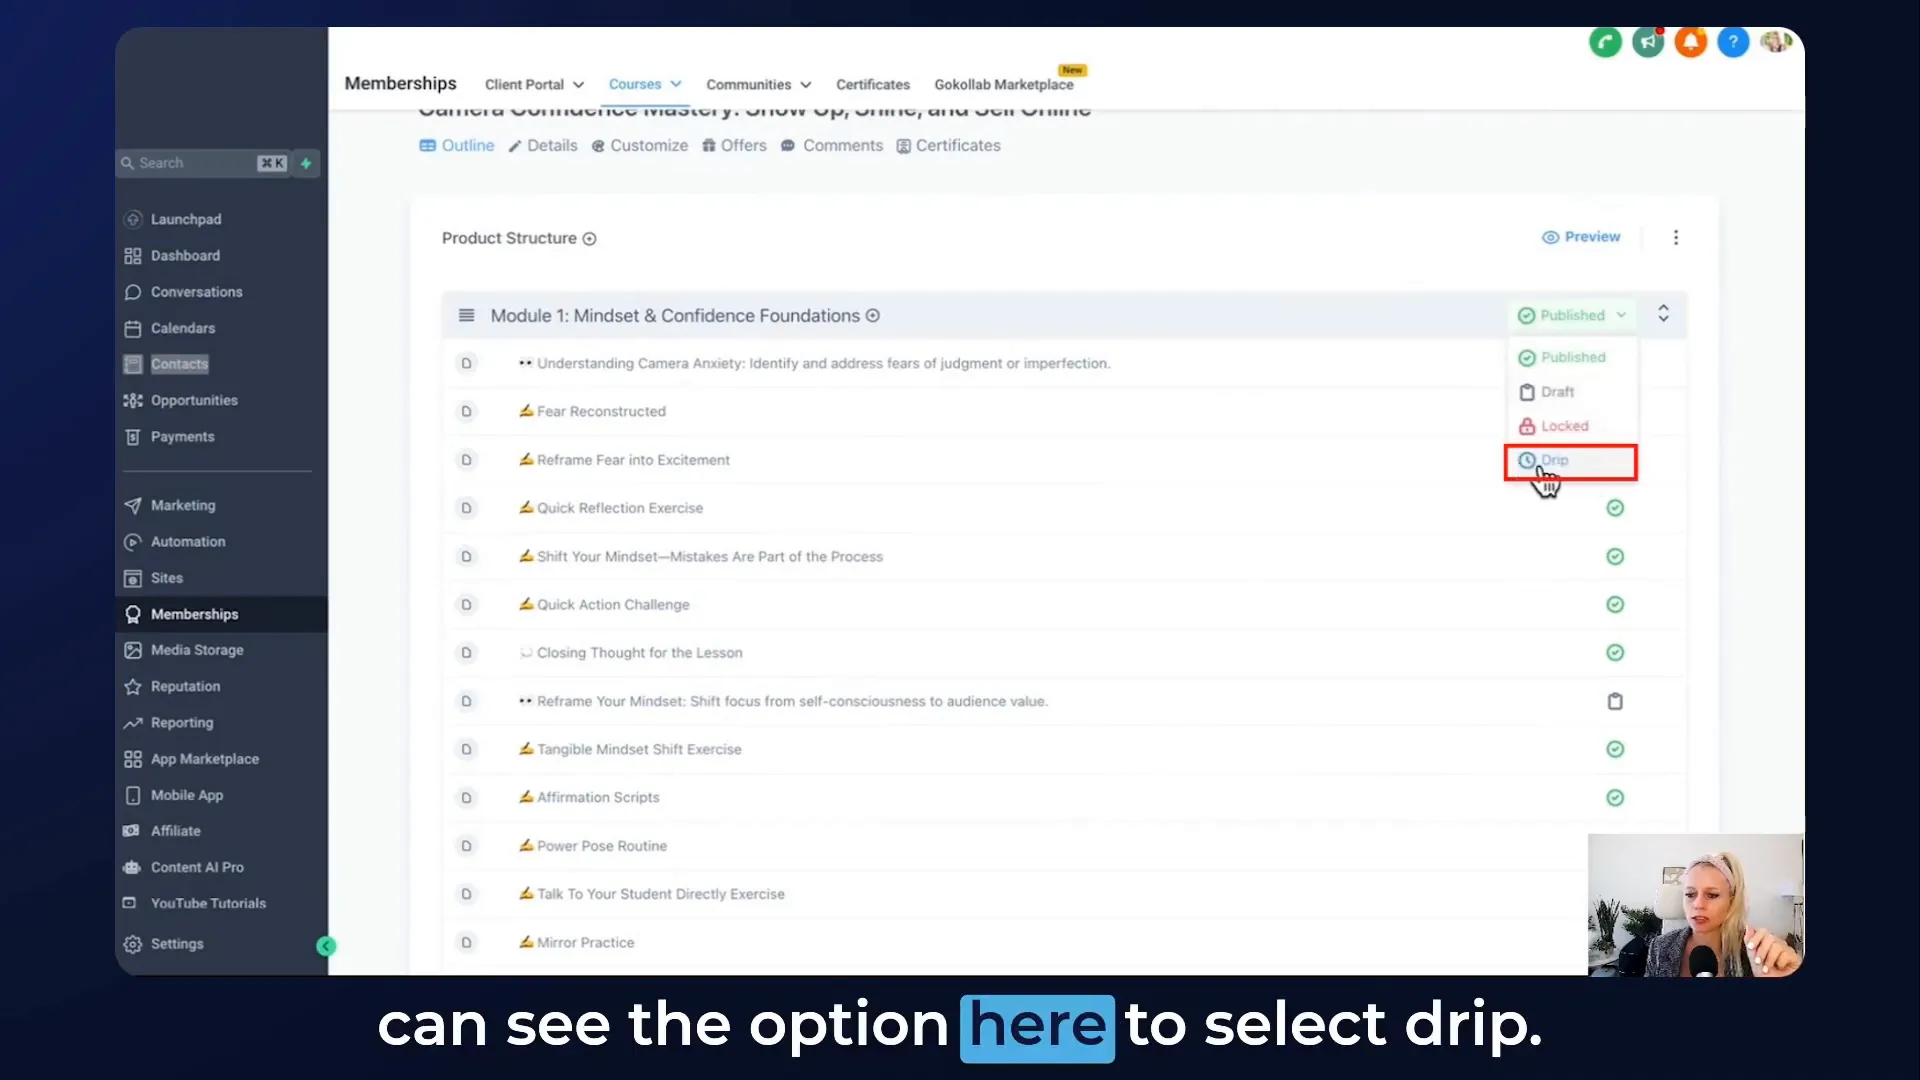
Setting Up Drip Emails
Next, let’s talk about drip emails. These are automatically sent when a new category is available. To set this up:
- Navigate to your course module.
- In the drop-down menu, select the option to set a drip for the module.
For instance, if you have a four-module course and want to release the second module after a week, select that module, set the drip to 7 days, and save. Once the time is up, your students will receive an email notifying them that the new content is available.
Managing Offer Access Emails
Now, let’s discuss managing offer access emails. If you grant access to any offer, here’s how it works:
- Select the contact from the contacts section.
- Scroll down to Course Offers and select the relevant course from the drop-down menu.
For example, if you grant access to a mini cosmetic course, an email will be sent out notifying the student of their access.
Handling Comments and Course Material Notifications
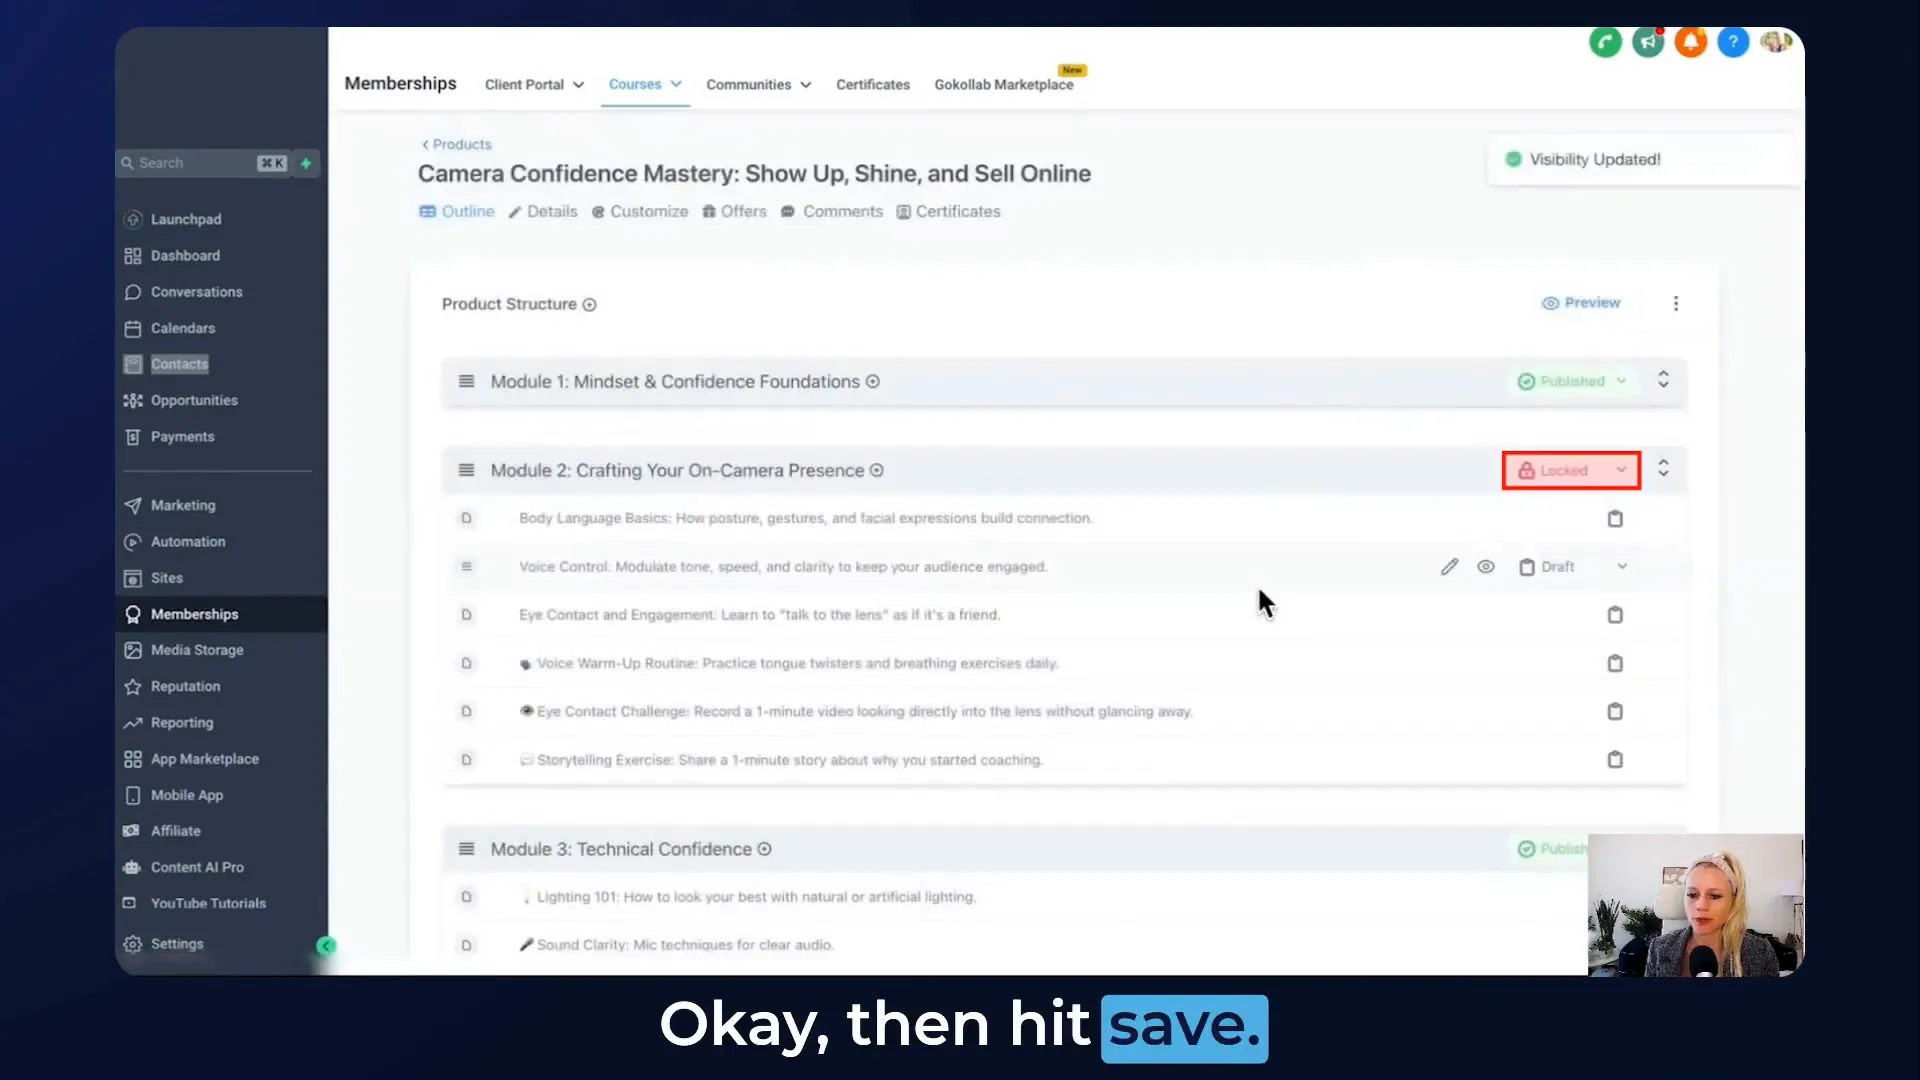
It’s essential to keep your students updated about new comments or materials unlocked in the course. If someone leaves a comment below a lesson or a module, you can set up notifications for these events:
- In your course settings, you can lock specific modules.
- When a locked module is unlocked, an email notification will be sent to the student.
Again, you can customize the template for these notifications, ensuring they are relevant and engaging.
Conclusion and Final Thoughts
And that’s a wrap! You’ve learned how to modify all the email notifications for various child apps like communities, certificates, and courses. This feature not only simplifies workflows but also encourages you to utilize one tool to streamline all notifications efficiently. I hope you find these features helpful in customizing your email templates and enhancing the student experience!
FAQ
1. Can I send different types of emails for different courses?
Yes! You can create specific templates for each course and customize the notifications based on the content and audience.
2. What if I want to change the email template after it's been set?
You can easily change your email template at any time by going back to the email settings and selecting a different template from the drop-down menu.
3. Is it possible to track if students received and opened the emails?
While the platform allows you to send emails, tracking specific metrics like open rates may require integration with an external email marketing service.
4. How do I ensure my emails don’t go to spam?
To minimize the chances of your emails landing in spam, ensure you have a verified domain, use a reputable email service provider, and avoid using spammy language in your emails.
Thanks for tuning in! I look forward to seeing you in our next session where we’ll explore more features to enhance your client portal experience.


