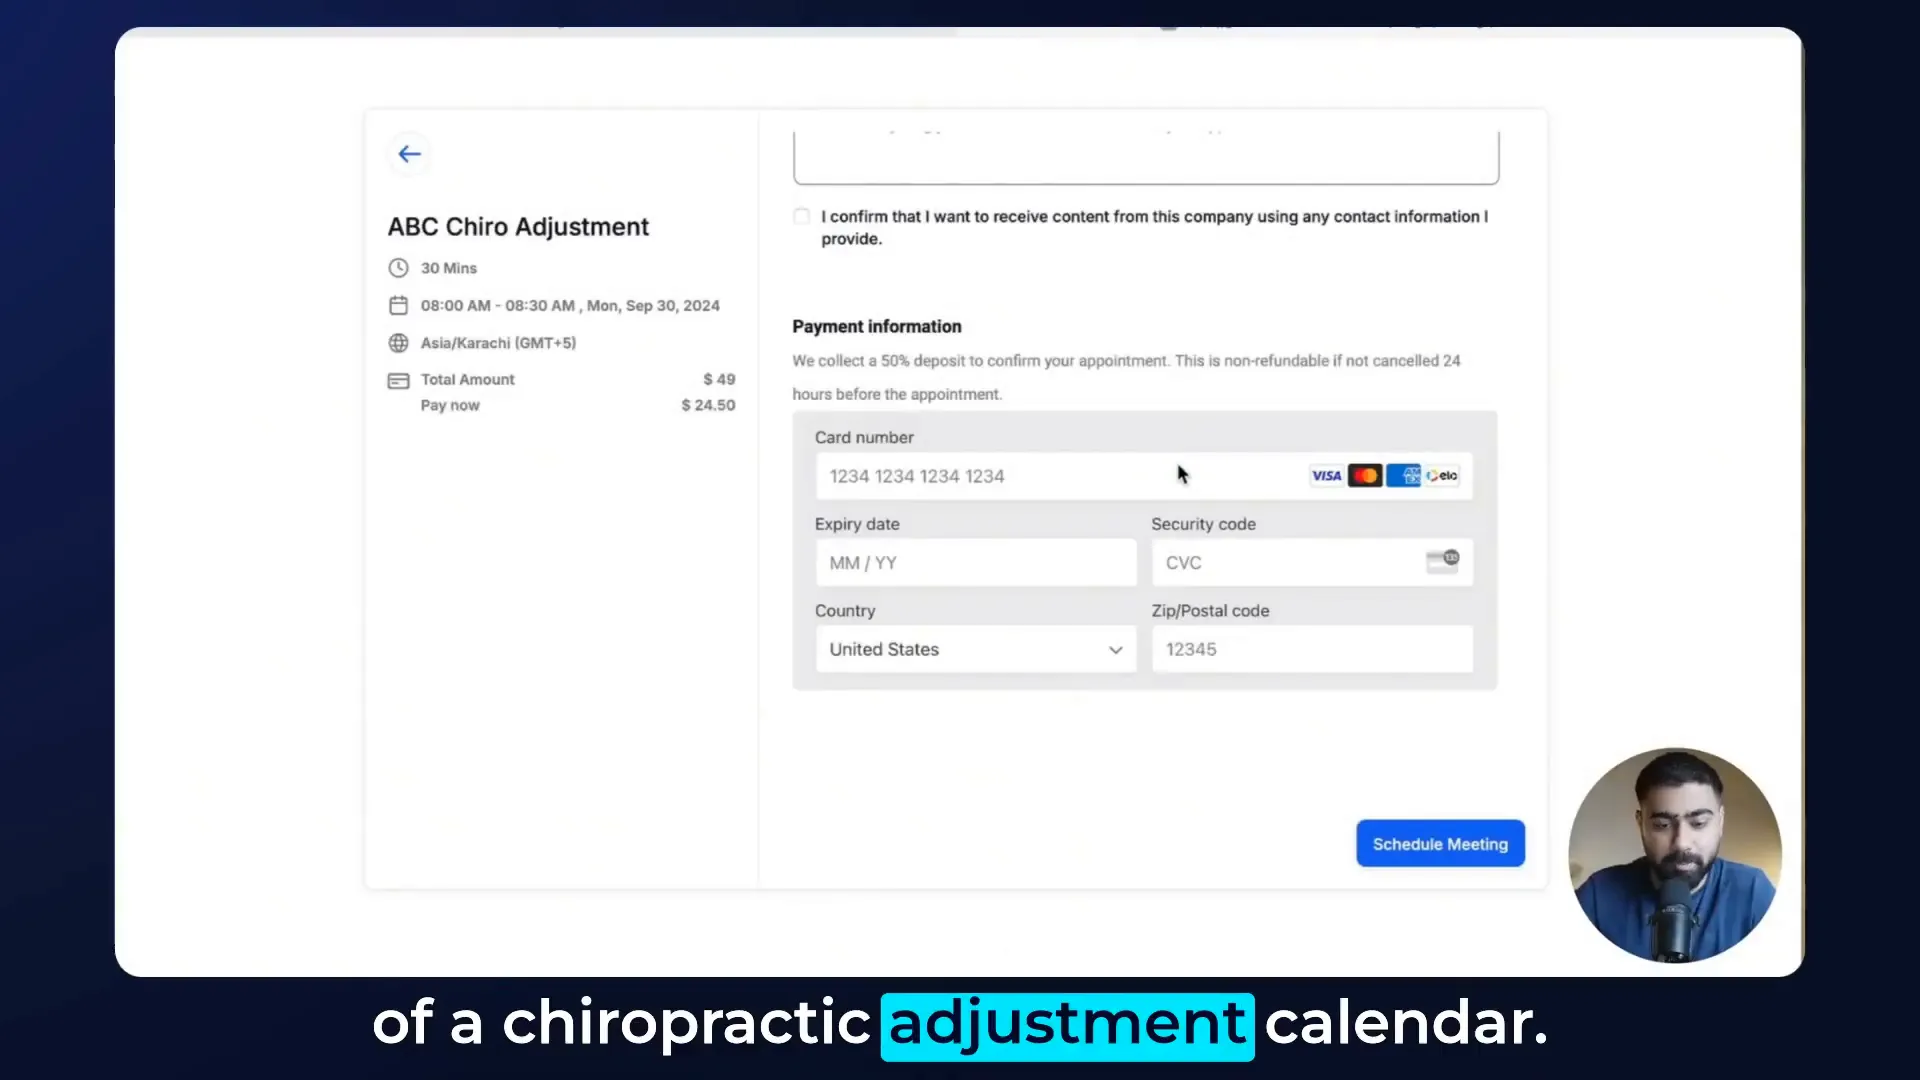
Hey! What's up, everybody? This is Usama here. Today, we’re diving into how to set up calendar payments in GoHighLevel (Lead Connector). For this example, I'll be using a chiropractic adjustment calendar, where we charge $49 for the full appointment and take a deposit of 50%, which is $24.50. This setup helps decrease no-shows and ensures only serious candidates book appointments.
Step 1: Accessing Payment Integrations
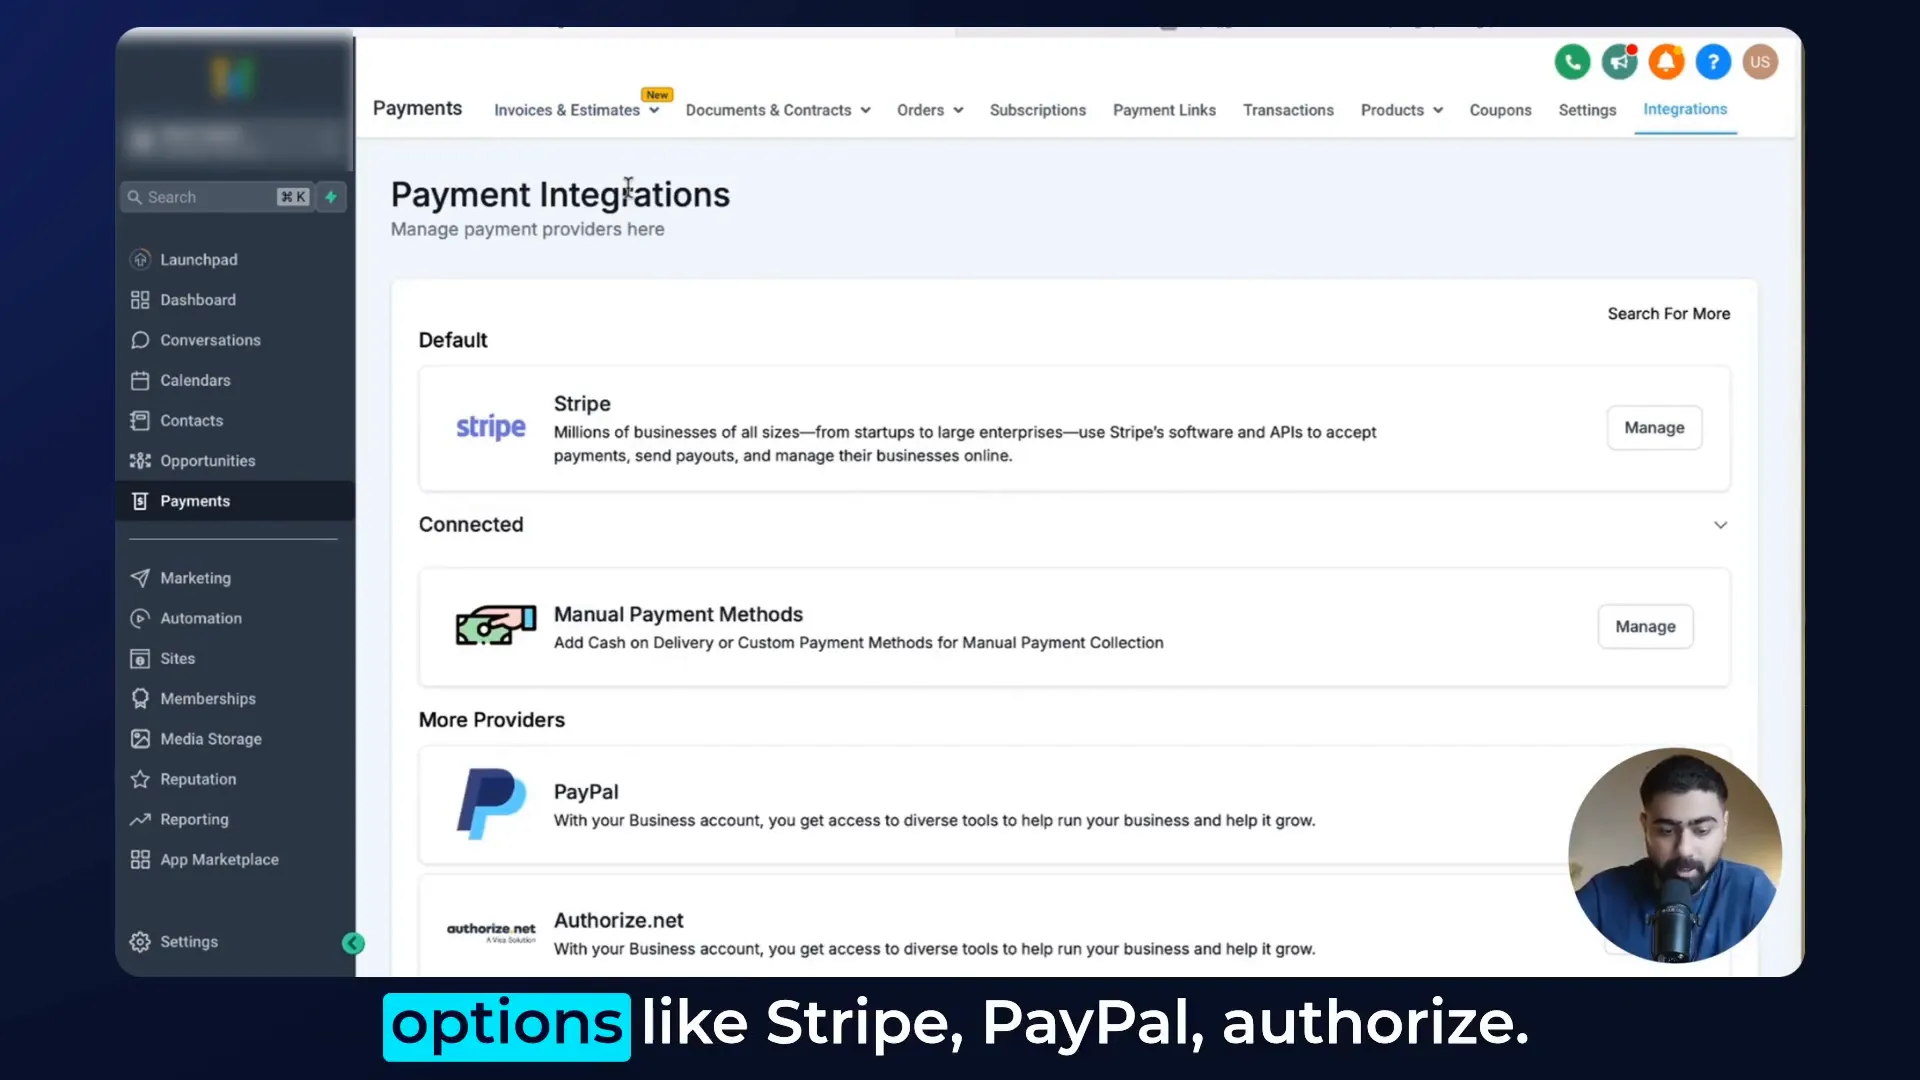
To start, head over to your subaccount. Click on Payments on the left sidebar, then select Integrations from the top bar. You’ll see various payment integration options like Stripe, PayPal, and Authorize. Stripe is the most popular choice, so if you haven't connected it yet, click on Connect.
Step 2: Connecting Your Payment Provider
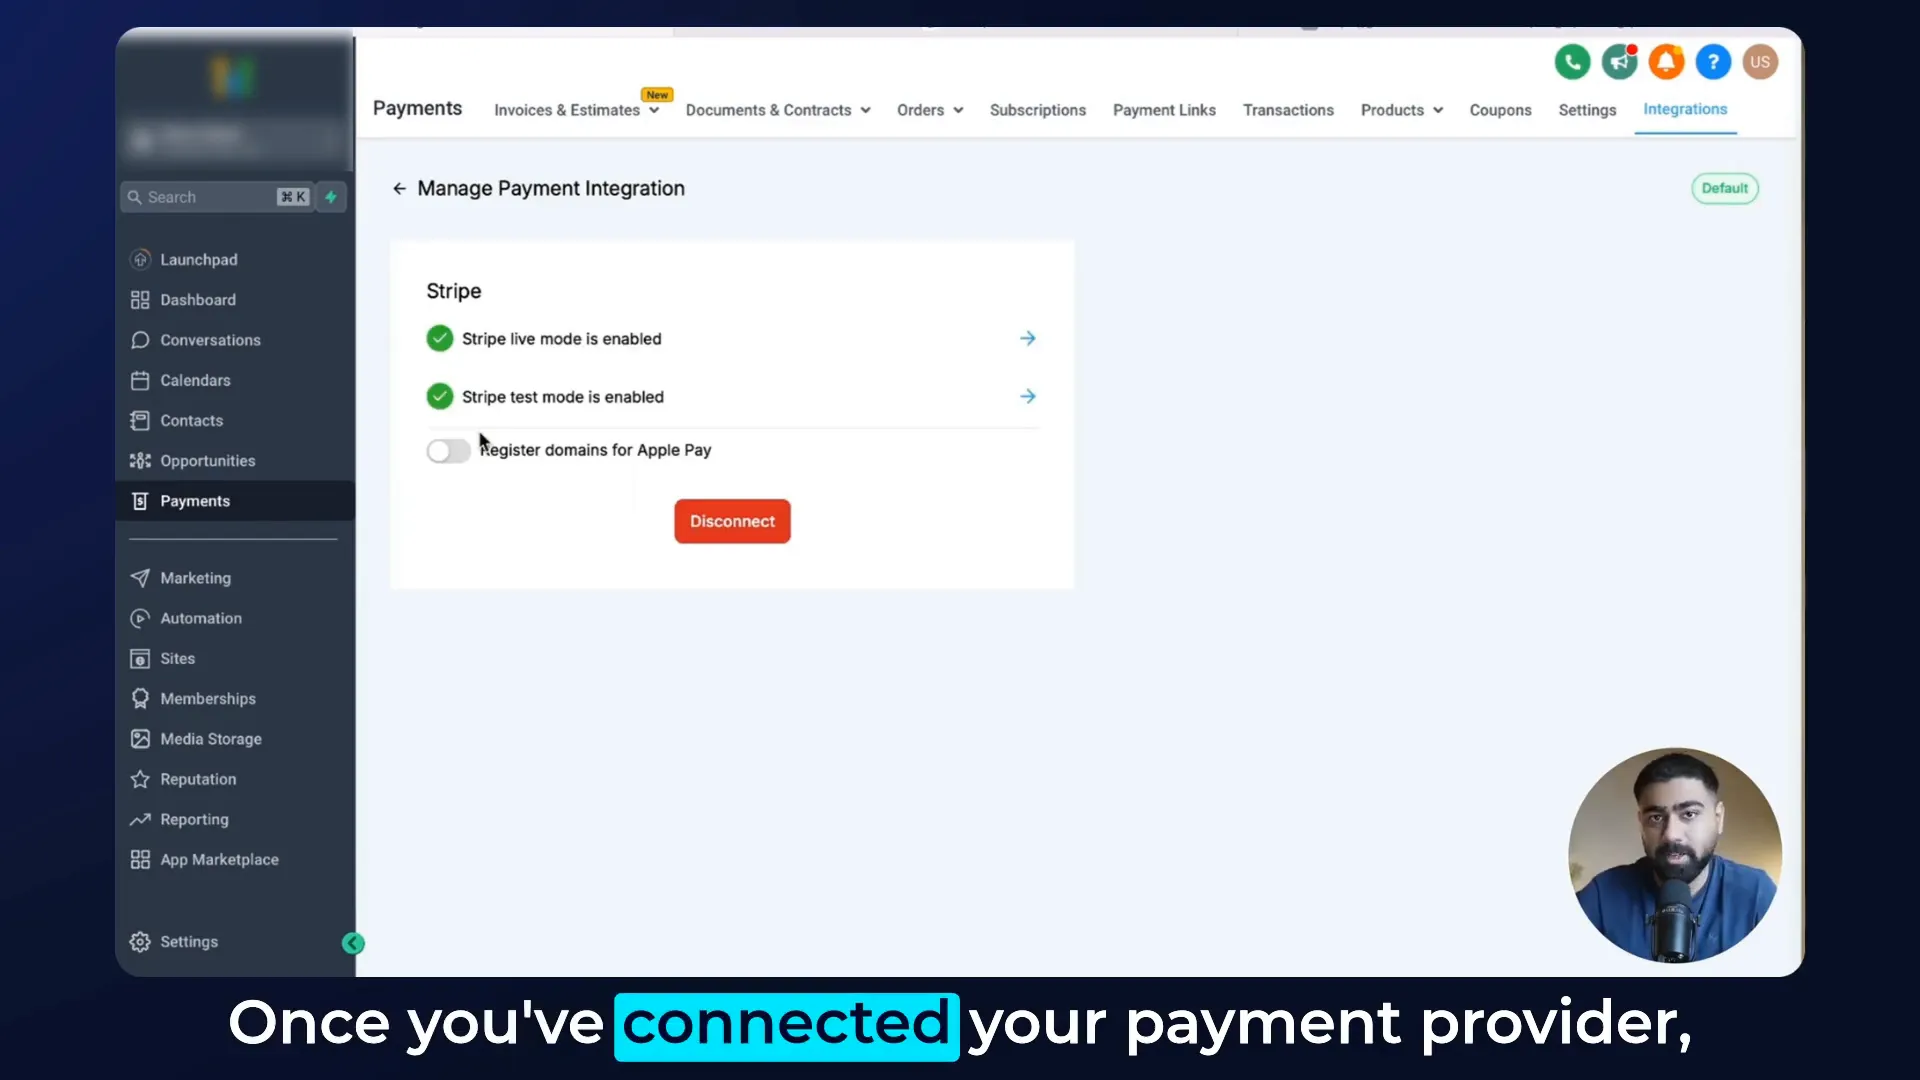
If you already have Stripe connected, you'll see Manage instead of Connect. For those integrating PayPal, click on it, and you’ll be prompted for details. You can consult our help document for the relevant information needed for this step.
Step 3: Configuring Calendar Payments
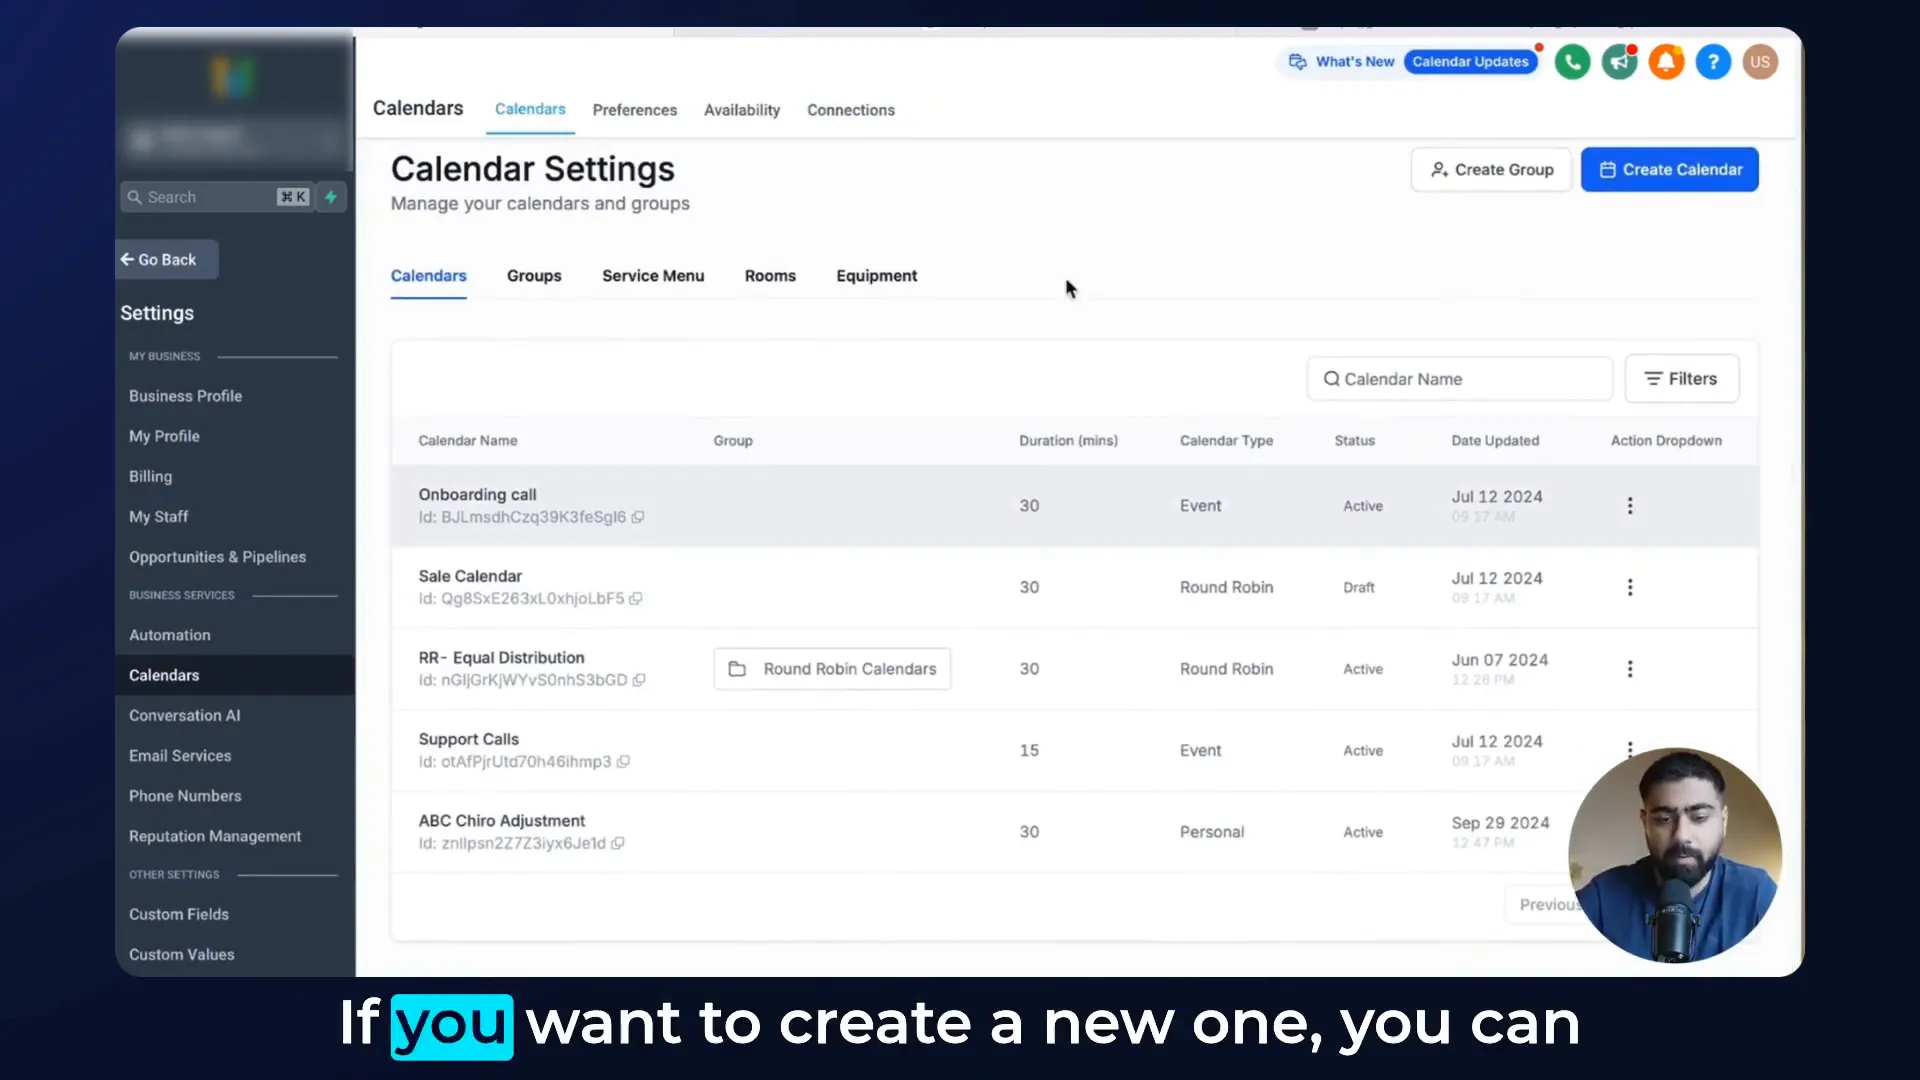
Once your payment provider is connected, navigate to Calendars and click on Calendar Settings. Here, you’ll find all created calendars. If you want to create a new one, select the relevant type. For this example, I’ll use the Cairo calendar.
Editing Calendar Settings
Click on the three dots next to your chosen calendar and select Edit. Go to Forms and Payment. Scroll down to the Accept Payments section. This toggle is usually off by default, so make sure to enable it.
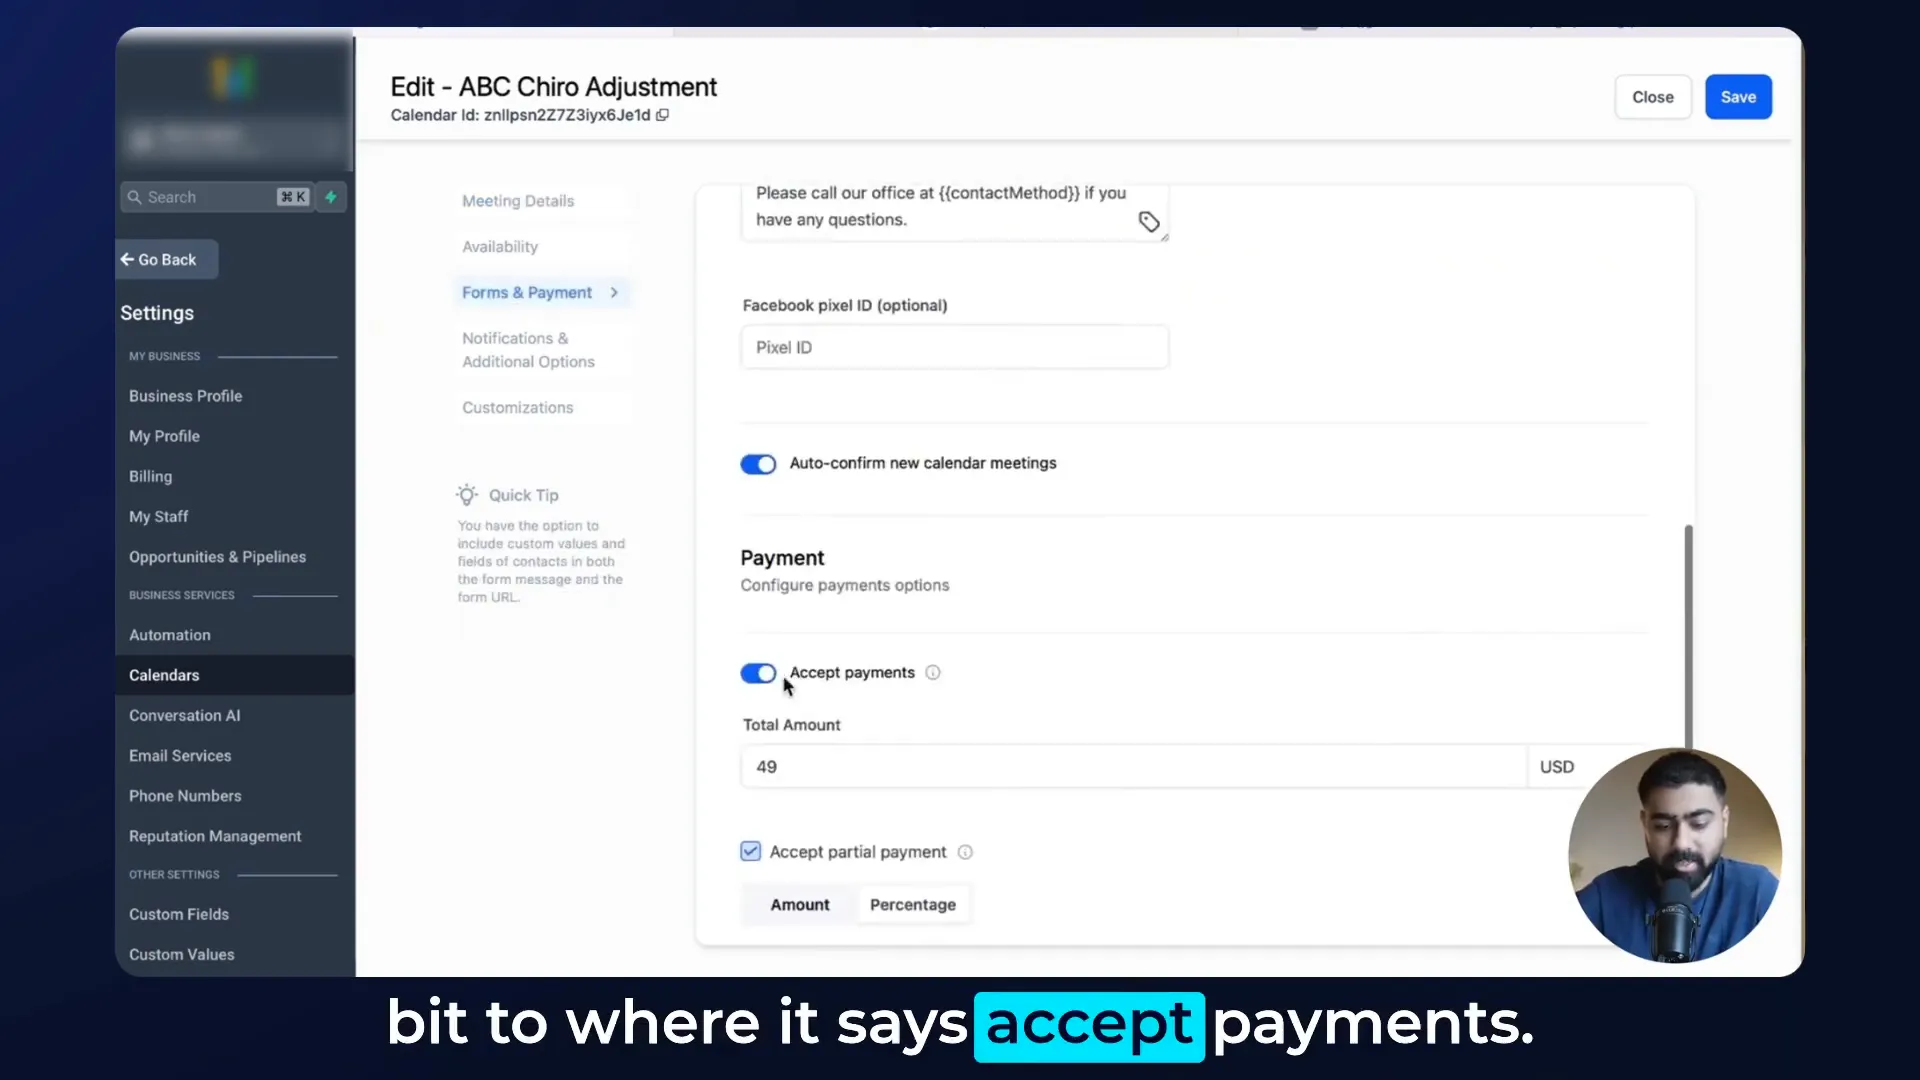
Setting Payment Amounts
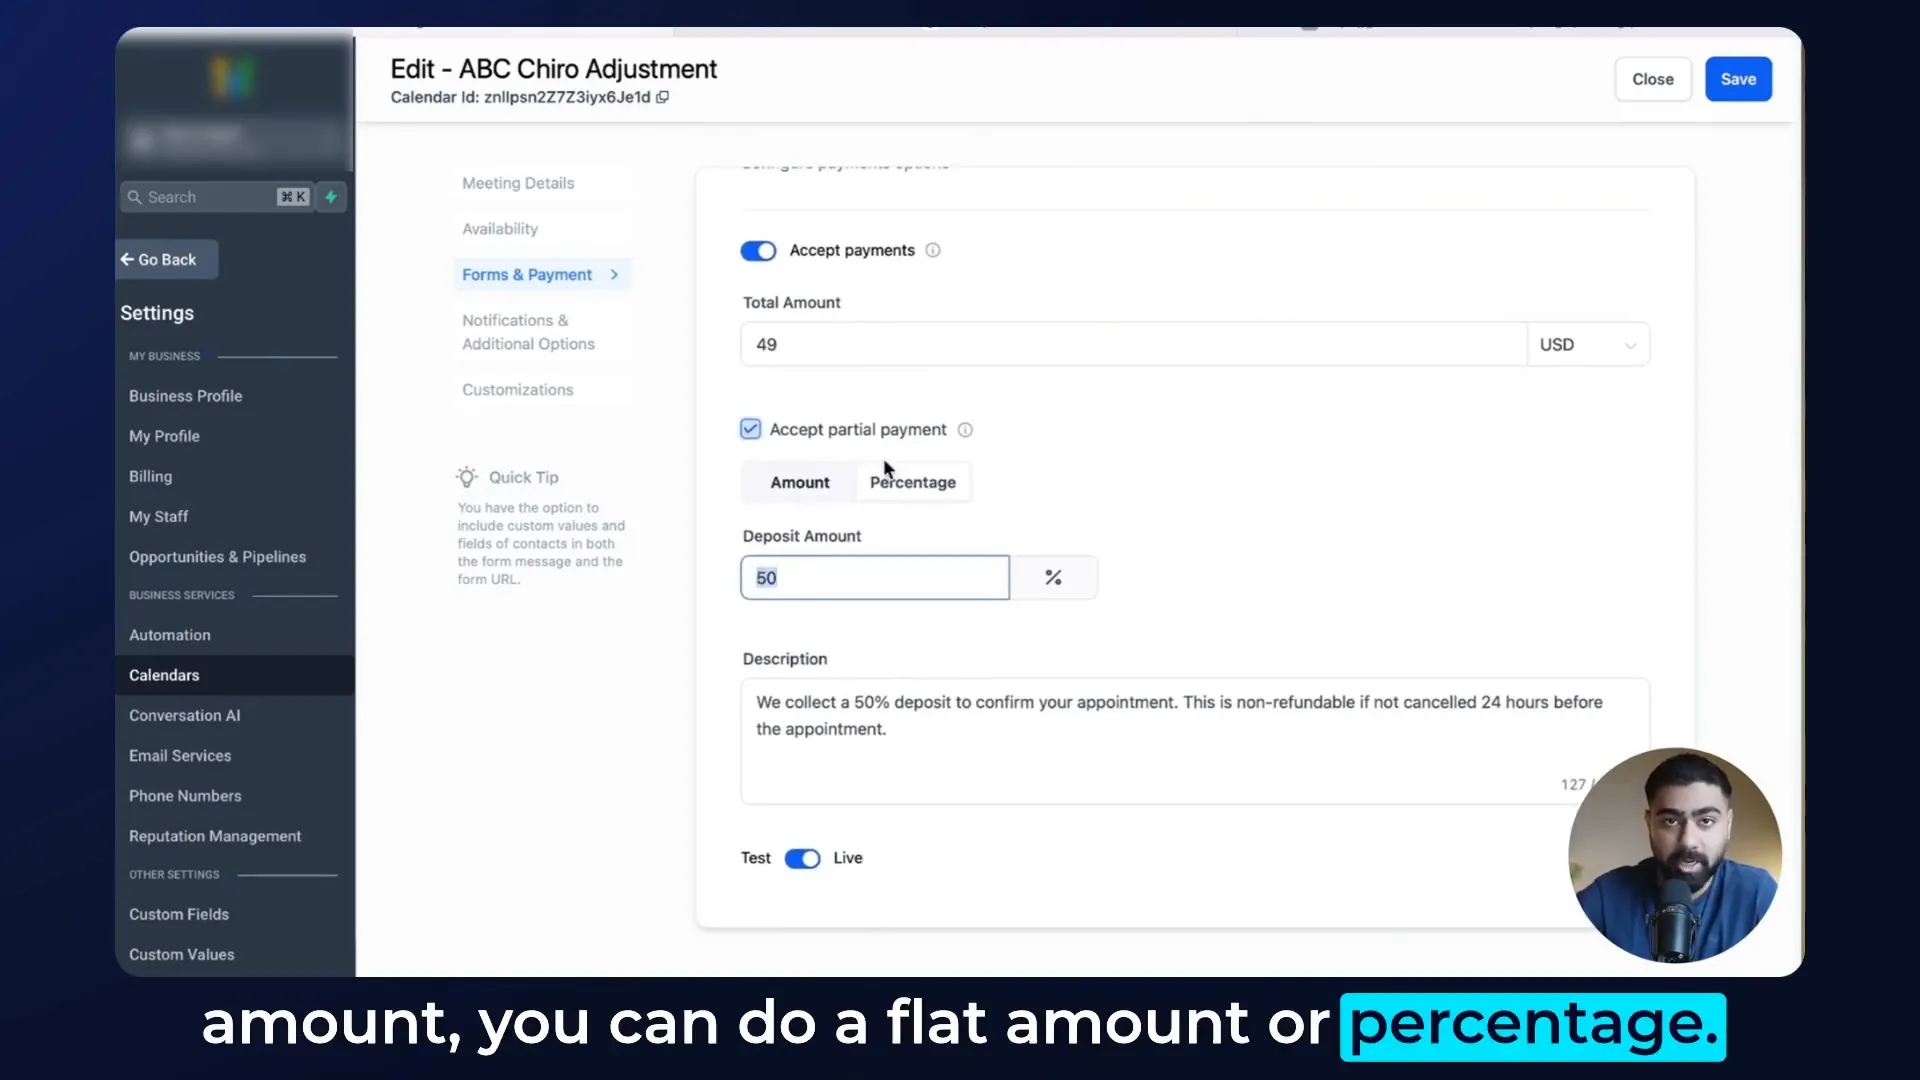
Enter the total amount you’re charging for the appointment. You can also enable an option for partial payments. For example, if you want a deposit of 50%, keep the checkbox enabled. If you want to charge the full amount upfront, disable this option. Below, specify the deposit amount, either as a flat amount or percentage. Always include a description regarding the charge and cancellation policies for transparency.
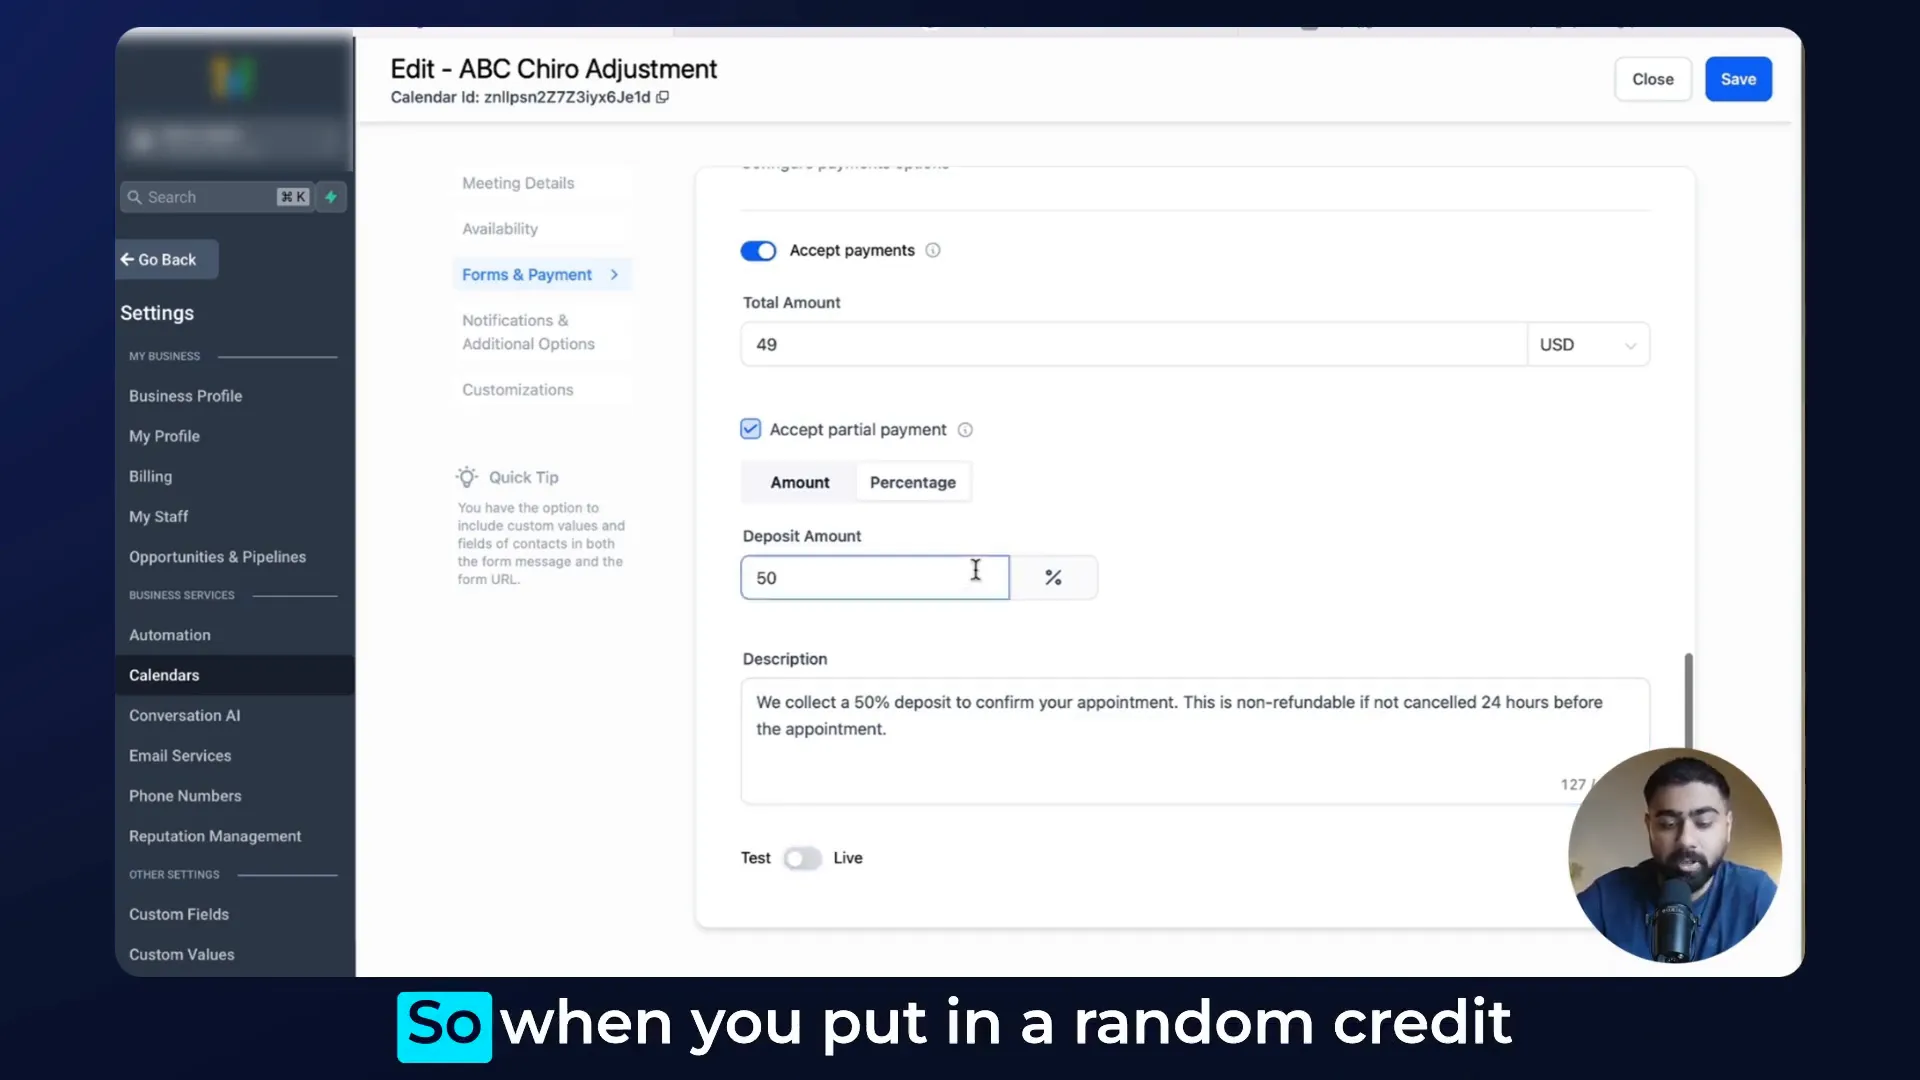
Step 4: Testing Your Setup
Finally, there's a toggle for Test or Live. If the calendar will be used on a website or funnel, ensure it's set to live. Otherwise, anyone can input random credit card details and bypass the payment process. If you want to test it, switch it to test mode, which won’t deduct any actual payments.
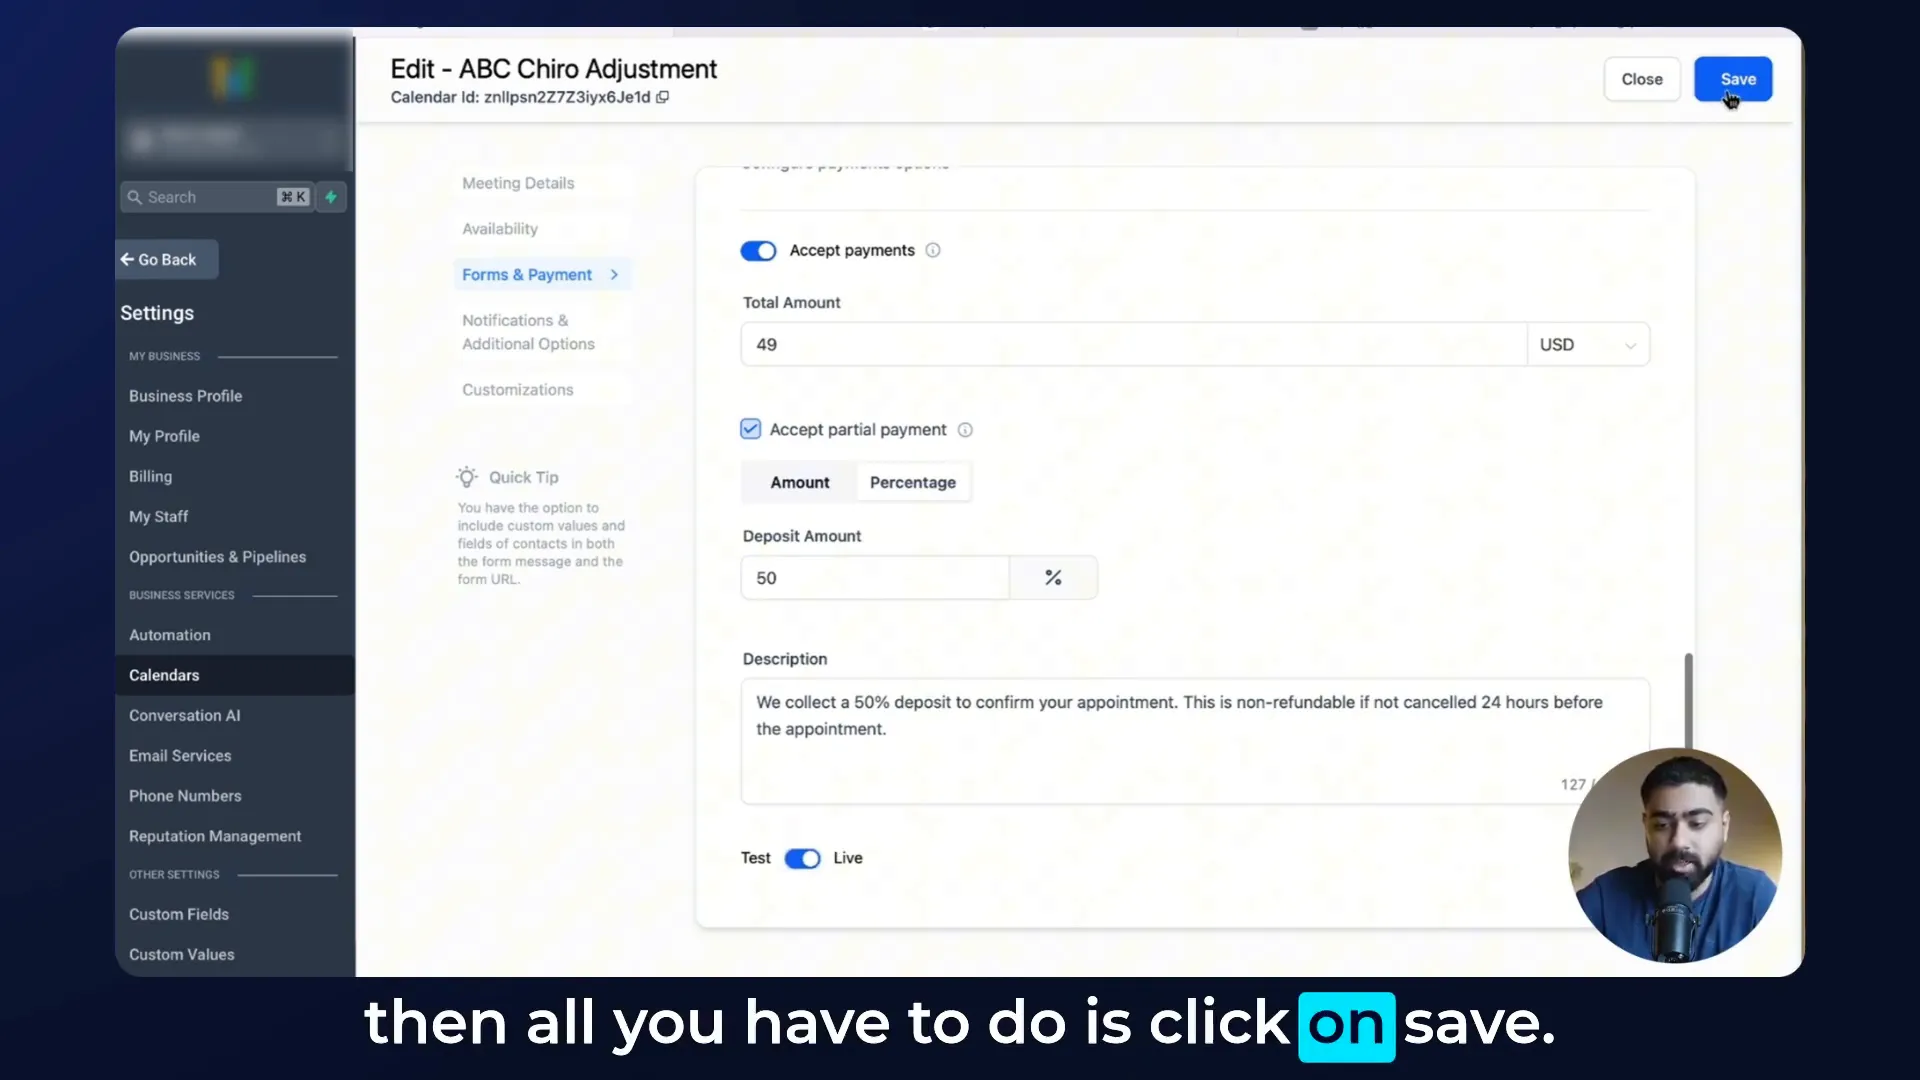
Step 5: Saving Your Settings
Once everything is configured, click Save. Now, calendar payments are enabled for your chiropractic calendar!
Step 6: Booking an Appointment
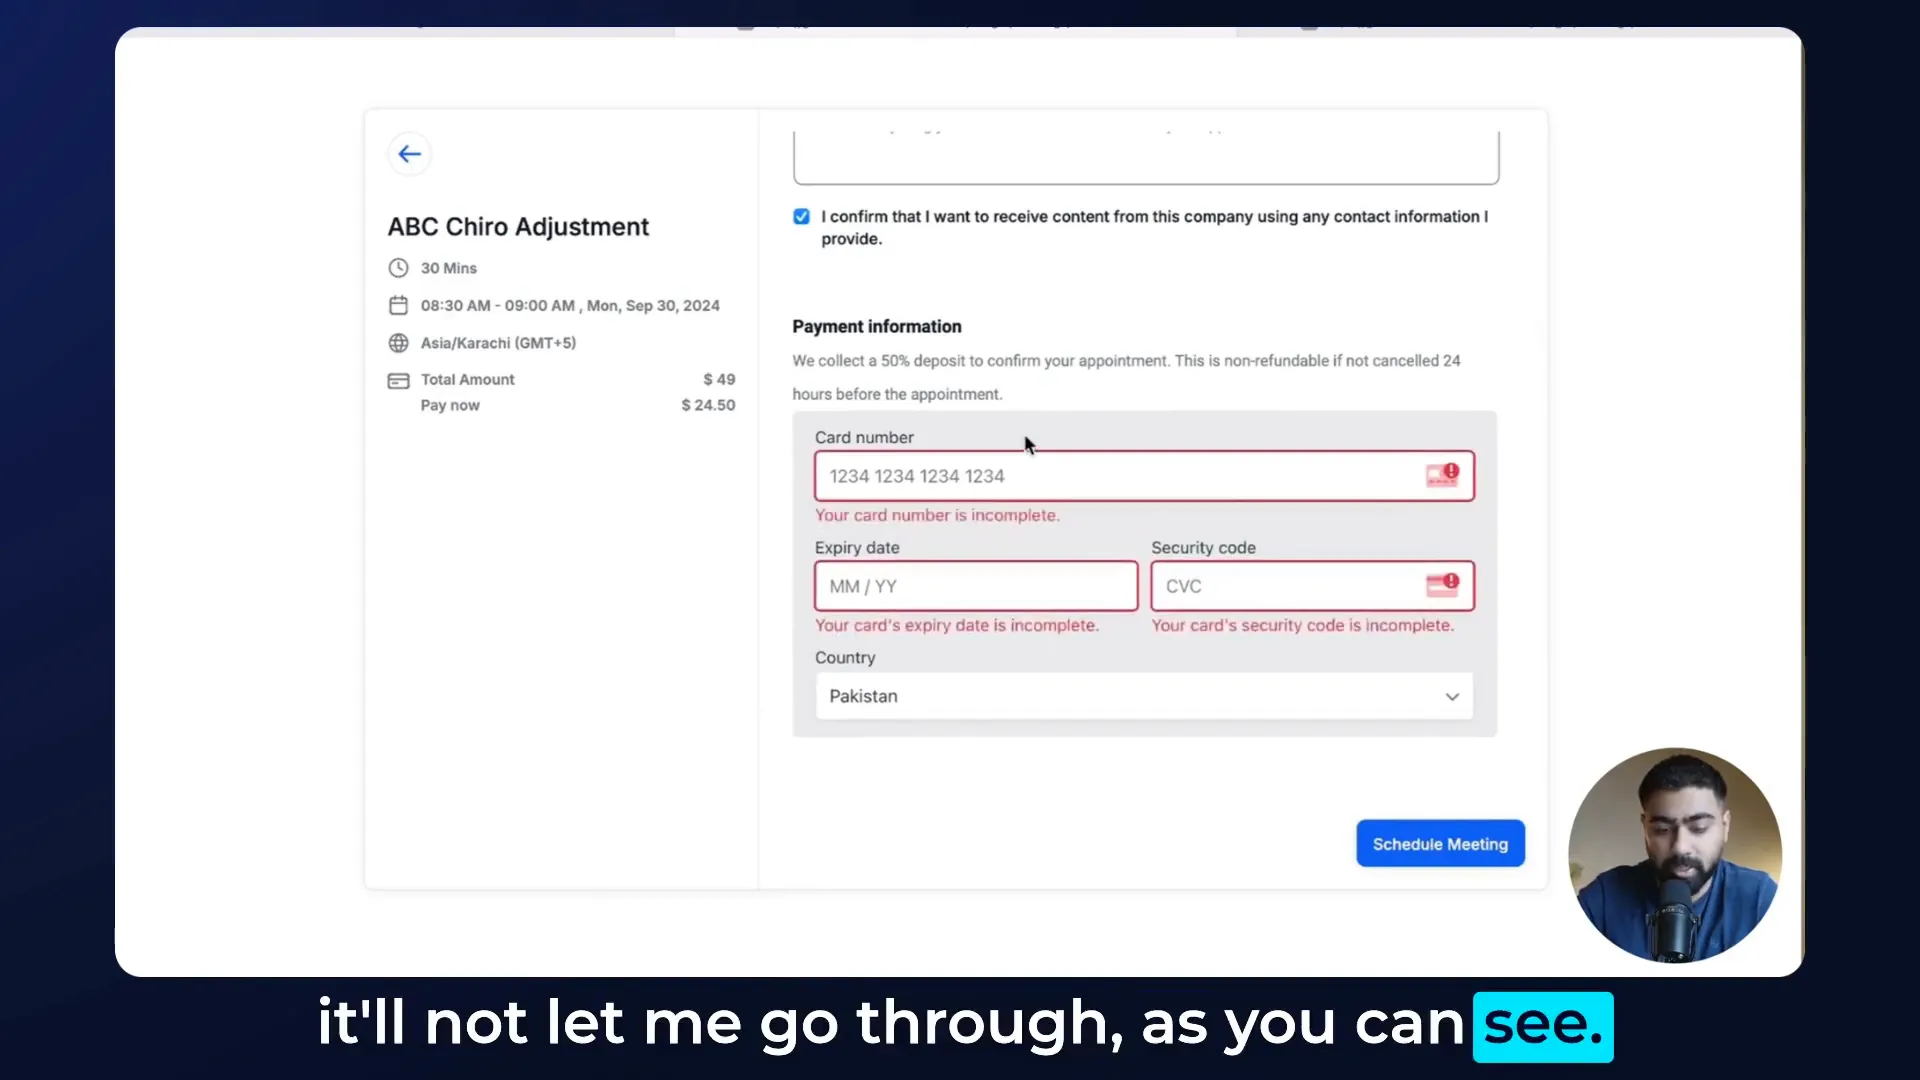
To see it in action, close the settings and click on Share to copy the link. When you open it, you’ll see the total amount and a Pay Now button. If you select a slot and don’t enter payment info, you won’t be able to proceed. This ensures that only those who pay the deposit can confirm their appointment.
Step 7: Viewing Payment Transactions
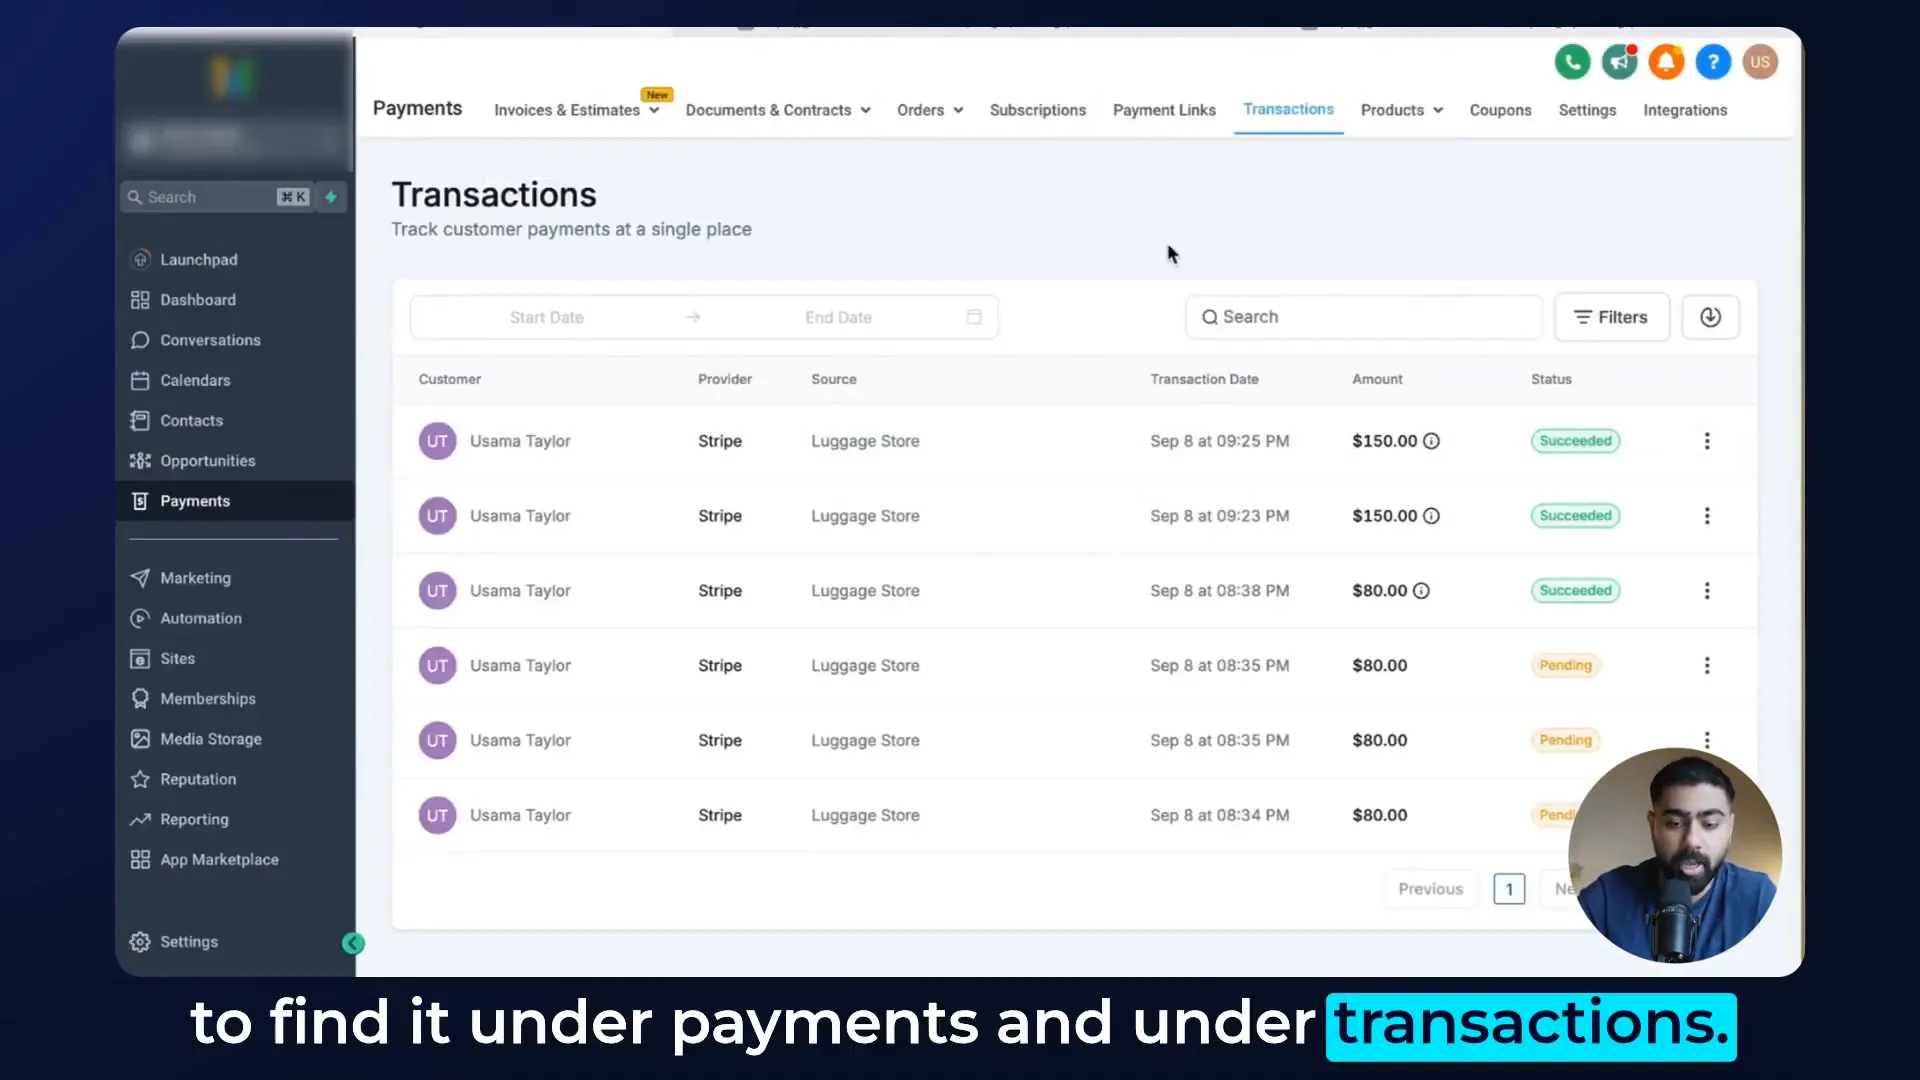
Once someone pays, you’ll find the transaction history under Payments in the Transactions section. This log will show all payments made, keeping you organized and informed.
Conclusion
And that’s it! You’ve successfully set up calendar payments in GoHighLevel. This feature not only helps reduce no-shows but also filters out serious clients, improving the quality of your bookings. Thanks for watching, and happy scheduling!
FAQ
What payment providers can I connect to GoHighLevel?
You can connect providers like Stripe, PayPal, and Authorize. Stripe is the most commonly used.
Can I test the payment setup before going live?
Yes! You can toggle between test and live modes to ensure everything works correctly without processing real payments.
How do I view payment transactions?
Payment transactions can be viewed under the Payments section in your GoHighLevel dashboard.


