In this guide, we will explore how to effectively import funnels and websites from ClickFunnels 2.0 using Lead Connector within GFunnel. This powerful feature simplifies the migration process and allows you to seamlessly transition your funnels with just a few clicks.
Introduction to Importing Funnels
Importing funnels can significantly streamline your workflow, allowing you to focus on what truly matters—growing your business. By utilizing the features available in Lead Connector within GFunnel, you can effortlessly migrate funnels from ClickFunnels 2.0. This process is designed to be user-friendly and efficient, enabling you to bring your marketing strategies to life with minimal hassle.
Overview of ClickFunnels Versions
ClickFunnels has evolved over time, with two primary versions available: ClickFunnels 1.0 and ClickFunnels 2.0. Each version offers unique features tailored to different user needs. ClickFunnels 2.0, for instance, includes advanced functionalities that make importing and managing funnels more intuitive.
Understanding the differences between these versions is crucial. ClickFunnels 2.0 introduces enhancements that improve user experience, allowing for easier integration with other platforms like GFunnel.

Setting Up Your New Funnel
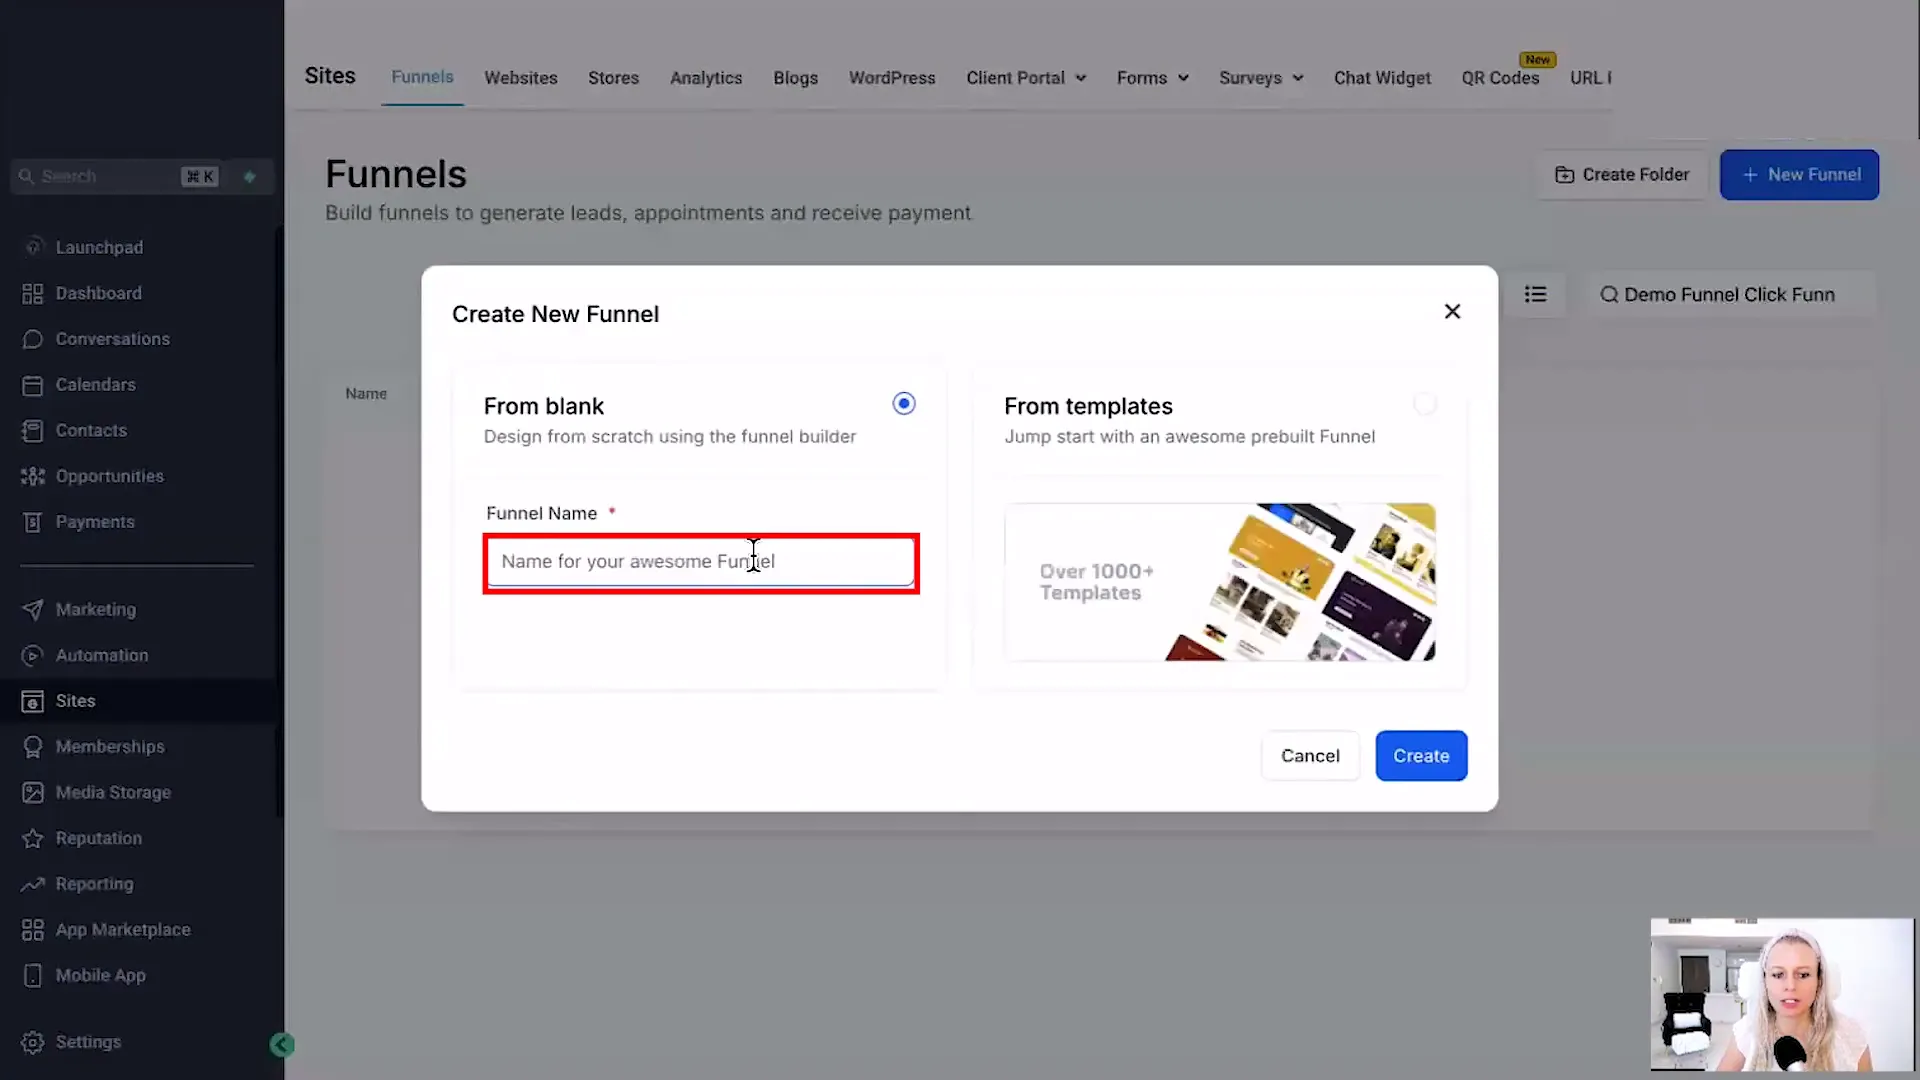
Creating a new funnel in GFunnel is straightforward. Begin by navigating to the 'Sites' section, then click on 'Funnels' at the top. From there, click on the 'Plus New Funnel' button.
You'll have the option to name your funnel. Choose a descriptive title, such as 'Demo Funnel for ClickFunnels Import', and hit 'Create'. This serves as the foundation for your funnel, where you'll later add individual steps.
Adding a New Step in GFunnel
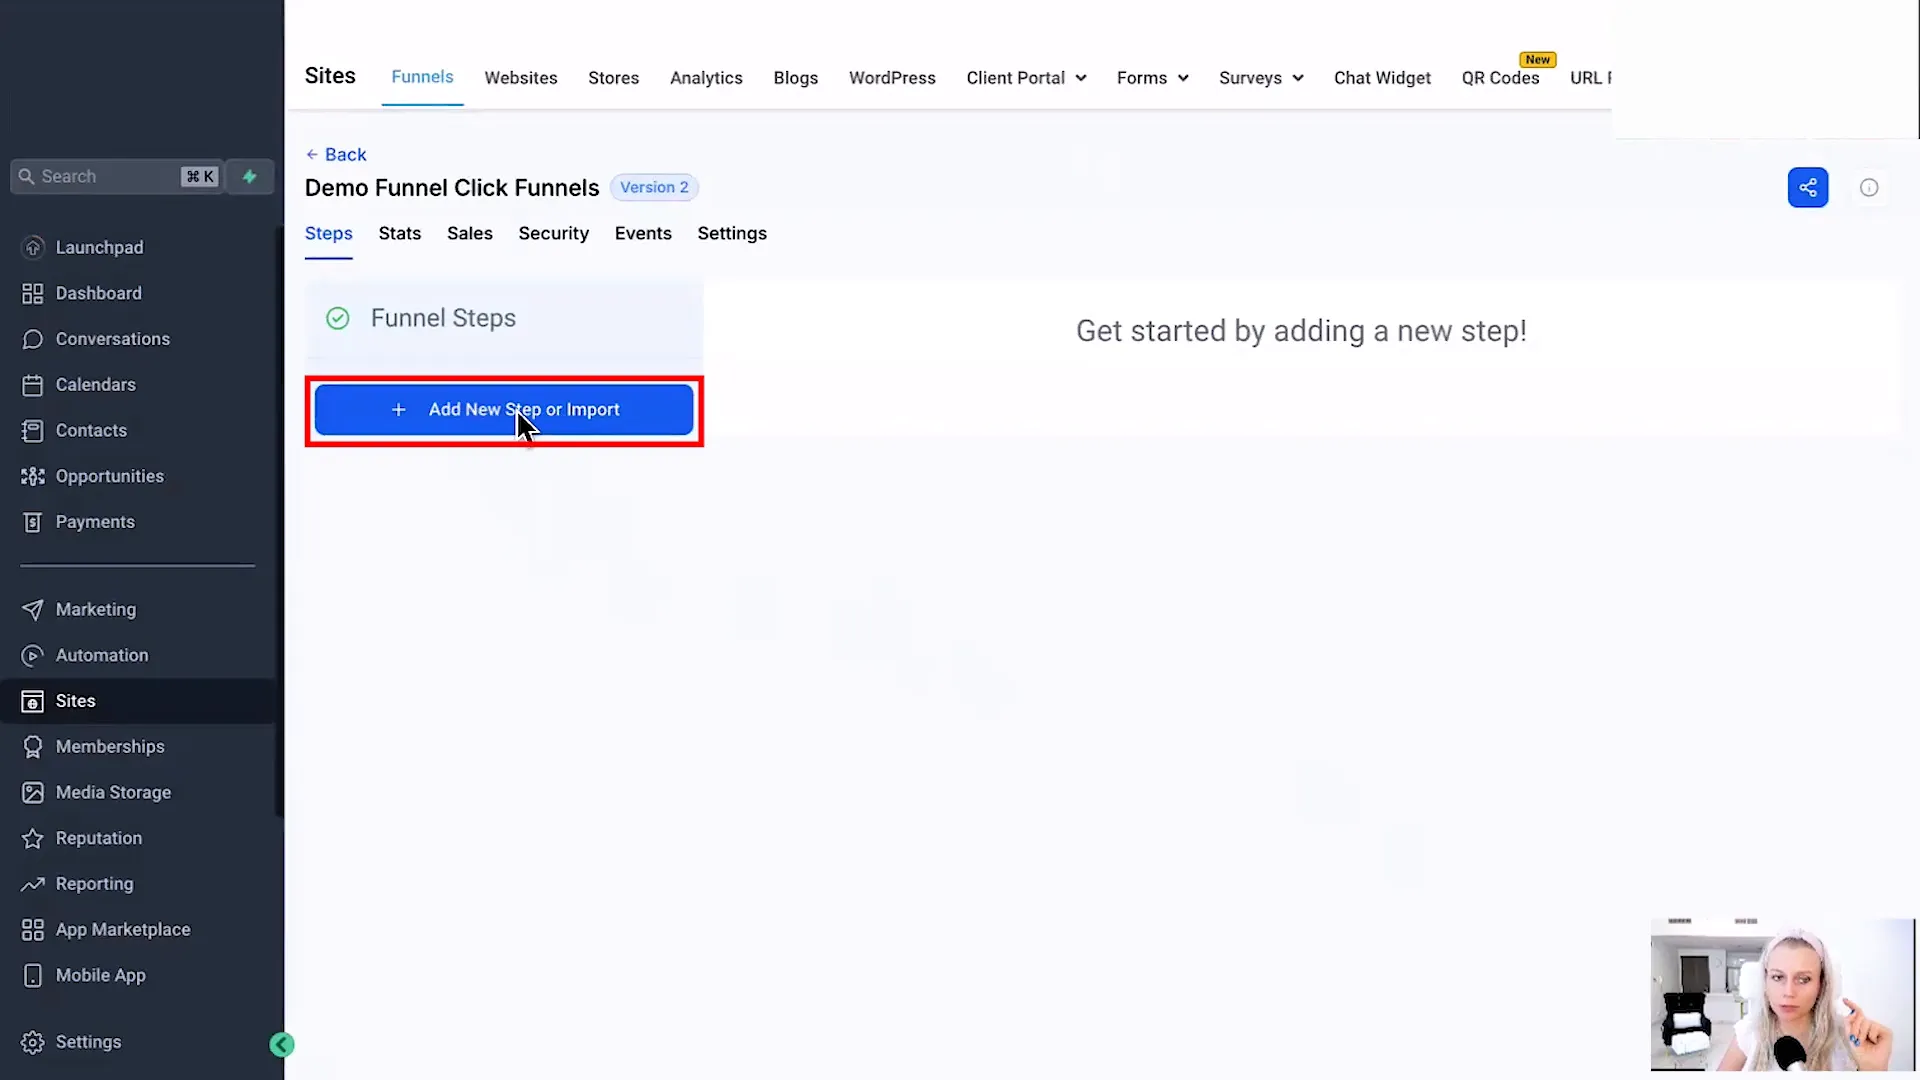
After setting up your funnel, the next step is to add new components. Click the button that says 'Add New Step' or 'Import'. This feature allows you to incorporate various pages from your ClickFunnels setup.
When prompted, assign a name to the new step, like 'Landing Page' or 'Squeeze Page'. This organization makes navigating your funnel simpler as it grows in complexity.
Importing a Squeeze Page
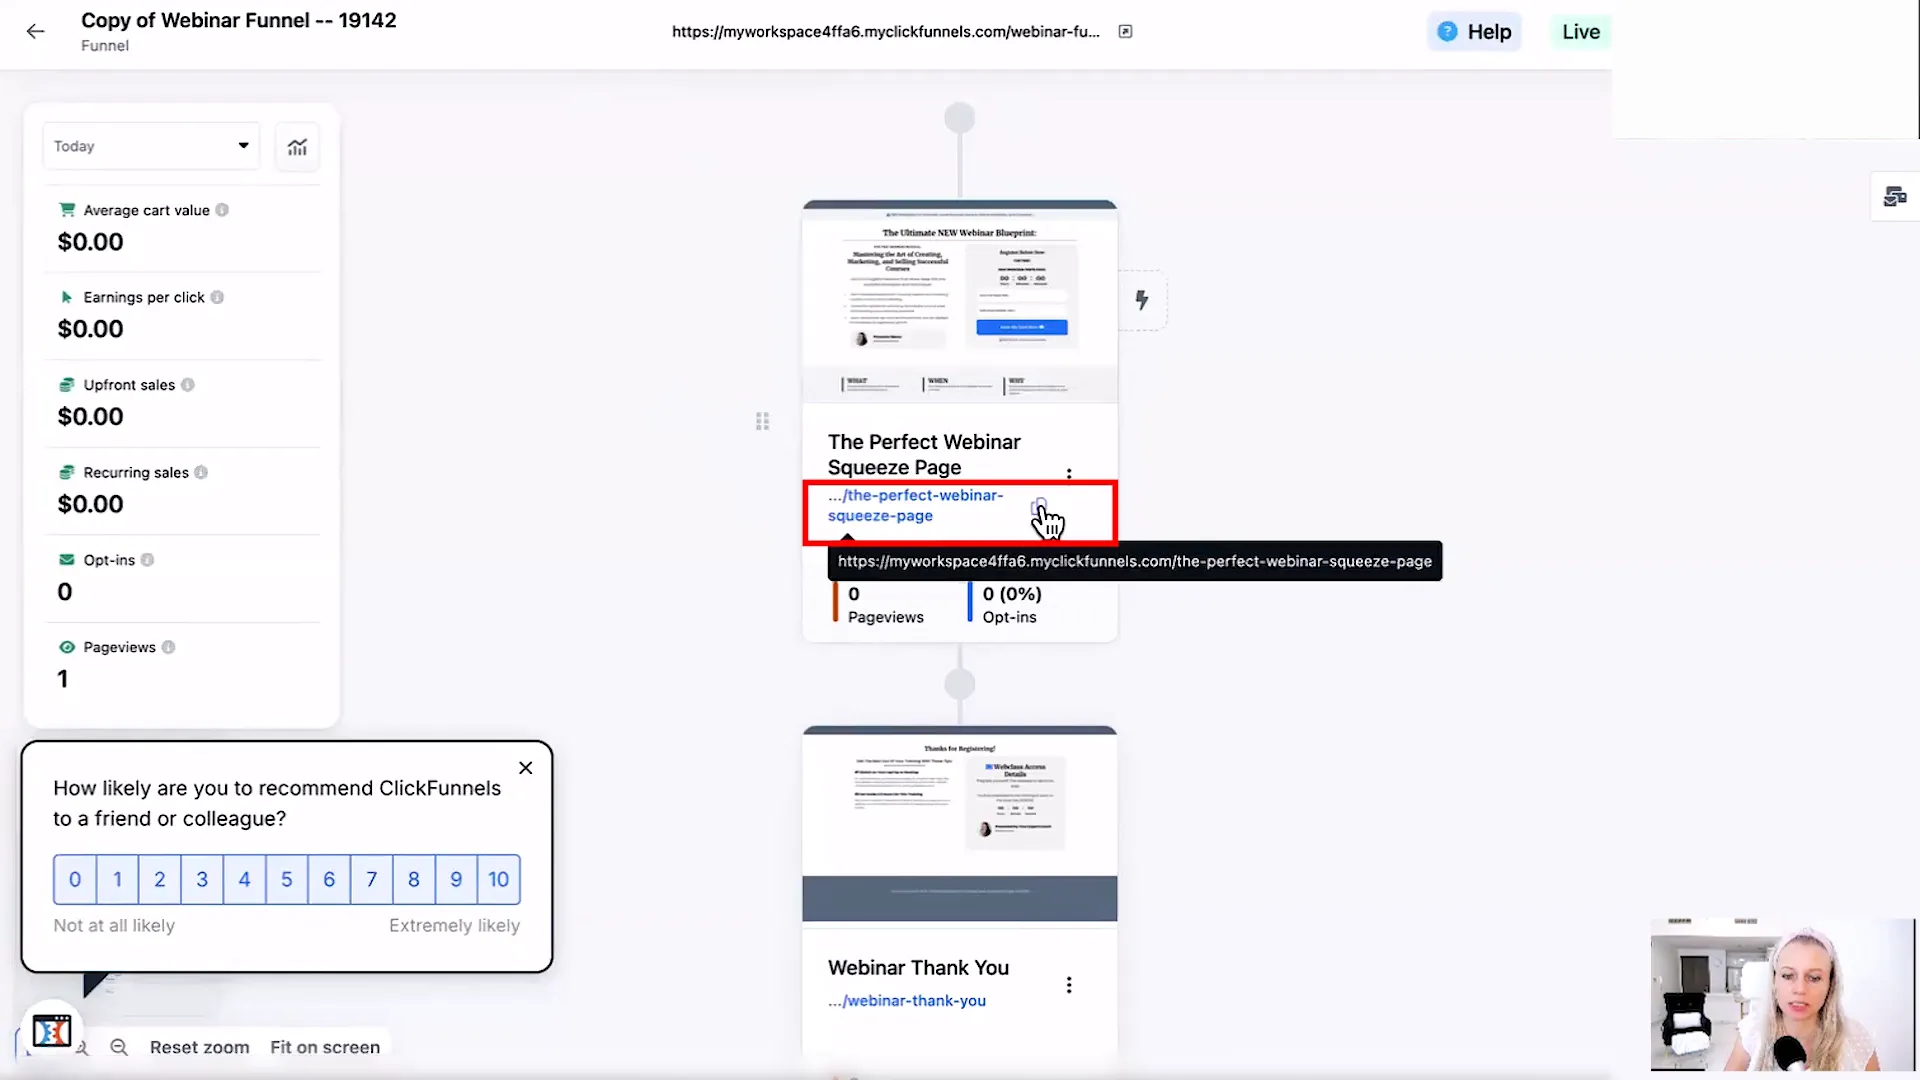
Importing pages from ClickFunnels is where the process truly shines. To import a squeeze page, navigate to your ClickFunnels account and locate the page you wish to bring over. Copy the URL of the squeeze page.
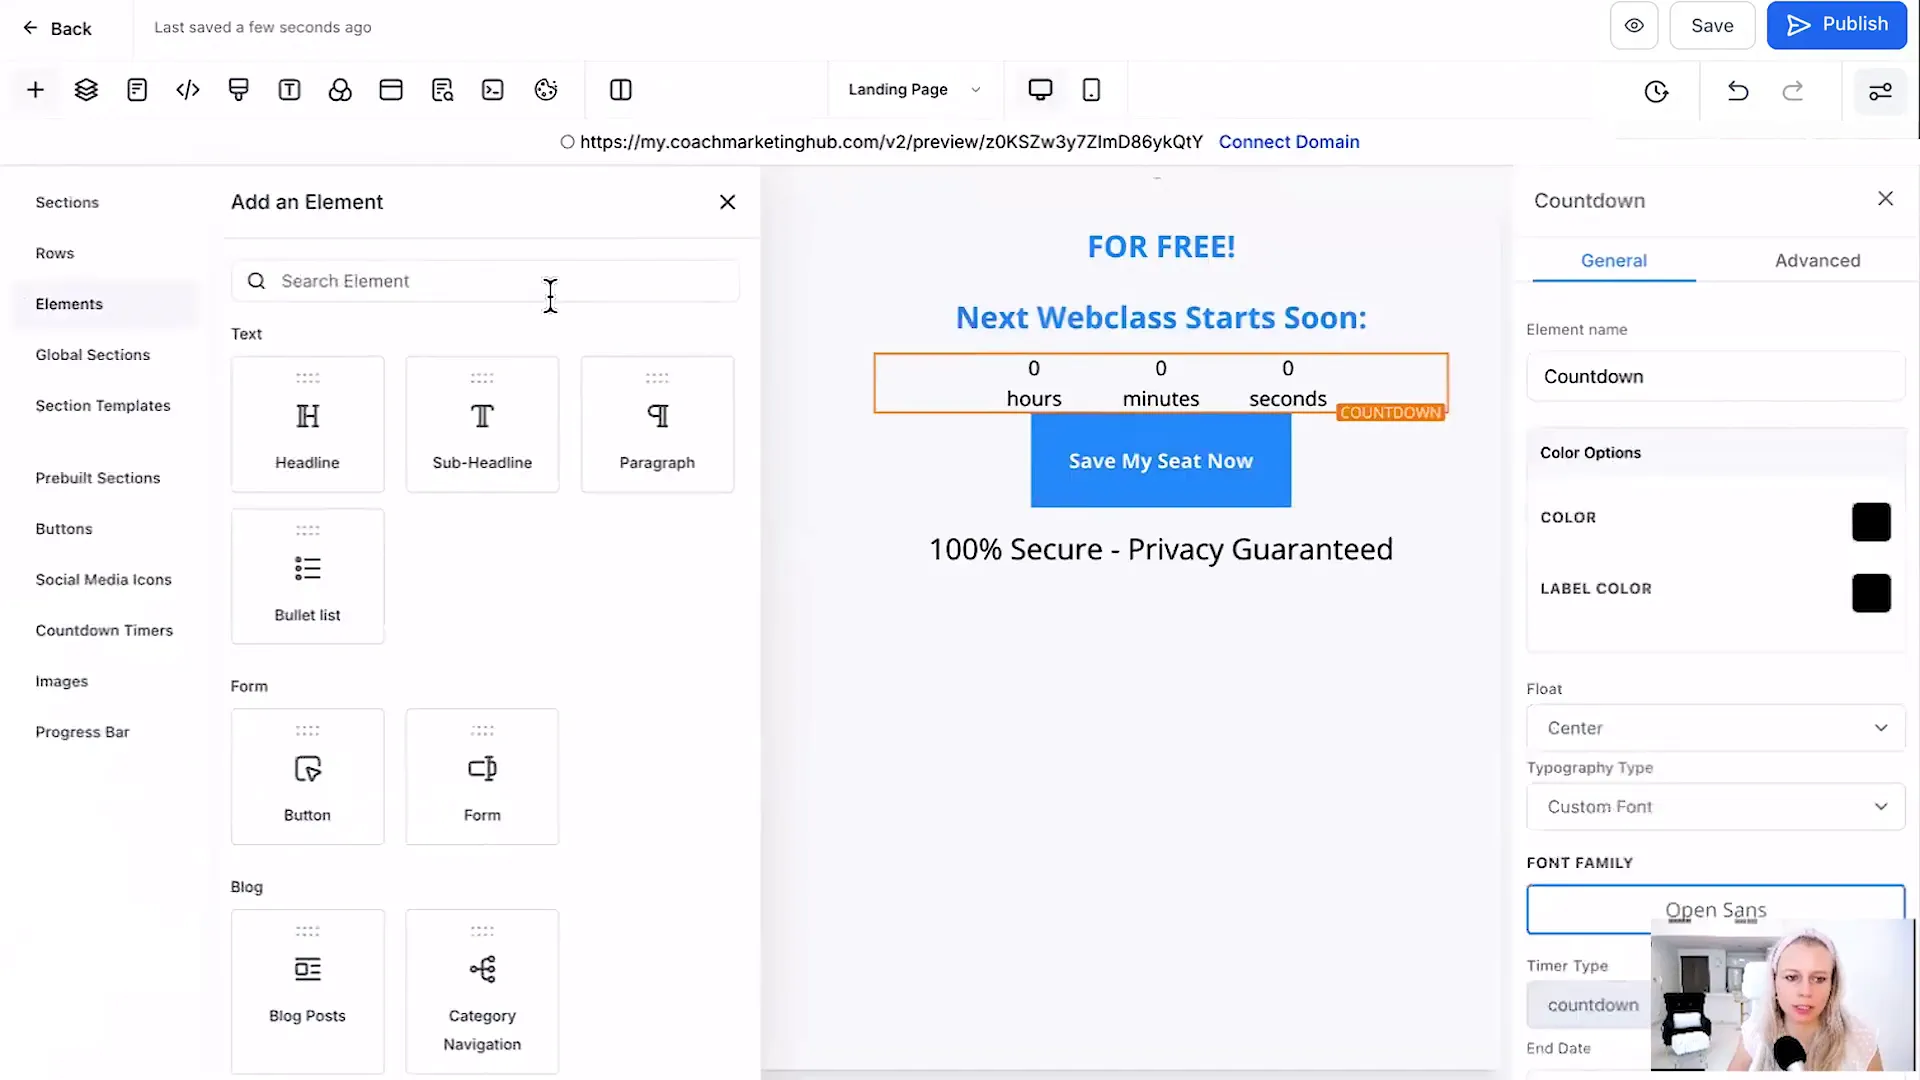
Return to GFunnel and paste the URL into the designated field. Confirm that you have permission to pull that page and click 'Create Funnel Step'. This action pulls in all relevant data from ClickFunnels, including fonts, buttons, and any countdown timers.
Creating Steps for Multiple Pages
To build a comprehensive funnel, you'll want to create multiple steps. Each step corresponds to a different page in your ClickFunnels setup, such as thank you pages, broadcast pages, or order forms. For each page, repeat the importation process: copy the URL, paste it into GFunnel, and confirm the import.
This method ensures that your entire funnel structure is recreated in GFunnel, enabling you to maintain consistency across your marketing efforts. After importing, you may need to adjust certain elements, such as forms, which require additional setup within the CRM.

As you build your funnel, remember that each step requires careful attention to detail. Make sure to verify that all elements are functioning correctly and align with your marketing goals.
Understanding Imported Data
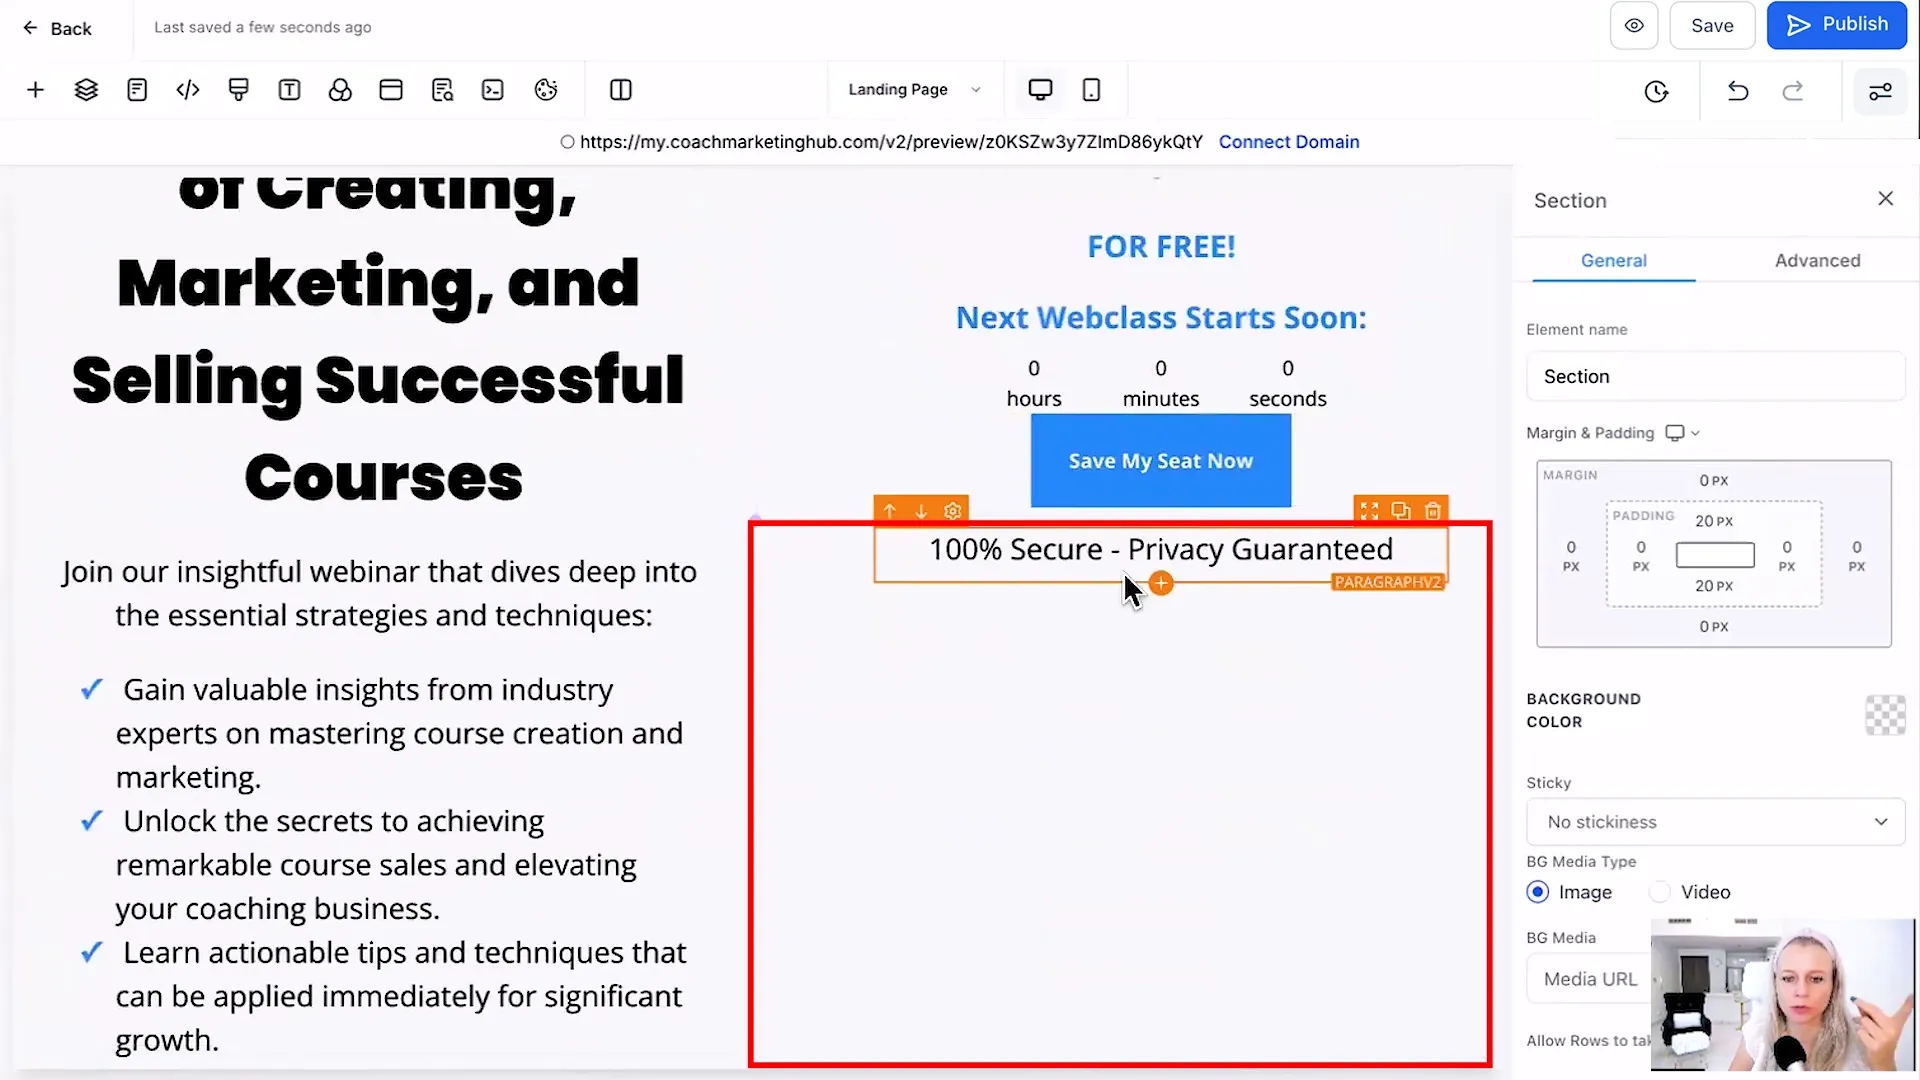
When you import funnels from ClickFunnels into GFunnel using Lead Connector, it's essential to understand what data is transferred. The process captures various elements like text, images, buttons, and layout structure. However, forms are not automatically imported.
To successfully incorporate forms into your funnel, you must create them separately within GFunnel after importing the page. This step ensures that your forms are linked to the appropriate CRM functionalities and can collect leads effectively.
What Gets Imported?
- Text Content: All headlines, paragraphs, and bullet points are transferred seamlessly.
- Images: Any images used on the original page will also be imported.
- Buttons: The design and functionality of buttons are preserved, ensuring a consistent user experience.
- Layouts: The general layout and structure of the page remain intact, making it easier to navigate through your funnel.
What Doesn't Get Imported?
- Forms: You will need to create forms from scratch in GFunnel.
- Custom Scripts: Any custom scripts or integrations will need to be set up again.
- External Links: Make sure to verify that all links point to the correct destinations after importing.
Adding Forms to Your Imported Pages
After successfully importing your pages, the next step is to add forms to capture leads. Since forms do not transfer automatically, you will need to create them manually in GFunnel.
Here’s how to do it:
- Navigate to the page you imported.
- Select the option to add a new element and choose 'Form'.
- Customize the form fields according to your needs, ensuring you collect the necessary information from your leads.
- Link the form to your CRM to manage incoming leads effectively.
Importing Additional Pages
To create a comprehensive sales funnel, you may want to import multiple pages. This process is straightforward and follows the same steps as importing the initial page.
Here’s a quick guide on how to import additional pages:
- Return to your ClickFunnels account and copy the URL of the page you wish to import.
- In GFunnel, click on 'Add New Step' and paste the copied URL.
- Name the page appropriately, such as 'Thank You Page' or 'Order Form'.
- Confirm the permission to pull the page and click 'Create Funnel Step'.
Repeat this process for each page you want to add to your funnel. This method ensures a structured and efficient funnel setup.
Final Thoughts on Importing with GFunnel
Using Lead Connector within GFunnel simplifies the process of migrating funnels from ClickFunnels 2.0. The ability to import pages with just a URL is a game-changer for marketers looking to streamline their workflows.
Remember to pay attention to the details after importing. Ensure all elements function as intended and that forms are set up correctly to capture leads. With these steps, you can create a fully operational funnel in no time.

FAQ
Can I import funnels from ClickFunnels 1.0?
Currently, the importing feature is optimized for ClickFunnels 2.0. However, you can manually recreate any funnels from ClickFunnels 1.0 by following the same steps outlined for 2.0.
What if my imported page looks different from the original?
Discrepancies can occur due to different platform capabilities. Ensure you review and adjust imported pages to match your original design.
Are there any limitations on the number of pages I can import?
There are no specific limitations on the number of pages you can import. However, ensure that your account has the capacity to manage additional data effectively.
Where can I learn more about using GFunnel?
For more insights and tips, visit our explore page for resources and guides to maximize your GFunnel experience.


